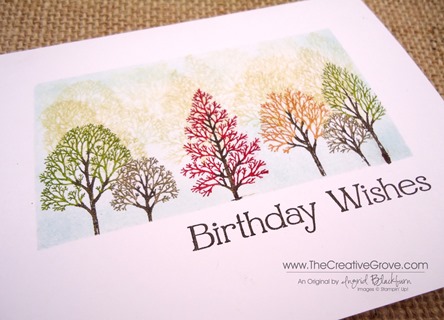
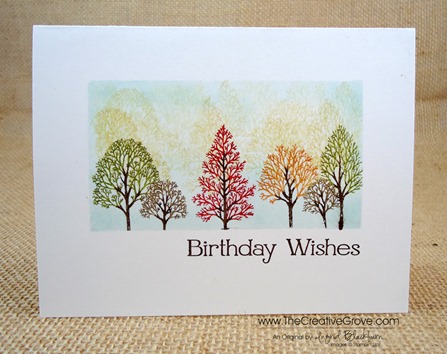
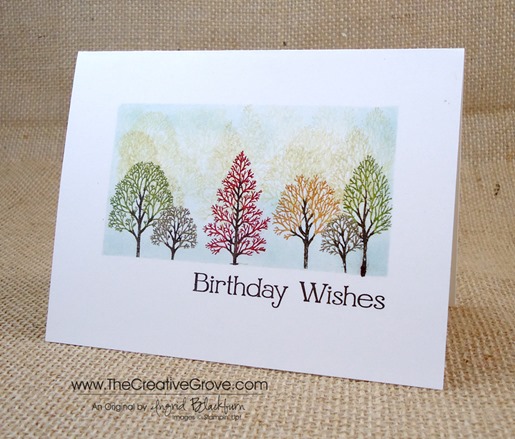
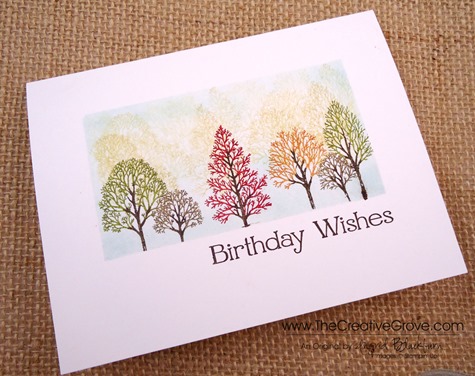
Have you ever tried creative depth with Lovely as a Tree, or any nature stamps? I was in a simplicity mood this morning. I love color and the mountains. When I think of the mountains, I’m reminded of when I lived in Utah and California. The scenery was so beautiful, and it really put me at peace. So this morning, I wanted to create a Fall Foliage scenery on a one layer card.
I grabbed my Lovely as a Tree stamp set and went to work. It took me three cards to get the right result, but I’m happy with it! Here is the result!
If you love the look of this stamp set – be sure to check out my online brayer class too!
Lovely as a Tree OLC tutorial –
- First I cut out a mask leaving a 3/4” border on the top, left and right.
- I inked up my six tree stamp in Crushed Curry, stamped it off and then stamped it three times filling the top 2/3 of the frame. When inking my stamp, I did not ink up the bottom grass and trunks. You can do this with a marker or your ink pad.
- I lightly sponged Soft Sky to create my rectangular frame, being sure to focus a bit heavier on the outline than the middle. I filled in the bottom 1/3 before stamping my main image.
- To color my main image, I used Stampin’ Write Markers. I first colored my trees, then my trunks in Early Espresso.
- For my Greeting, I used the Four You stamp set – I LOVE this set.
It’s a simple card, but I love the color. It makes me feel like I’m looking out at a scene in the Uinta mountains in Utah. I hope you like it too!
[optin_box style=”2″ alignment=”center” email_field=”email” email_default=”Enter your email address” email_order=”2″ integration_type=”aweber” double_optin=”Y” list=”3846012″ name_field=”name” name_default=”Enter your first name” name_order=”1″ name_required=”Y” opm_packages=””][optin_box_field name=”headline”]Learn with our exclusive FREE video series[/optin_box_field][optin_box_field name=”paragraph”]PHA+R2V0IHRoZSBmcmVlIENyZWF0aXZlIFRpcHMgRS1sZXR0ZXIgYW5kIGxlYXJuIHdpdGggc3Vic2NyaWJlciBleGNsdXNpdmUgdmlkZW8gYW5kIHBpY3RvcmlhbCBjb250ZW50LiBJbmNsdWRpbmcgb3VyIHllYXJseSAxMiBEYXlzIG9mIENocmlzdG1hcyBzZXJpZXMgJmFtcDsgdGhlIHZpZGVvIGZvciB0aGlzIHByb2plY3QhPC9wPgo=[/optin_box_field][optin_box_field name=”privacy”][/optin_box_field][optin_box_field name=”top_color”]undefined[/optin_box_field][optin_box_button type=”0″ button_below=”Y”]Get Access Now![/optin_box_button] [/optin_box]
Very pretty card! How did you cut the mask out? Do I need dies to do that? Thank you.
Hi Debbie – thank you! I just cut a rectangle out of a piece of copy paper, or you can use masking paper with my trimmer. No dies needed.
lovely card very impressive – didnt recognise the stamp set – which I own
That’s always a bonus, right?!! Thanks for watching. 🙂
Love the stamp set. Where did you get it?
It’s Lovely as a Tree by Stampin’ Up! It’s a great set. 🙂
What colors did you use for the front trees? Thanks!
Hi Sheri – I colored them in Crushed Curry, Cherry Cobbler, Old Olive and Soft Suede. I actually have a video on this project in my free initial series on the Creative Tips e-letter List – it’s the second video if you’re interested. You can sign up for that here – it’s free: http://bit.ly/TCGCTips 🙂
Just send this card on Pinterest – it’s absolutely gorgeous. I haven’t inked this stamp set for years so I must dig it out again. Great job!
So glad you love it Helen! It’s a great stamp set, I still can’t believe I waited 11 years to buy it! 🙂
Thanks Amy! That was the mood and look I was going for. Third time is a charm. I first did the background in multi-colors, but it needed to be all one so the front would shine through. I’m glad you like it! 🙂 Thanks for stopping by.
Ingrid, I love the colors you used on this card. This stamp set is really a must for anyone. There are so many uses for it. It really does remind me of the fall.