It’s Wednesday, and that means a sneak peek into the fun new challenge over at StampNation, but first I have the Crooky Cake video I promised. This video highlights the faded double stenciling technique, which is awesome for any background. If you recall, a few days ago I posted this card:
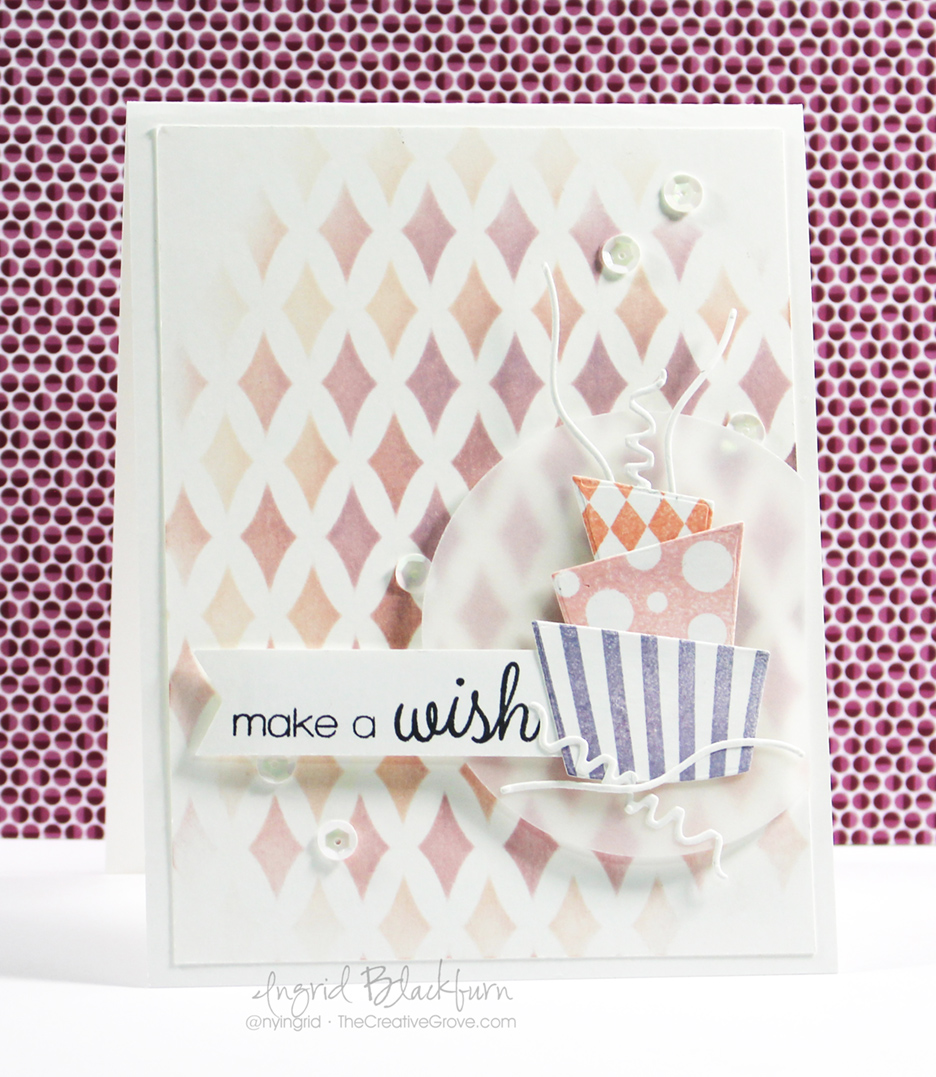
If you want a glimpse into how I created this frosted look, here you go!
So what did you think? It’s a fun, cute frosted looking card. Here’s a written tutorial for you as well!
Faded Double Stenciling Technique
- As with any stenciling work, you first want to secure both your work piece and your stencil to ensure they don’t move around on you.
- To achieve a faded look, keep the darkest part central on your project and sponge outward, varying the depth of color as you move outward. To accentuate this, I kept my lightest of three shades to the outside – Tattered Rose. I also made sure to leave the corners practically white.
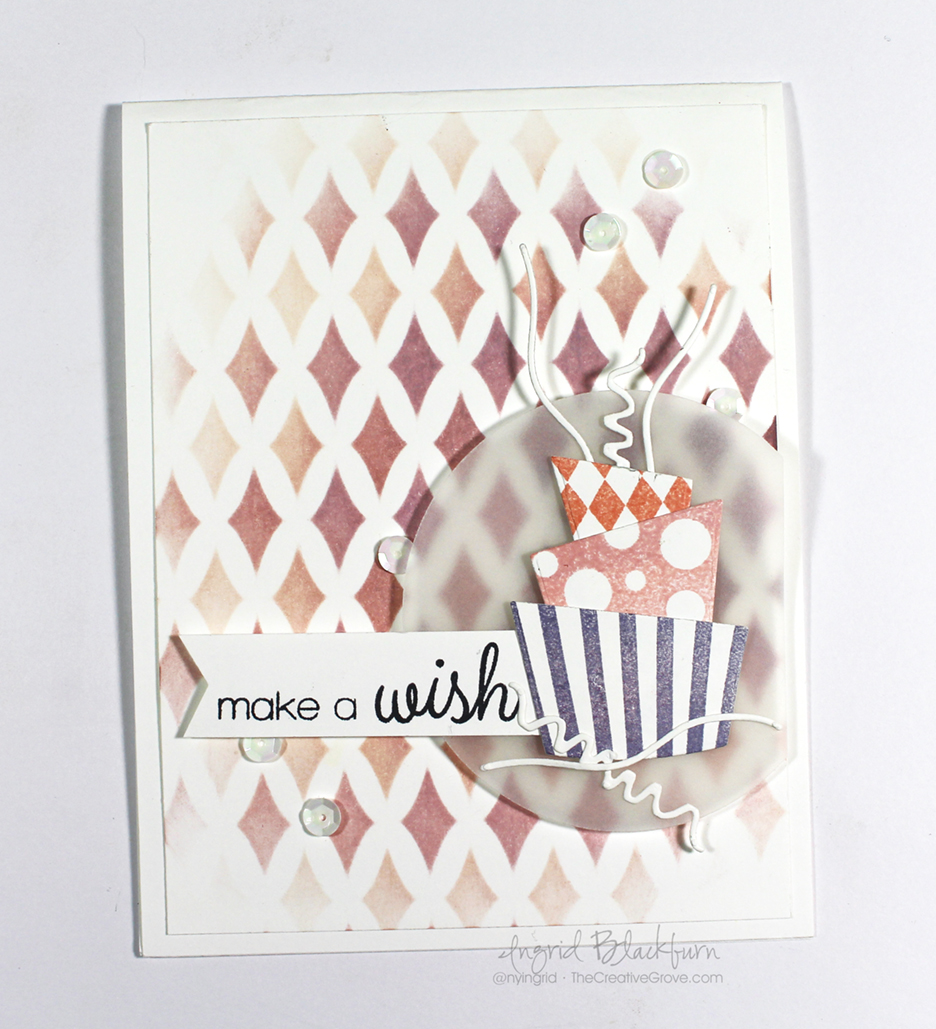
- Sponge your colors from lightest to darkest – Tattered Rose, Victorian Velvet and Dusty Concord. Once you have the look you want, lift your stencil and shift to move the diamonds into the oval negative space left by the stencil. Repeat your pattern and perhaps vary your color – maybe the first set you kept lighter, and the second darker. This will help provide a visual difference and interest.
- Next stamp your cake pieces using similar inks – I used Stampin Up Classics – Crisp Cantaloupe, Blushing Bride and Wisteria Wonder. Cut them out using the coordinating Dies along with a few streamers in white. To make the long squiggle at the bottom, I connected two smaller pieces. The bottom pieces I cut out using a white card stock that has Stick It on it.
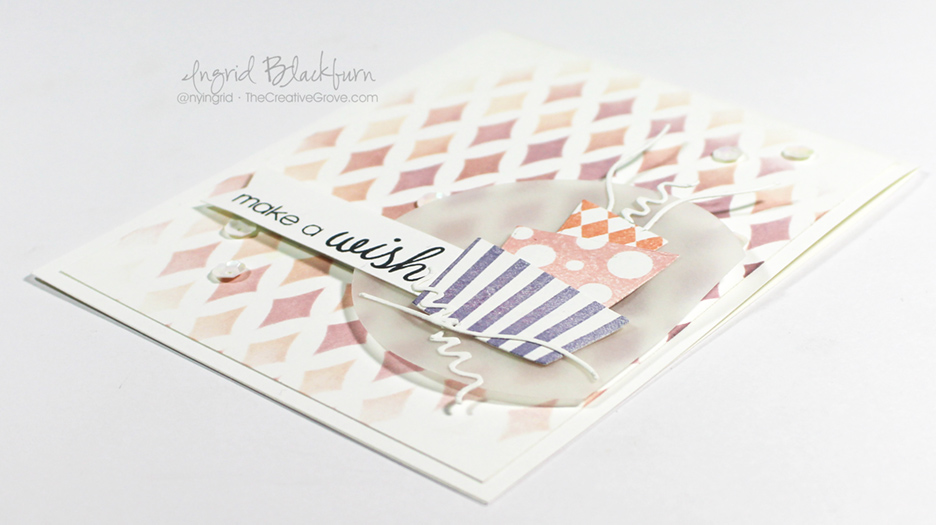
- Stamp the greeting from the set in black and create a banner with a hexagon punch or scissors.
- Attach the cake together using a scrap piece of card stock and some liquid glue as in the video.
- Attach the cake and banner to a trimmed circle cut from vellum card stock.

- Pop your circle and banner up using fun foam or foam tape, add some sequins using Matte Medium and attach your card front to a white card base.
- The card front measures 4 x 5 1/4″, card base – 4 1/4 x 5 1/2″
Supplies:
- Stamps – Bring on the Cake stamp set and coordinating dies by SugarPea Designs for Stamp of Approval Young at Heart Collection
- Ink – Ranger Distress -Tattered Rose, Victorian Velvet, Dusty Concord; Memento – Tuxedo Black; Stampin Up – Crisp Cantaloupe, Blushing Bride and Wisteria Wonder.
- Paper – White, Vellum Card Stock (Stampin Up)
- Accessories – Bring on the Cake Dies (SugarPea Designs), Harleen Stencil (Winne & Walter for SOA Young at Heart Collection), Hexagon Punch (Stampin Up), White Sequins (Rico Designs), Mini Sponge Tools (Ranger), Fun Foam
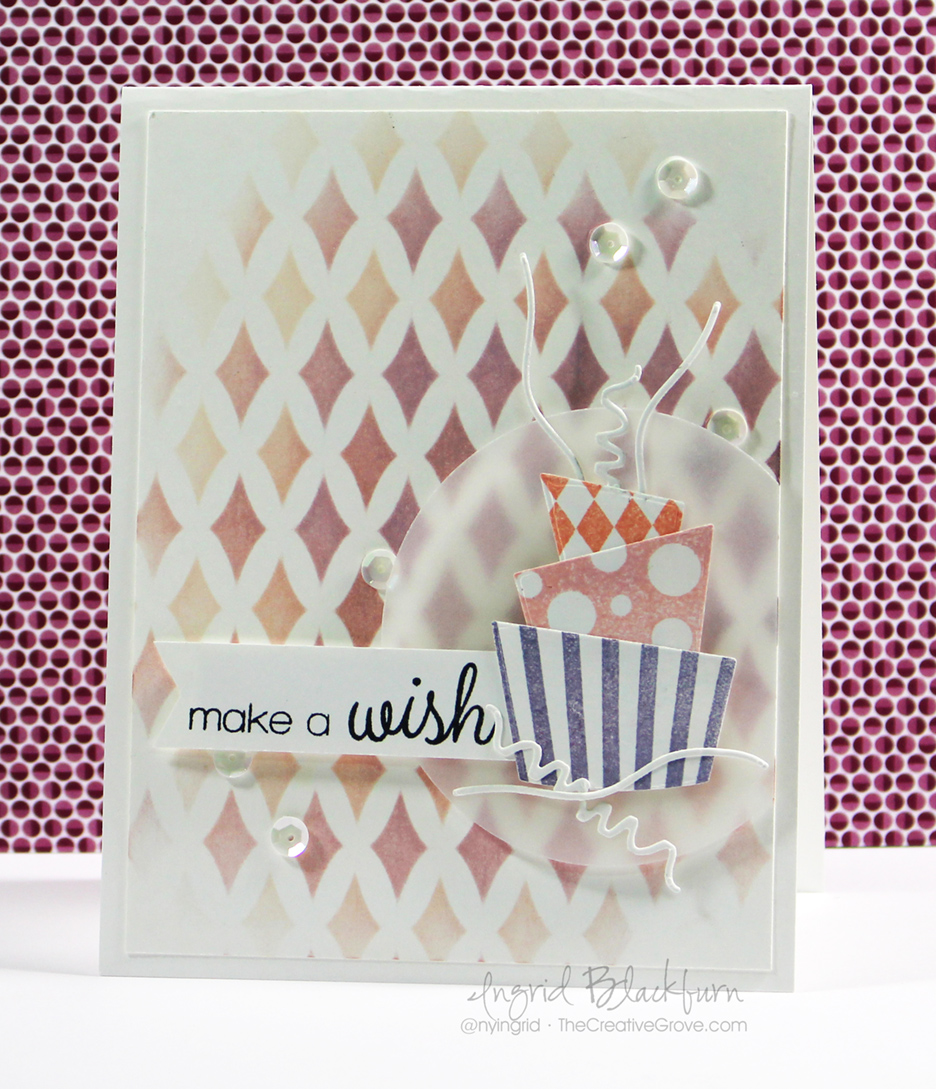
The Stamp of Approval Collection is almost sold out, but don’t fret. If you miss out, these products will be available through their companies later in 2016/2017. And definitely check out my other fun project made with this collection here.
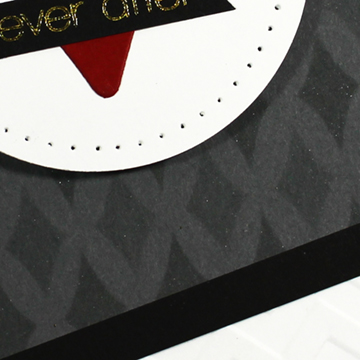
And if that wasn’t enough for you, be sure to check out this week’s challenge over at StampNation. Here’s a sneak peek at my challenge project for this week – notice a little more double stenciling? And the Stenciling class is still going on in the classroom there – over 16 individual lessons so far.
Hope you enjoyed that! Be sure to stop by for more crafty goodness later this week. Till then, keep those fingers inky –

[optin_box style=”2″ alignment=”center” email_field=”email” email_default=”Enter your email address” email_order=”2″ integration_type=”aweber” double_optin=”Y” list=”3846012″ name_field=”name” name_default=”Enter your first name” name_order=”1″ name_required=”Y”][optin_box_field name=”headline”]Learn with our exclusive FREE video series[/optin_box_field][optin_box_field name=”paragraph”]PHA+R2V0IHRoZSBmcmVlIENyZWF0aXZlIFRpcHMgRS1sZXR0ZXIgYW5kIGxlYXJuIHdpdGggc3Vic2NyaWJlciBleGNsdXNpdmUgdmlkZW8gYW5kIHBpY3RvcmlhbCBjb250ZW50LsKgPGVtPjxzdHJvbmc+SW5jbHVkaW5nwqA8L3N0cm9uZz48L2VtPm91ciB5ZWFybHkgMTIgRGF5cyBvZiBDaHJpc3RtYXMgc2VyaWVzITwvcD4K[/optin_box_field][optin_box_field name=”privacy”][/optin_box_field][optin_box_field name=”top_color”]undefined[/optin_box_field][optin_box_button type=”0″ button_below=”Y”]Get Instant Access![/optin_box_button] [/optin_box]
This card is so beautiful! Love the way you shifted the stencil. The soft colors make this a stunning card!
So glad you loved it! 🙂
Love the background work on this card. Your videos are are so helpful and I can finally leave a comment. Thanks!
Thanks Regina – glad it helped! 🙂
Your projects and videos are nothing short of professional! I’ve watched a few and they’re all so very well done! Thanks for visiting my blog earlier!
WOW – Thanks for the compliment! Loved your blog. 🙂
Another fantastic video Ingrid! xx