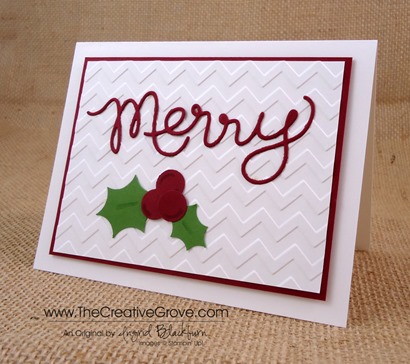
I’m in love with the new Expressions Thinlits. What an awesome new product! Starting August 1st, you will be able to cut cute little words just like this one with the new Expressions Thinlits – available in the new Holiday Catalog. My mother always taught me it was rude to tease, but I thought you would love a little Sneak Peek of this fun and quick little card. It literally came together in a matter of minutes.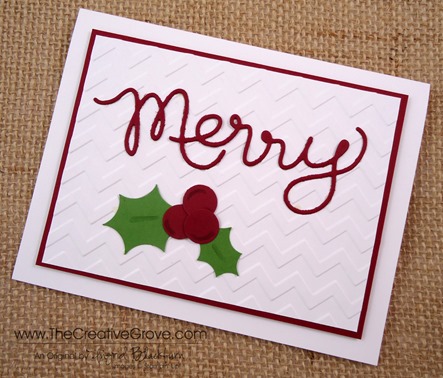
Creative Tips –
- Definitely put a piece of wax paper between the word Thinlit and your cardstock. It will help to pop it out after.
- I used my paper piercer to help guide my word out from the back of the Thinlit. It was super easy.
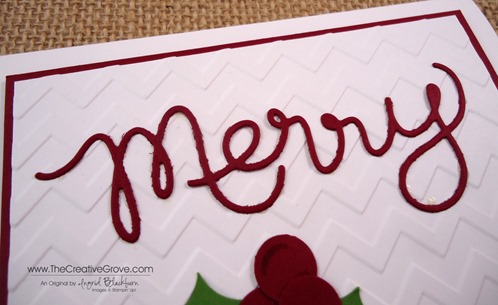
- Two spots didn’t punch through on my word – the loop in the second R and the Y. I didn’t worry about it, because it gave me a place to drop a little multi-liquid glue. It really is thin – you have to use the Multi-Liquid Glue.
- To make my holly leaves I used a 3/4” and 1/2” circle punch. I don’t own a thinlit to punch those out, so why not make your own. It was super easy.
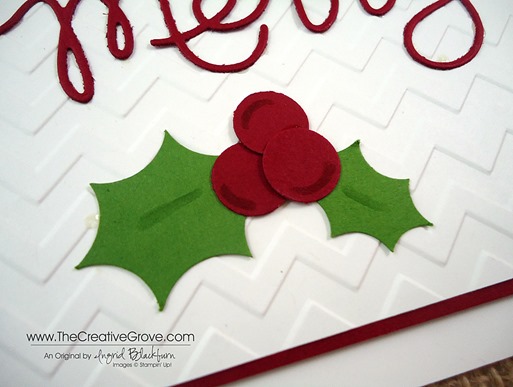
- I wanted to accent my holly and berries, but didn’t want it to focus too much on that, so I used a blender pen and the ink from my ink pads. I squeezed my ink pad – love that you can do that with Stampin’ Up! inks, and the ink collected in the lid. I then picked some up with my blender pen and added some subtle highlights.
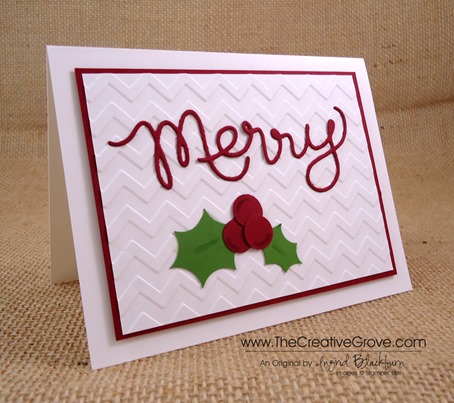
- The background was made with the Chevron Embossing Folder and I popped the panel up on Stampin’ Dimensionals for some interest.
This card literally took 4 minutes to make, so if you need a great go to holiday card in a pinch in December – make sure you have the Expressions Thinlits. You can use them with any embossing folder for a quick and easy card! Always a great thing.
Learn a new technique in the Online Brayer Class
Would you like to learn how to make Creative Scenery cards? Have you been frustrated when trying to use your brayer? Creative Scenery classes using a brayer have by far been my biggest hit with stampers. Learn how to create gorgeous gradual transitions with 100+ minutes of step by step detailed video instruction teaching you how to master this technique. The end result – You will feel like an artist. Best of all, you will look at your stamps in a whole new way, make amazing projects and try things you never would have thought to do before. This class is in its introductory period – get it while you can for less! Find out more here
To Shop 24/7 in the Creative Store – Click here!

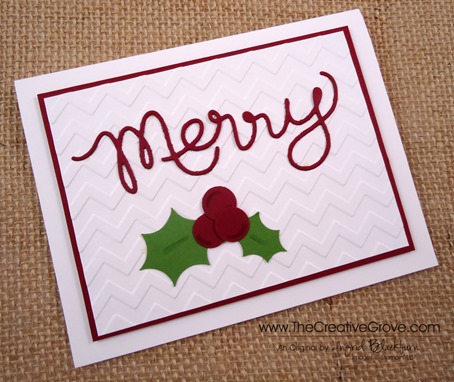
Would you please give the measurements for the holly leaves on this card. I love this card and how it simple it is.
Hi Eloise,
I used two widths of Strips of Card Stock. You don’t have to cut them exact, that way you have a little something to hold on to. The larger was just over 1″ wide and the smaller 1/2″ wide. I used a 3/4″ punch on the larger, and the 1/2″ punch on the smaller. It takes a little practice, but you’ll get it. Leave yourself a little stem at the bottom to make it easier to attach and handle. Make sense? Have fun!
🙂
Ingrid