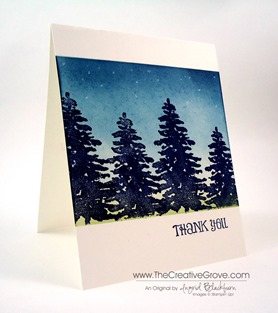
Have you used the Evergreen stamp set as a silhouette image yet? The filler tree is the perfect stamp to create an Evergreen filled night sky. Here you see a clean and simple one layer card that is quickly made, but looks great with the ease of color transition and forest underneath a starry sky.
One layer cards are not only cost effective, but their simplicity is quite striking. I think you will find that the more you give one layer cards a try, the more you will make. For me the key to a successful one layer card is lots of white space. You want the eye to gravitate toward your focal point, not random images. 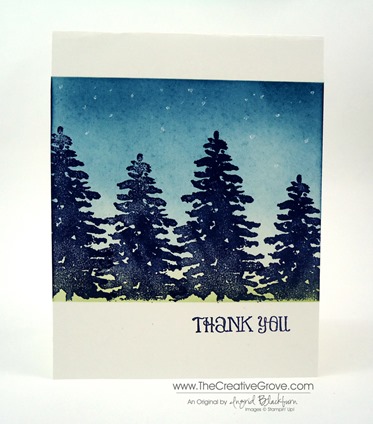
In this card, I was going for a forest feel underneath an early evening sky. You know, just when the stars are starting to come out. Can you hear the crickets? I’d love to be in this place right now! That’s the emotion I was going for with this simple but creative scenic card using the Evergreen stamp set. So, now it’s your turn to give it a try!
Supplies Needed –
- Stamps – Evergreen (online only), Lots of Thanks
- Ink – Night of Navy, Pear Pizzazz, Soft Sky, Marina Mist, Midnight Muse
- Paper – Whisper White, Post-it Notes
- Tools – Sponge, Signo White Gel Pen
To learn how to make more creative scenery cards, be sure to check out the online Brayer Classes we have focused on this style of card. Create amazing artistic works of art and master the techniques for those cards. Click here to find out more information.
Creative Tips –
- First you will want to mask your upper and lower card areas. Tip – I use my grid paper to line up my post it notes on the left and right to make sure I’m straight.
- Next, start with the earth. Here you see Pear Pizzazz as a light green color for the forest brush.
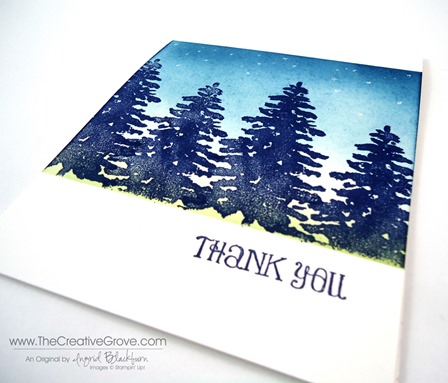
- When adding the color with a sponge you will want to start off your paper and lightly sponge it on in a circular motion. This way you will have an even color rather than splotchy. Don’t start directly on your project. Use your grid paper or the post it note as a starting point.
- Once you have a light coating of green, switch to soft sky. You don’t need to worry too much about adding a lot of color to the top of your sky, as you will layer darker colors there, but have a little.
- Next, add a little Marina Mist. Keep it at the top to the top half. As the sun goes down in the sky, most of the light is at the horizon, leaving a darker sky up top. That’s the effect you are going for here.
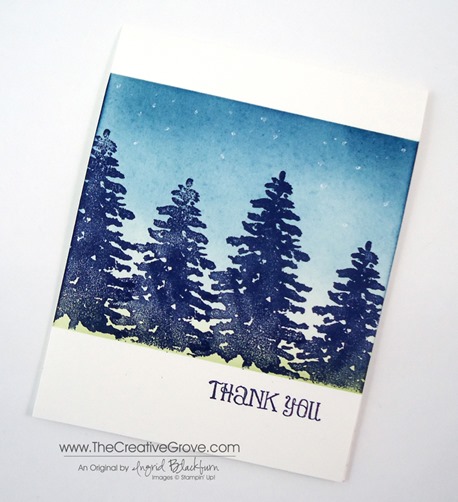
- Lastly, add a little Midnight Muse ever so lightly to the uppermost part of the sky. Be careful when bringing it down into the main portion of your sky, as it will overtake the lighter colors rather quickly and before you know it, your sky is all dark!
- To get a solid evergreen silhouette image, you will want to stamp your Evergreen tree in Night of Navy – Stampin’ Up!’s darkest shade of blue. Vary the height of the tree for a little contrast.
- For a starry sky, use the Signo White Gel Pen to create different sized stars in the sky. Group a few together and vary the height in your project.
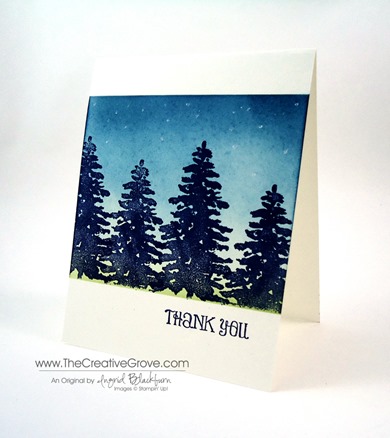
This project is a quick one, I think you’ll be amazed at how fast you can actually make it! The end result is so beautiful. Feel free to sign it like artwork too! You created that sky. Add a sentiment or leave it blank – it’s up to you. I think you will love using this evergreen stamp set for a silhouette tree image, now it’s your turn!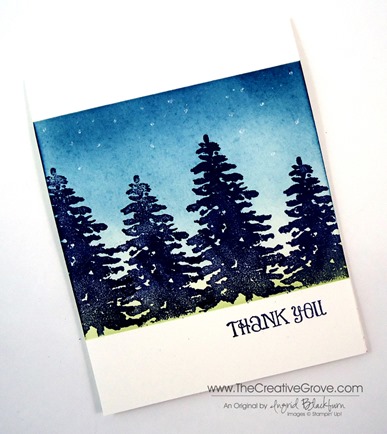
To shop 24/7 – click here!

Very beautiful and serene. I was thinking of using a similar scene for some Christmas cards. Thanks for sharing!
Thanks Kristy! This would be a great Christmas card – and quick to make too. Thanks for stopping by! 🙂
Love what you’ve done with this one layer card. I don’t think much about doing a One layer card but this does inspire me to try making some. Beautiful Card!
Thanks Amy – you are such an amazingly talented stamper – I can’t WAIT to see what you create as a one layer card. This one was so quick – you’d get highly addicted…. 🙂
such an enlightening card & tutorial; many thanks, Ingrid, for sharing what you love….your blog is a statement of this; I’m sure your customers are delighted having you as their upline! (I know I would!!)
Thanks so much Susan – that’s so sweet! 🙂 I’m glad you enjoyed the card tutorial. Thanks so much for continually stopping by and being a part of the CG community! 🙂