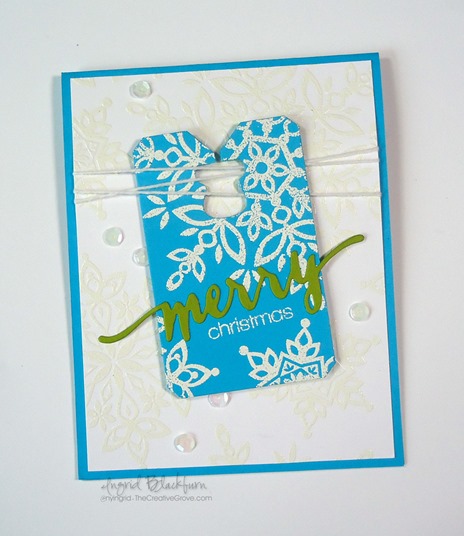
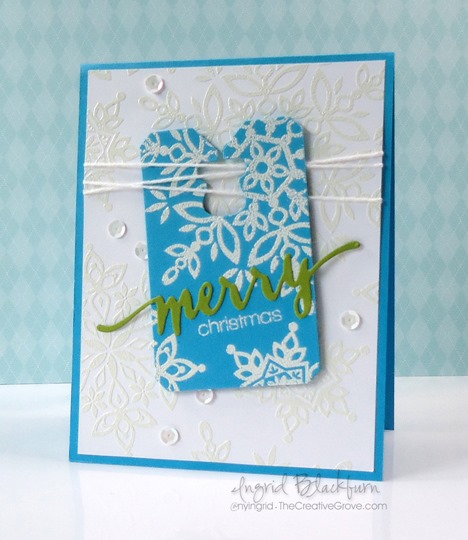
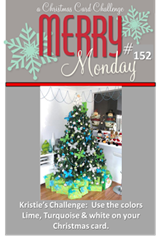
What’s cuter than a clean and simple snowflake card? One in Turquoise, Lime Green and White! This week over at Merry Monday, the challenge Kristie Goulet put out there was to use Turquoise, Lime Green and White on a Christmas Card. Snowflakes immediately popped into my head when I saw it! All week I wanted to make this card, and finally on Easter morning I had a chance to quickly put this card together.
Quick is the word as it’s a cute clean and simple snowflake card. And here in the Black Forest, snowflakes aren’t so far from my mind on this crisp Easter morning! After all, I look out my stamping studio window and I see green of all sorts of colors – mostly lime on the laws trying so hard to now be frozen, a bright blue sky over the forest mountains and puffy white clouds this morning – so Kristie…your color combination works just fine for me today! ![]()
And if you are a VIP Community member, then there’s a step by step video for you in the Project and Resource Library! And if you’d like a few free exclusive videos, be sure to subscribe to the free Creative Tips E-Letter list.
Clean and Simple Snowflake Tag Creative Tips
- Cut out the Merry from Hand Lettered Holidays by WPlus 9 in Lucky Limeade card stock by Stampin Up (retired), and the tag using the Chalktalk Framelits set by Stampin Up in Tempting Turquoise.
- You’ll want to emboss snowflakes on your card front and tag in white using a snowflake stamp set – here I used Festive Flurry
- On the tag, before you stamp your snowflakes, figure out where the Merry from WPlus 9’s Hand Lettered Holiday steel die is going to go, and stamp the Christmas sentiment in Versamark followed by white embossing powder.
- Tip – heat set your embossing powder from both the front and back with a warmed up heat gun. That will help ensure that your paper does not warp.
- Wrap white bakers twine three times around your card base overlapping it so that it forms two x’s on opposite sides about 1/4 of the way down.
- Adhere your white card front to a Turquoise card base
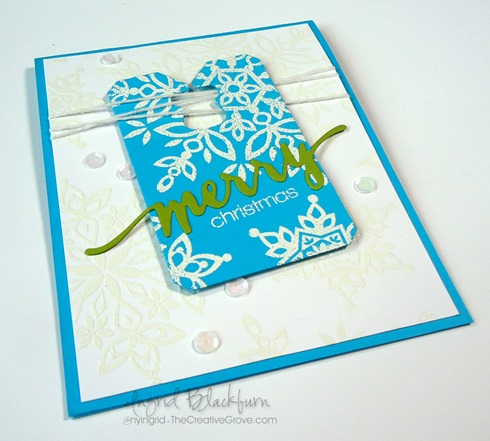
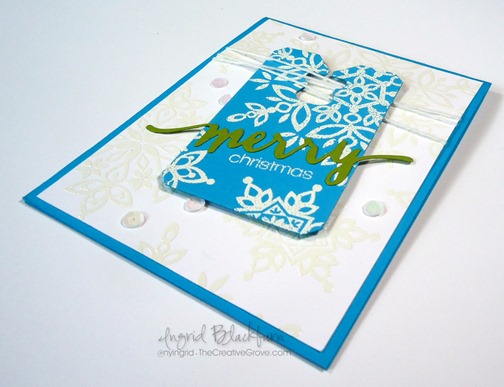
- Pop up your tag using foam tape and hang from the string.
- Add white sequins (mine have a slight iridescent look to them, I bought them from my local art store, but Pretty Pink Posh has GREAT sequins.
That’s it! It’s a quick, clean and simple snowflake tag card that you could easily mass produce for the holidays. I love the pop of the Lucky Limeade color on the tag, so thanks for a cool color combination Krisite!
I hope you enjoyed this tutorial for my Clean and Simple Snowflake Tag card – have a Happy Easter with your family and friends and see you later this week for a new YouTube video!
[optin_box style=”14″ alignment=”center” disable_name=”Y” email_field=”email” email_default=”Enter your email address” email_order=”1″ integration_type=”aweber” double_optin=”Y” list=”2841626″ name_field=”name” name_default=”Enter your first name” name_required=”Y”][optin_box_field name=”headline”]If you enjoyed this tutorial…[/optin_box_field][optin_box_field name=”paragraph”]PHA+Li4ueW914oCZbGwgbG92ZSBvdXIgPHNwYW4gc3R5bGU9ImNvbG9yOiAjMjQ0YzVlOyI+PGVtPjxzdHJvbmc+ZnJlZSA8L3N0cm9uZz48L2VtPjwvc3Bhbj5zdWJzY3JpYmVyIG9ubHkgdmlkZW8gc2VyaWVzISDCoEdldCB0aGXCoDxzcGFuIHN0eWxlPSJjb2xvcjogIzI0NGM1ZTsiPjxlbT48c3Ryb25nPmV4Y2x1c2l2ZTwvc3Ryb25nPjwvZW0+PC9zcGFuPsKgQ3JlYXRpdmUgVGlwcyBlLWxldHRlciB3aGljaCB3aWxsIHRlYWNoIHlvdSBuZXcgdGVjaG5pcXVlcyB0byBhZGQgdG8geW91ciBzdGFtcGluZyBza2lsbCBzZXQuIMKgTGVhcm4gaG93IHRvIG1ha2UgcHJvamVjdHMgeW91J2xswqBsb3ZlITwvcD4K[/optin_box_field][optin_box_field name=”privacy”][/optin_box_field][optin_box_field name=”top_color”]undefined[/optin_box_field][optin_box_button type=”1″ text=”Send me exclusive tips!” text_size=”26″ text_color=”#000000″ text_bold=”Y” text_letter_spacing=”-1″ text_shadow_panel=”Y” text_shadow_vertical=”1″ text_shadow_horizontal=”0″ text_shadow_color=”#a3b640″ text_shadow_blur=”0″ styling_width=”100″ styling_height=”10″ styling_border_color=”#000000″ styling_border_size=”1″ styling_border_radius=”6″ styling_border_opacity=”100″ styling_shine=”Y” styling_gradient_start_color=”#a3b640″ styling_gradient_end_color=”#5b661e” drop_shadow_panel=”Y” drop_shadow_vertical=”1″ drop_shadow_horizontal=”0″ drop_shadow_blur=”1″ drop_shadow_spread=”0″ drop_shadow_color=”#000000″ drop_shadow_opacity=”50″ inset_shadow_panel=”Y” inset_shadow_vertical=”0″ inset_shadow_horizontal=”0″ inset_shadow_blur=”0″ inset_shadow_spread=”1″ inset_shadow_color=”#a3b640″ inset_shadow_opacity=”50″ location=”optin_box_style_14″ button_below=”Y”]Send me exclusive tips![/optin_box_button] [/optin_box]


LOVE this, Ingrid! The turquoise tag with the pop of Lime is perfect. Always nice seeing your cards at Merry Monday!
This is perfect, Ingrid! Love that tag! Thanks so much for sharing this with us at Merry Monday! I hope you’ve had a joyous Easter!
Thanks for stopping by Bonnie. I love how it turned out too…Easter was a great day. 🙂
Beautiful color combination, great arrangement of elements. I love the combination of white embossing on white and blue background. Very nice it played.
Pozdrawoiam,
Bozena
Thanks so much Bozena! 🙂