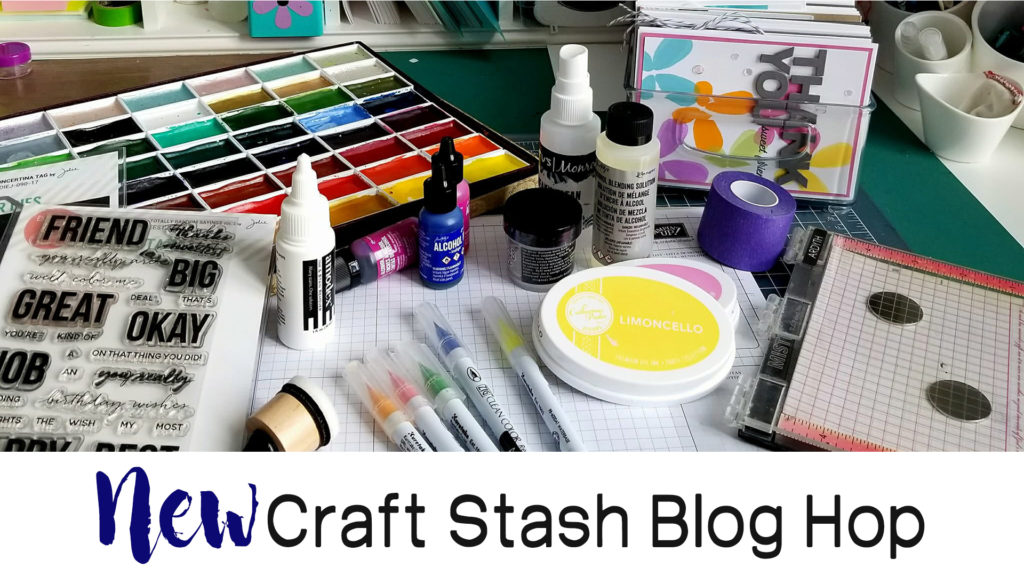
Earlier today I showcased a realistic scenic card when I participated in a fun blog hop for the new Catherine Pooler release – Kind of Batty. I had filmed my card, but hadn’t had a chance to get the video done – well…here it is!!
If you’ve already hopped through the incredible blog hop, enjoy this one! If you’re catching it later on in the evening – then you may have seen this. 🙂
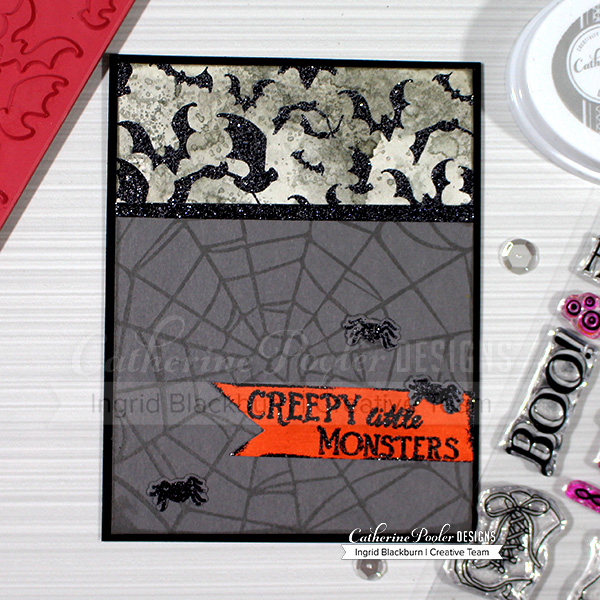
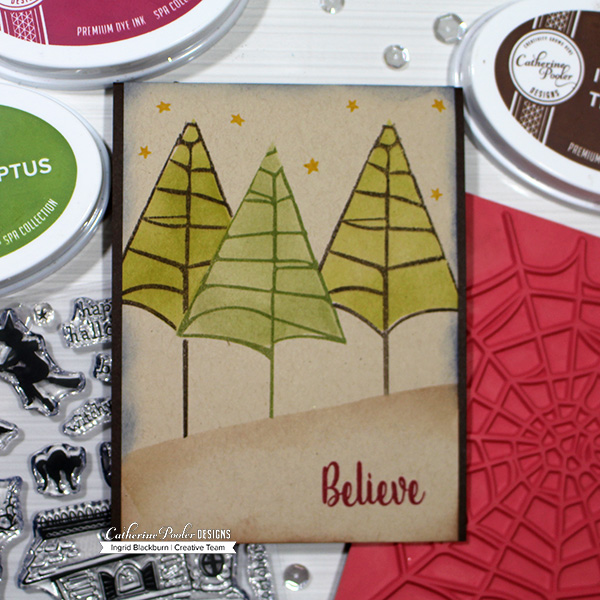
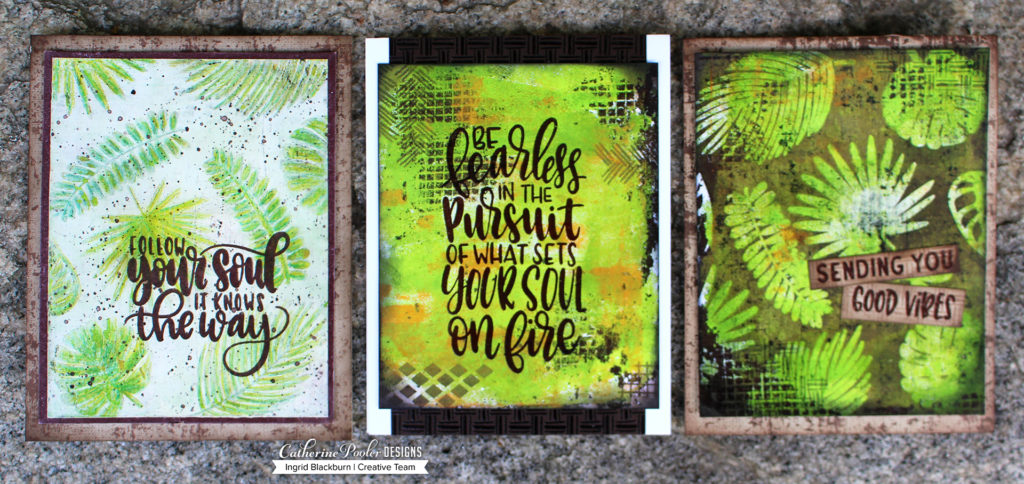
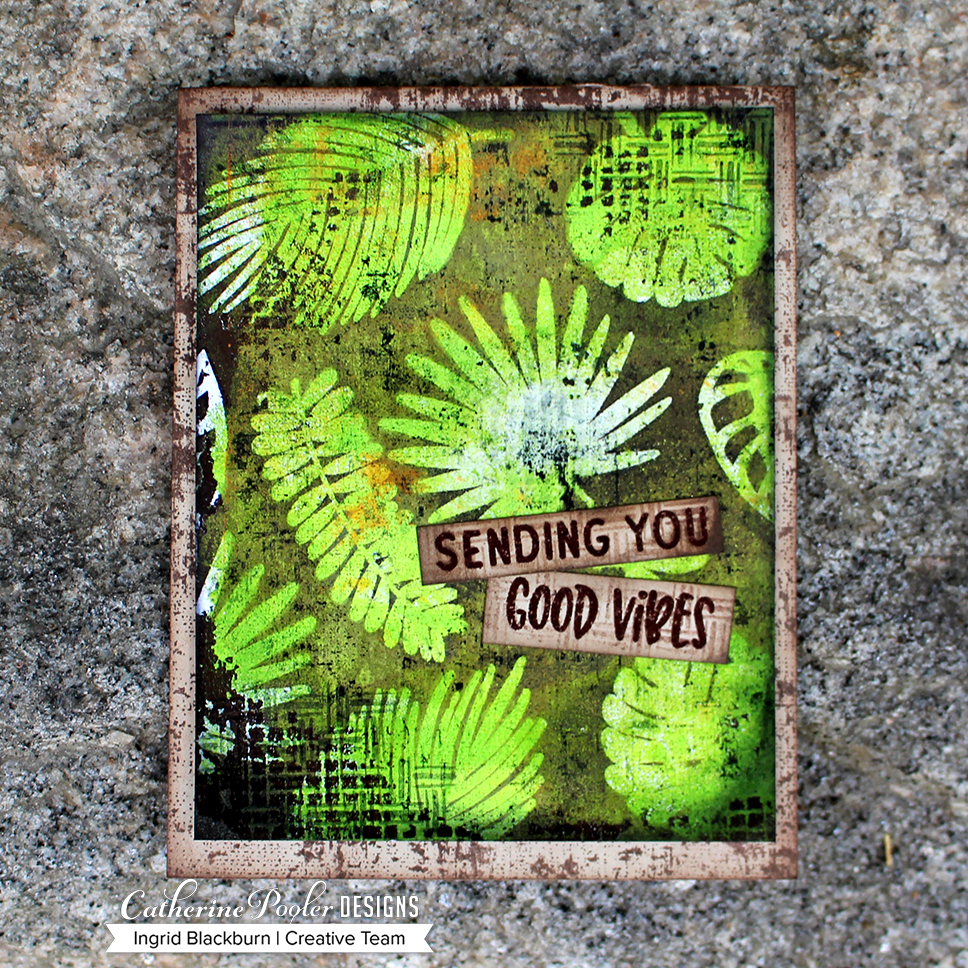
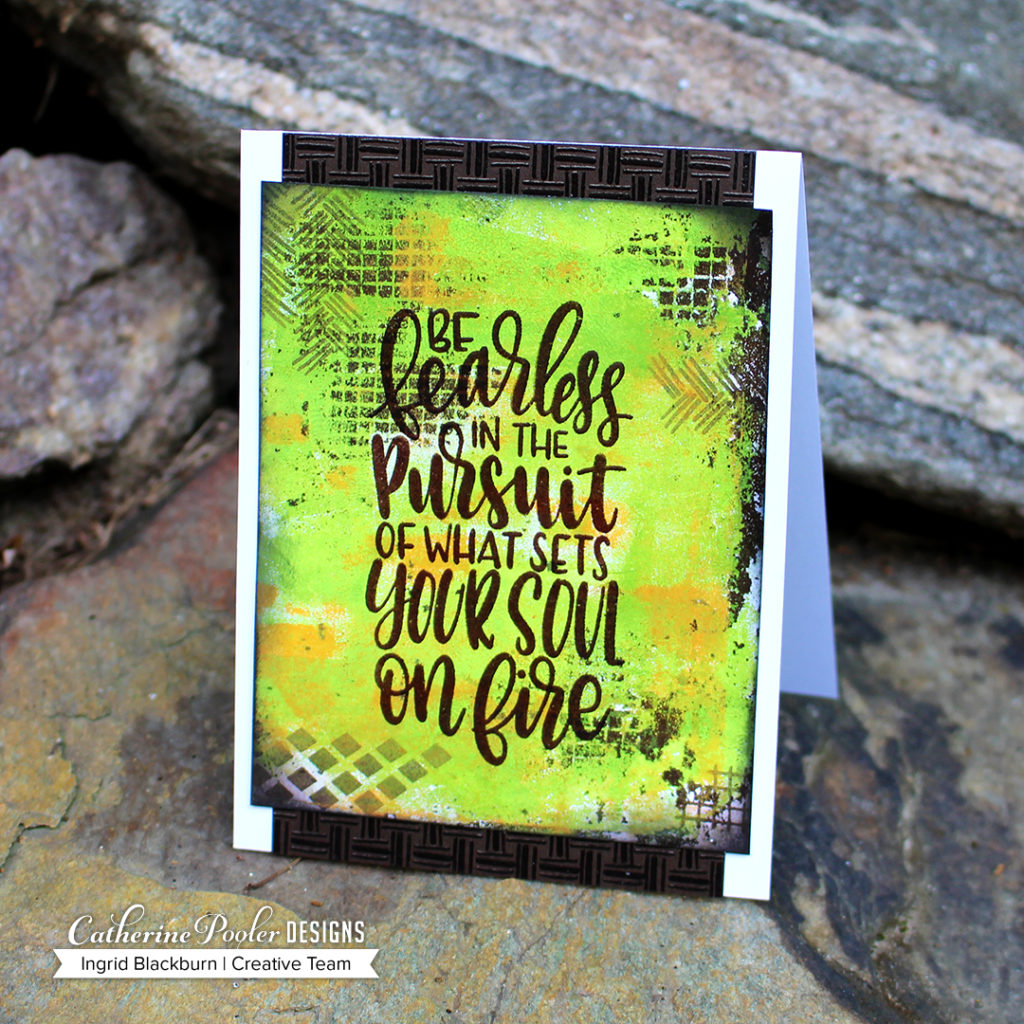
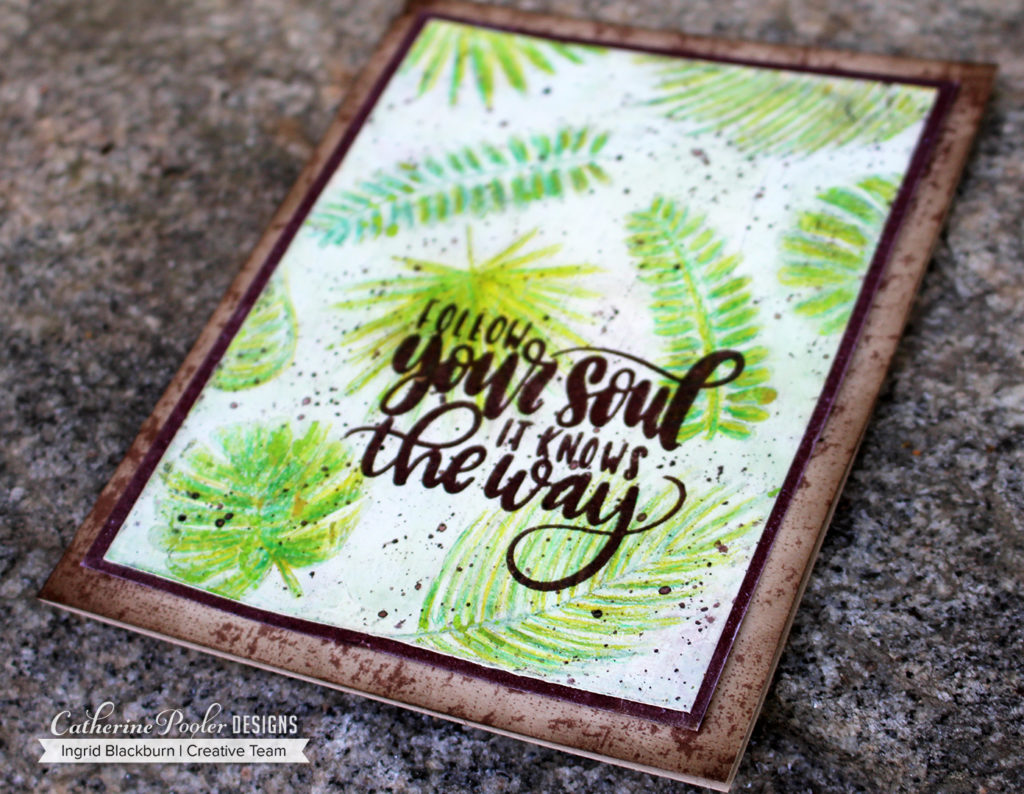
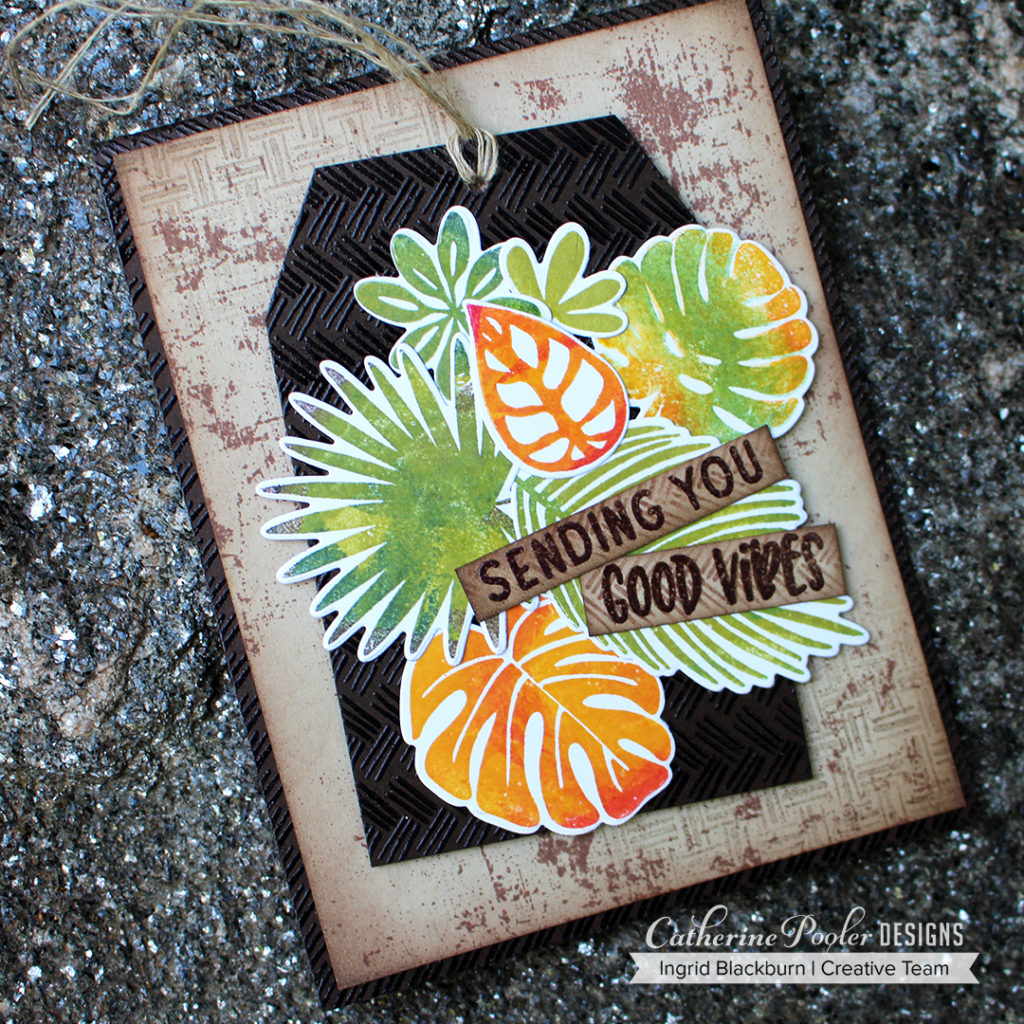
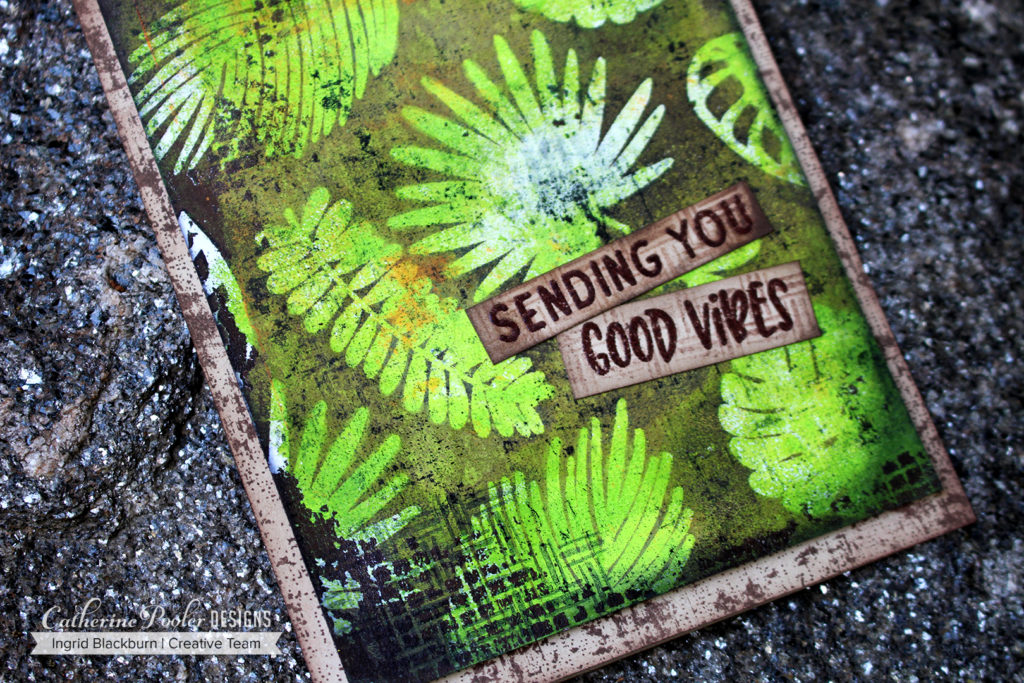
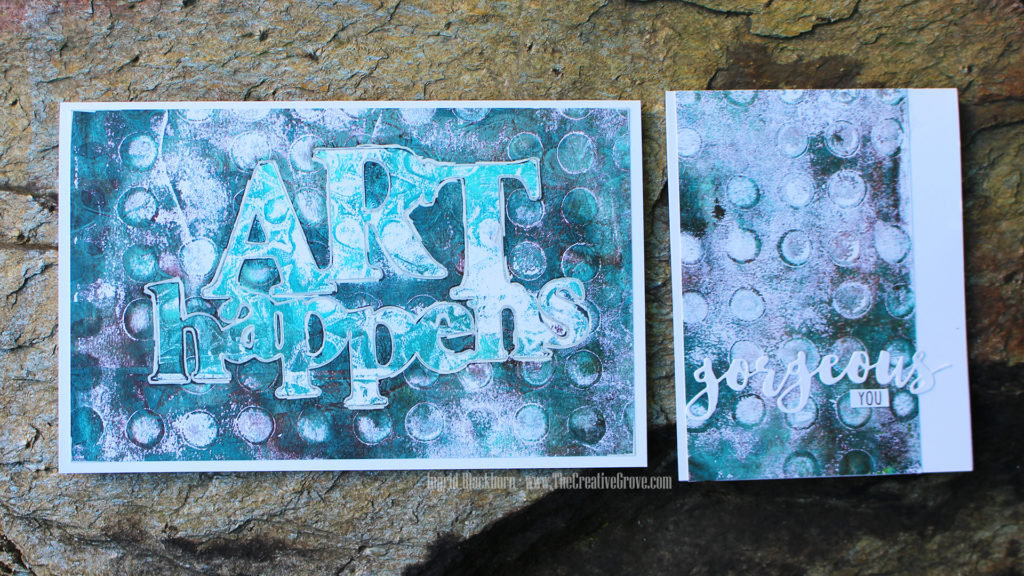
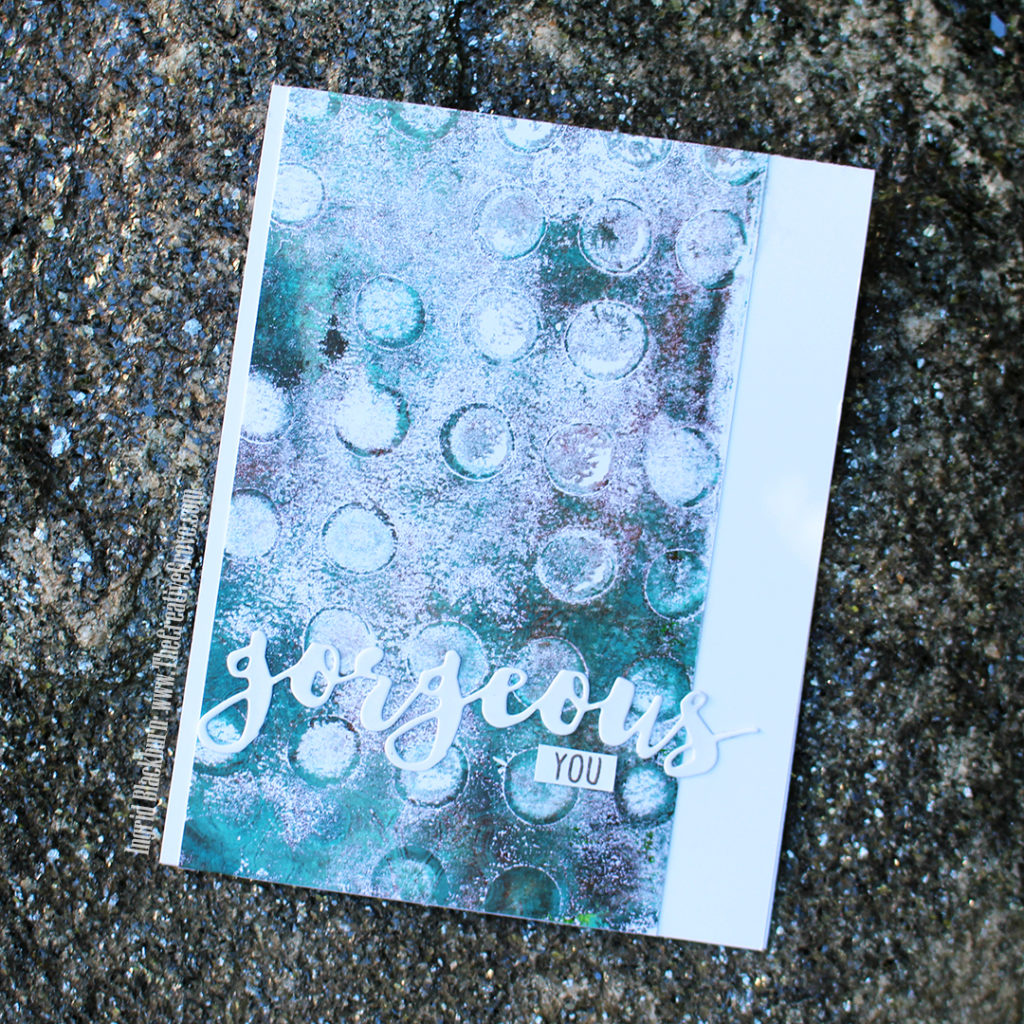
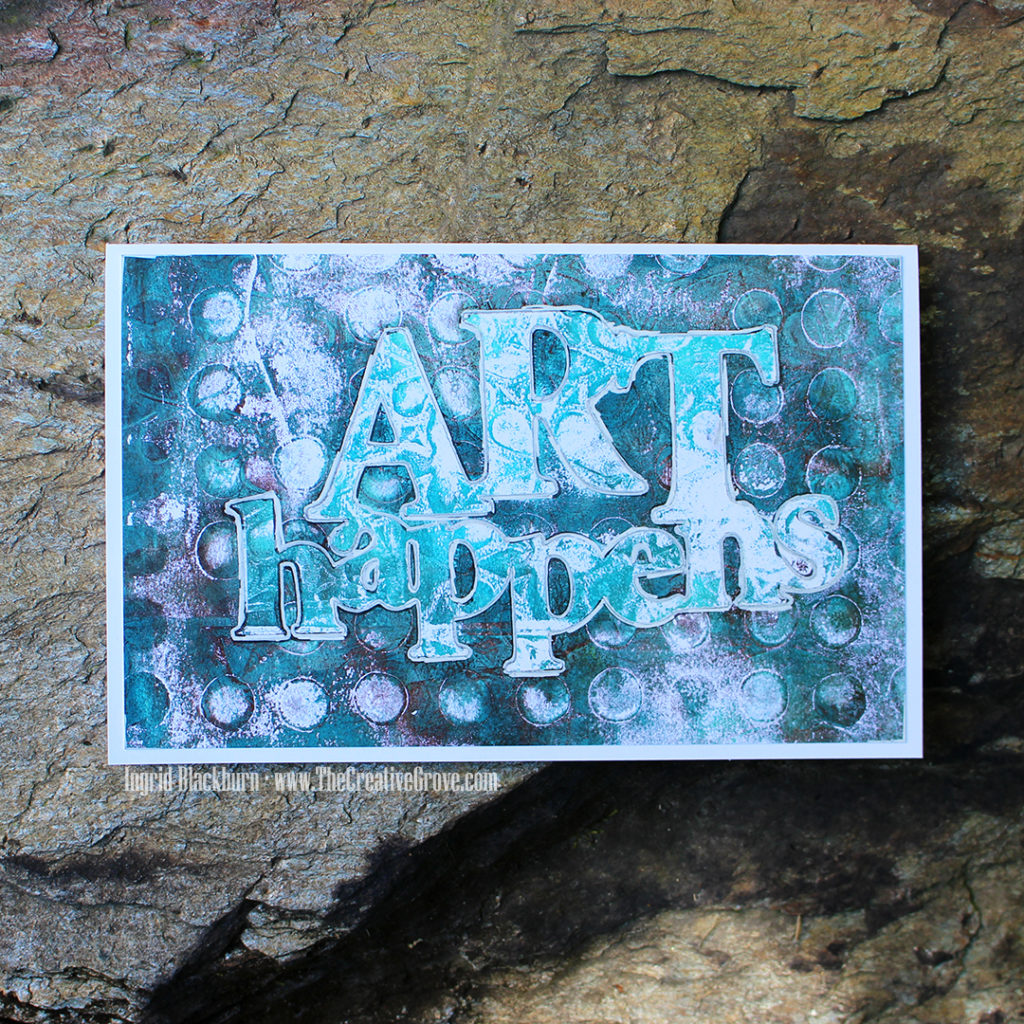
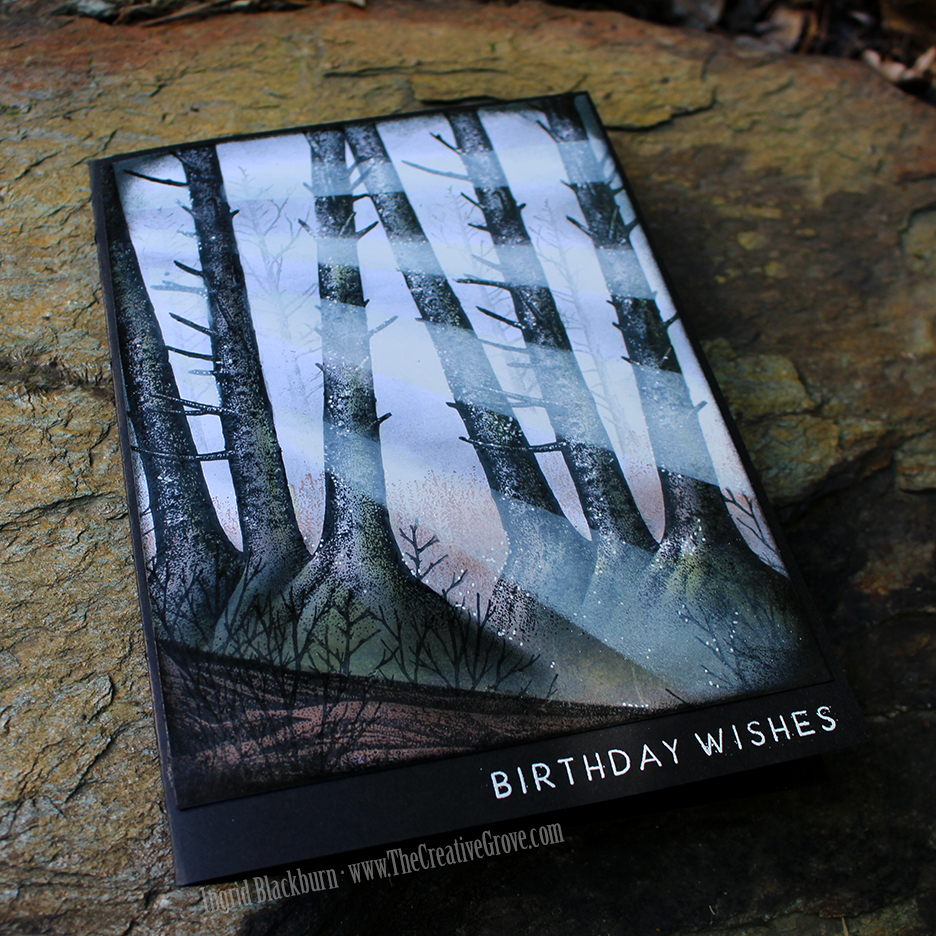
Scenic cards are totally my jam. I LOVE to create scenes like these:
But the secret is in using the right stamps in the right location on your card! I talk about this in this video I filmed for you:
Click Here to watch in HD on YouTube
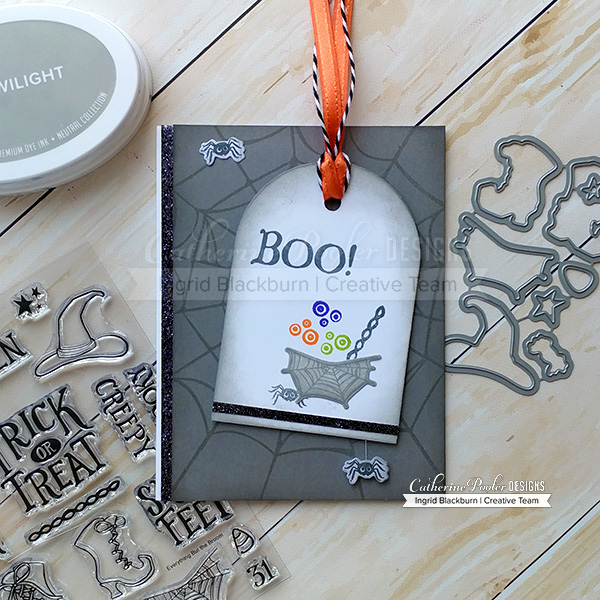
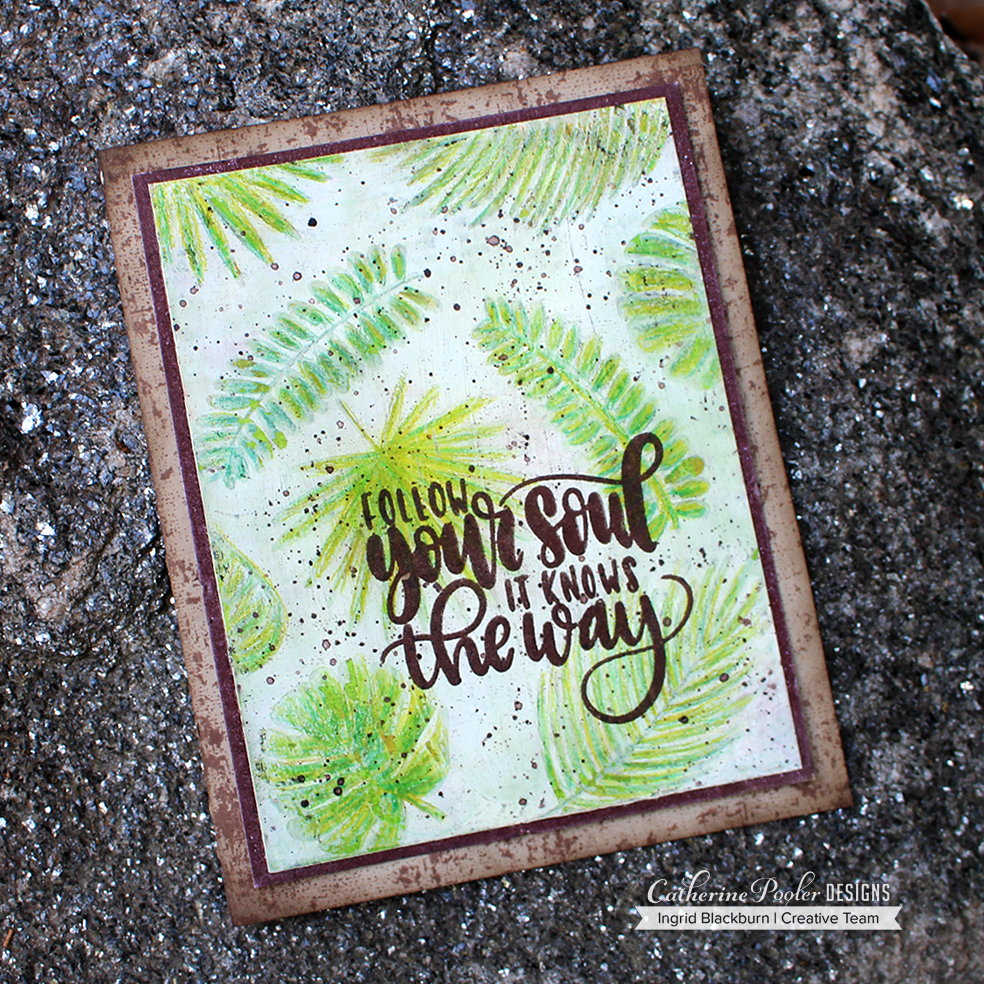
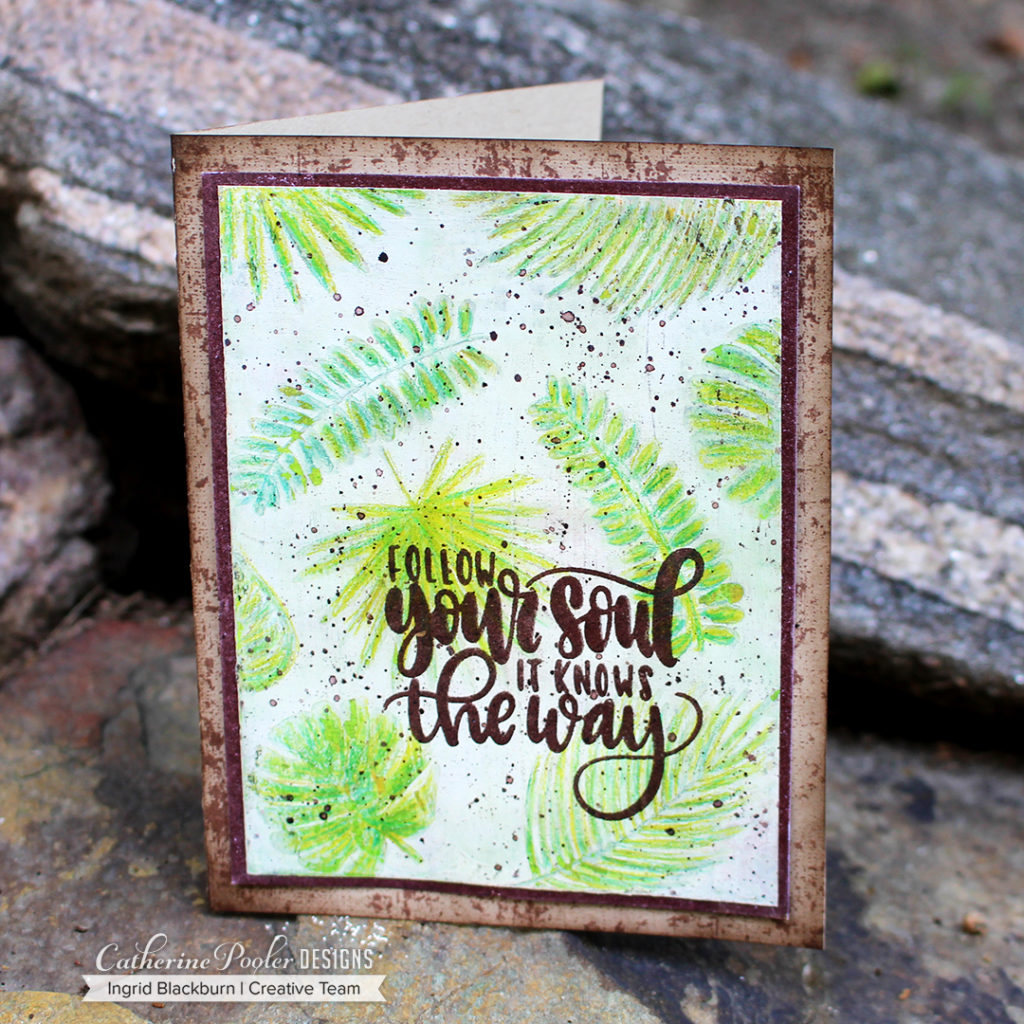
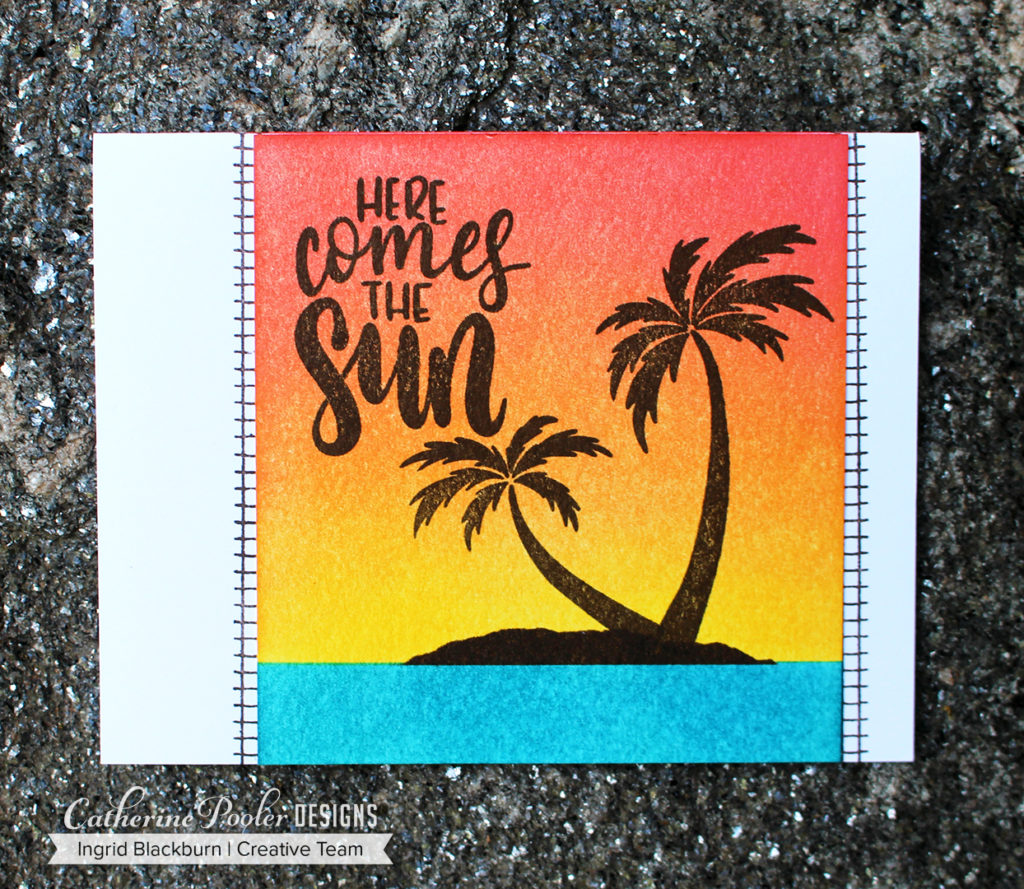
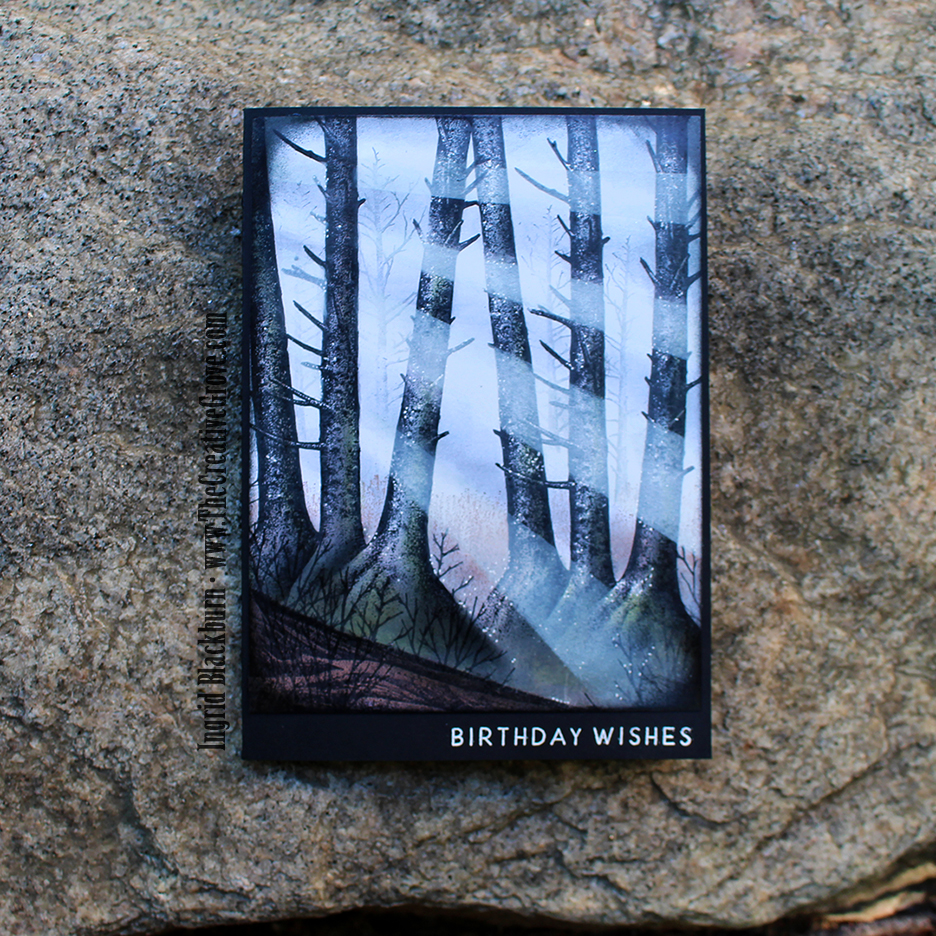
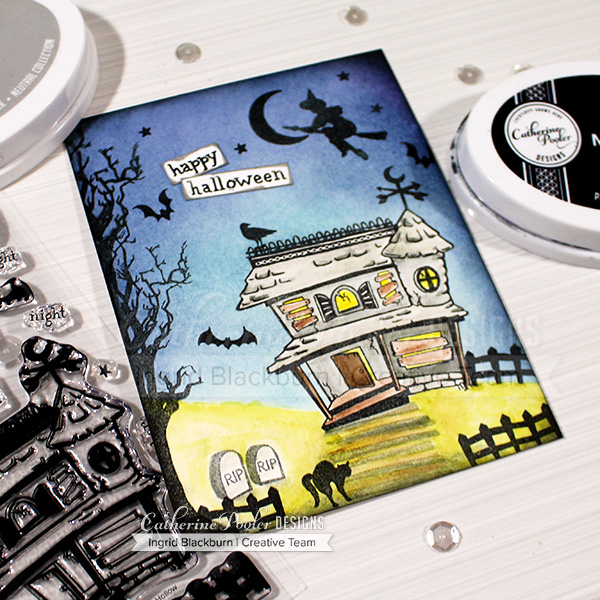
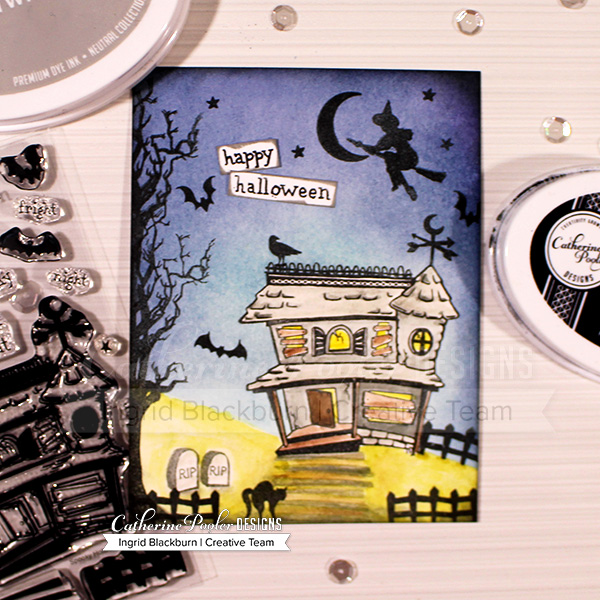
This card was SO much fun to make, and quite easy actually. You just need a plan. There are several techniques used in this one layer card, but the end result is fun and playful. It’s the perfect card for my 13 year old niece Chiarra. She’ll definitely love it.
Tips on making Realistic Scenic Cards
The best tip I can give you is to be aware of scale of your stamps. Larger images belong closer up and smaller images further away. Think about looking in the distance – the image is smaller, so should your stamp be. If I can stamped the cat for instance next to the house – it would be as big as the front door! Now that’s a BIG cat. But close up, makes sense – he’s at your feet. And the same sized door can be further away and be 10 times larger than the cat.
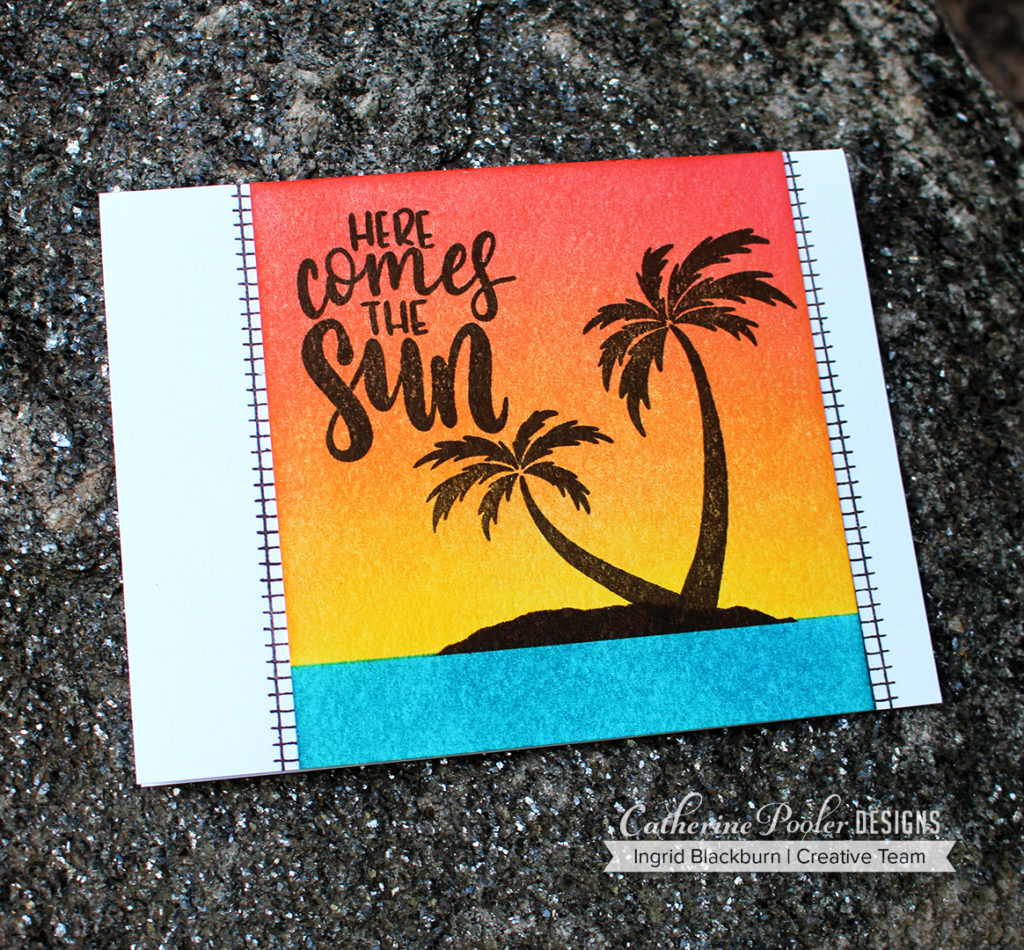
If you want a large tree in the foreground of your card – lengthen your tree – to give it that effect. Watch the video to see just how.
Framing also helps create realistic scenic cards. By framing my scene it drew the viewer in, giving you the feel of you’re watching something take place. You are coming out of the tunnel (vignette) and stumbling into the foreground of the scene.
So the next time you make a scenic card – think of the perspective. What do you see? What size are your stamps? Where can they positioned for more realistic scenic cards.
If you didn’t hop along the past three days – check out these blog posts here and the one on Catherine’s site. Prizes will be drawn on Monday 8/20! Be sure to leave comments along the way – and if you haven’t already – subscribe to my YouTube channel. I have many videos about to go live in the next few weeks – I’d love to hear what you think!
Blog Hops:
Leave me a comment below and tell me what kind of cards YOU love to make. I can’t wait to hear!!
Thanks for stopping by today! Keep those fingers inky –

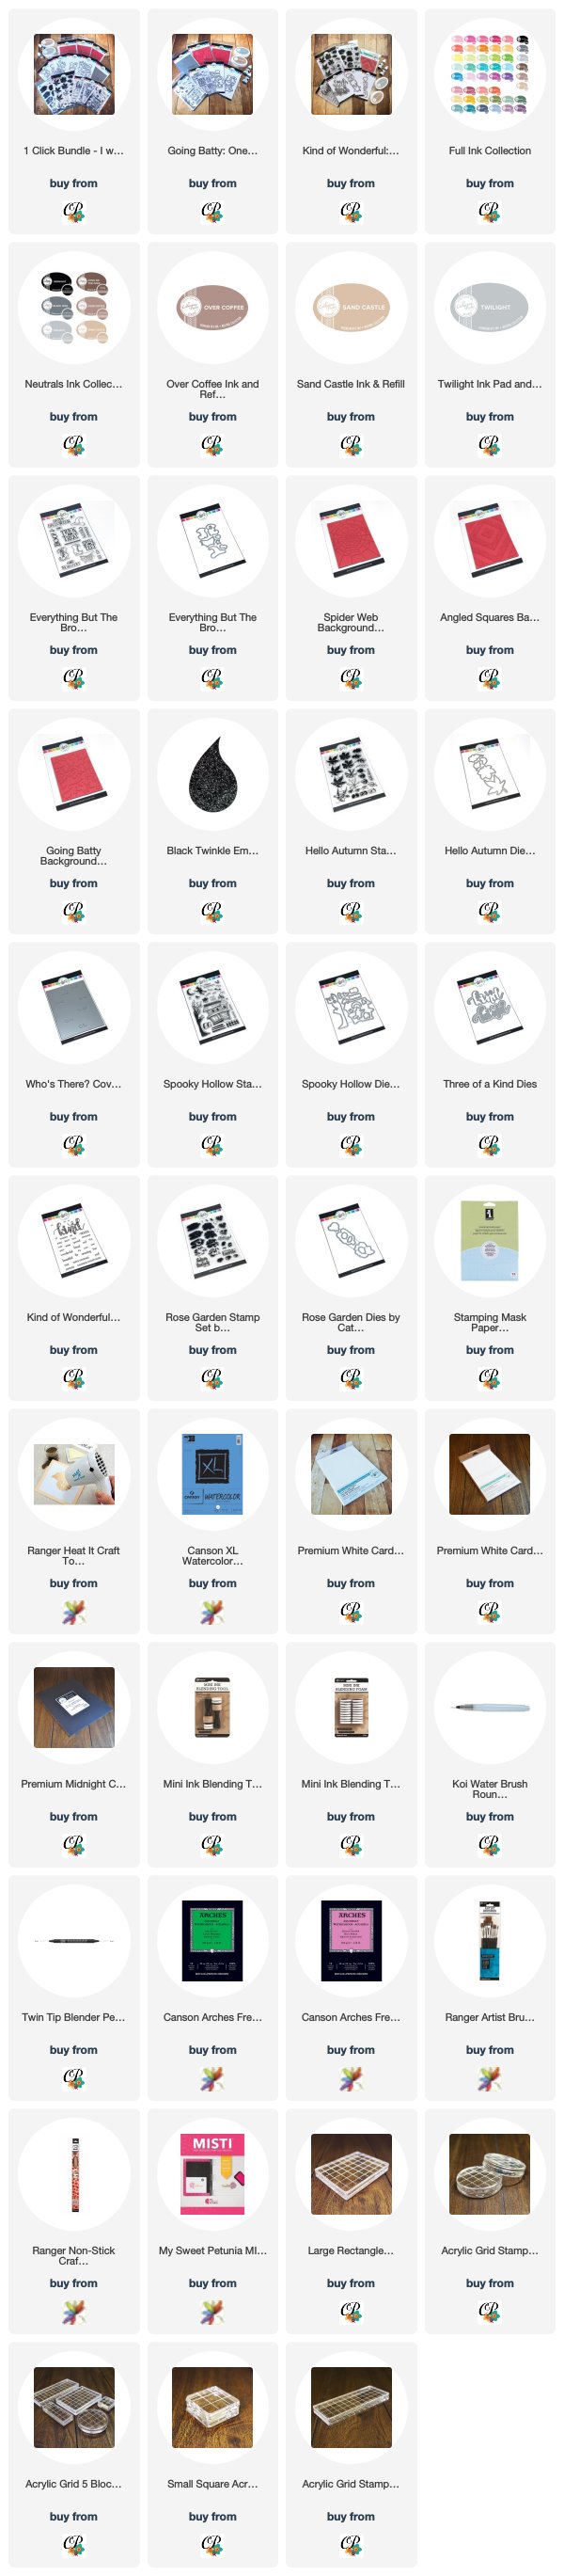
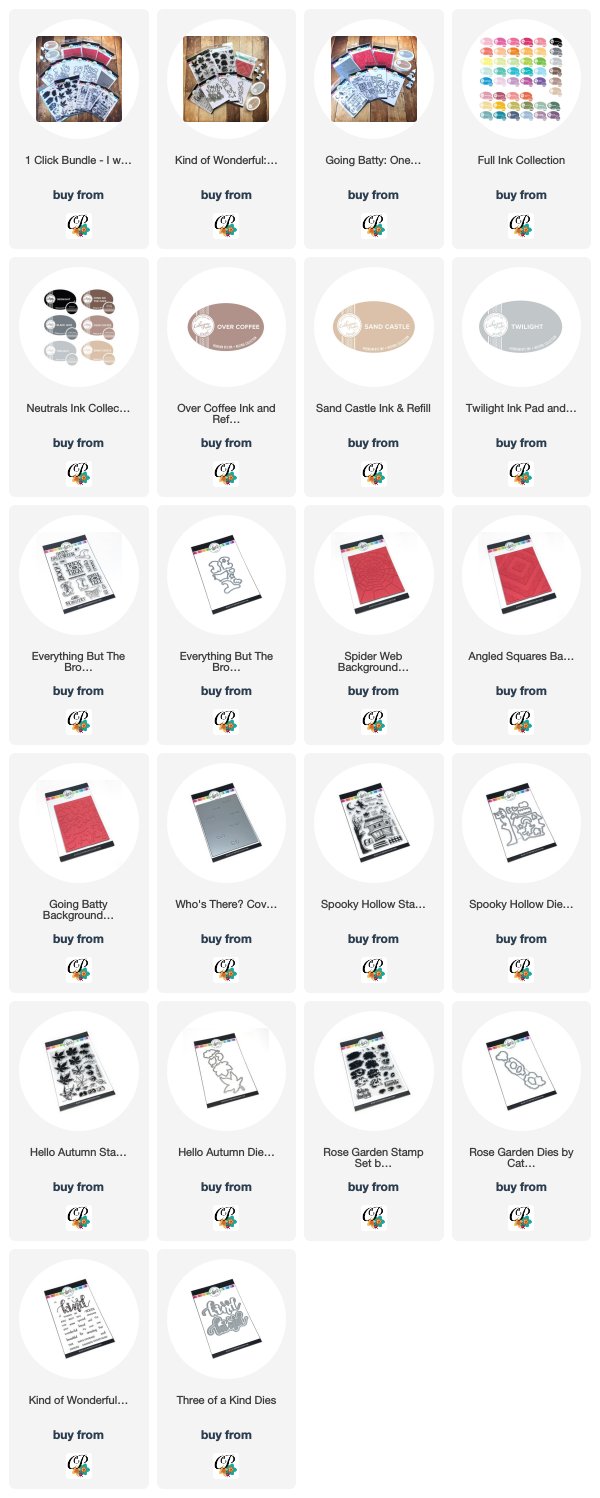
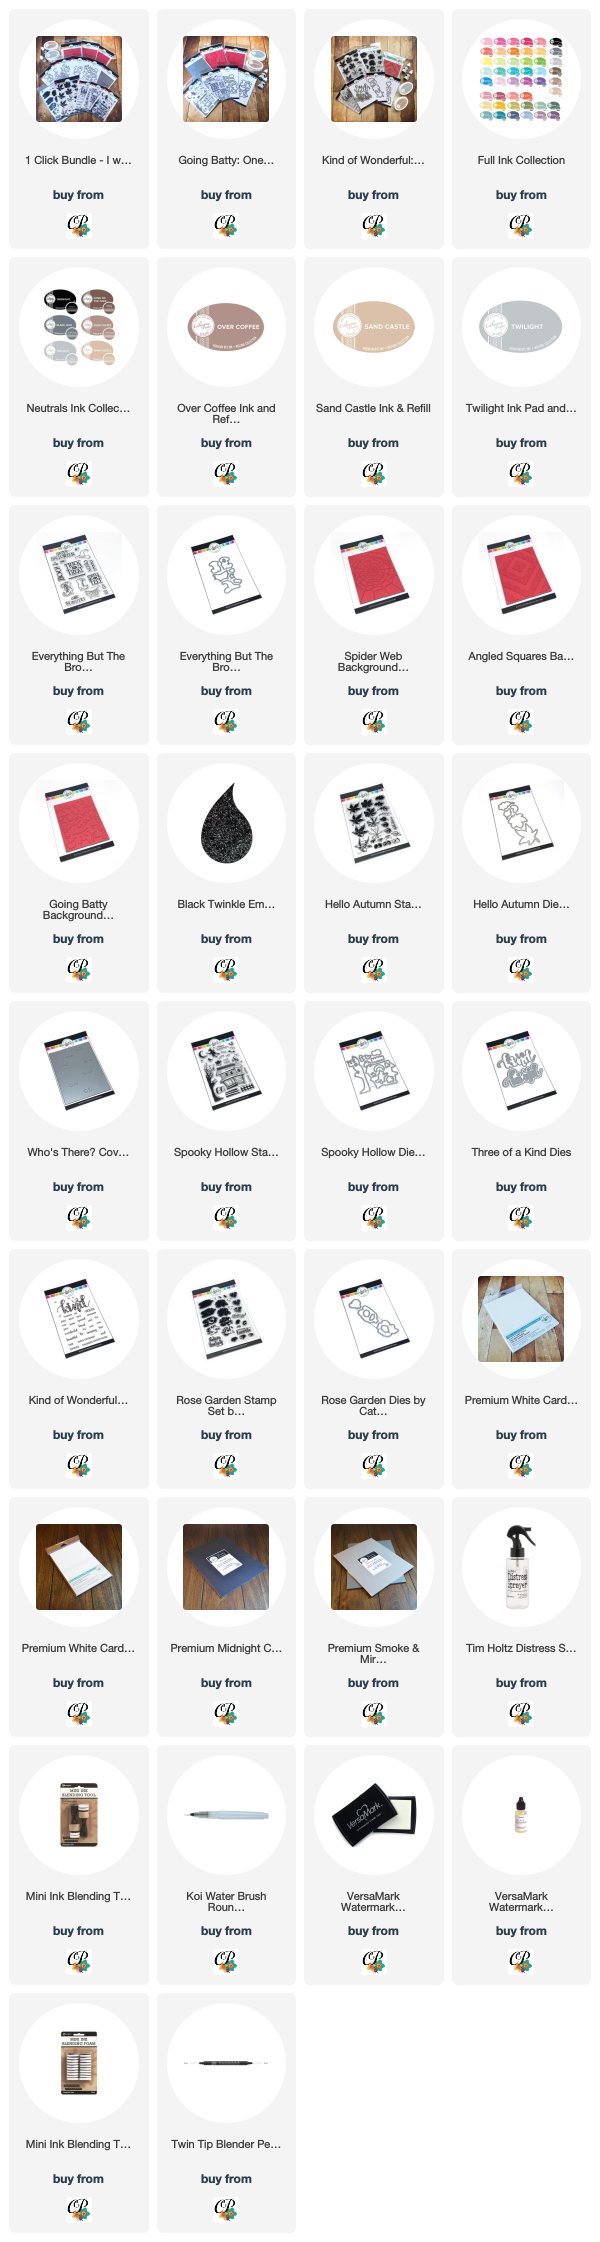
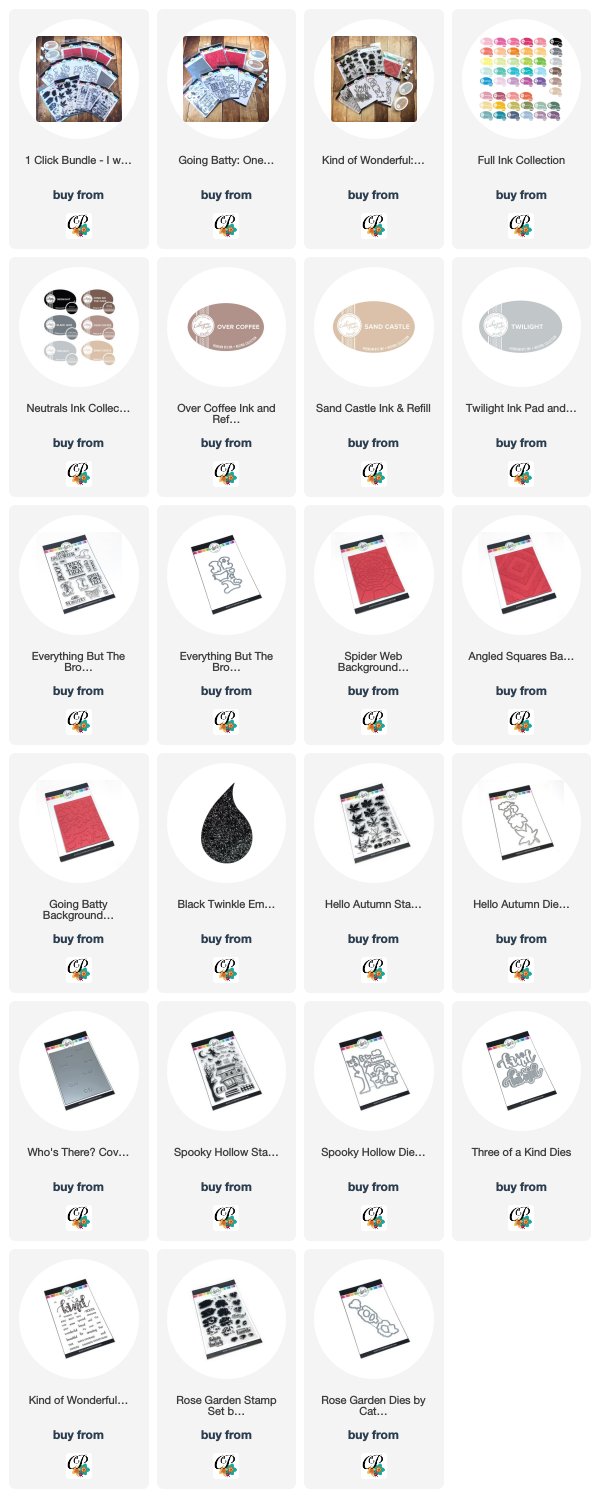
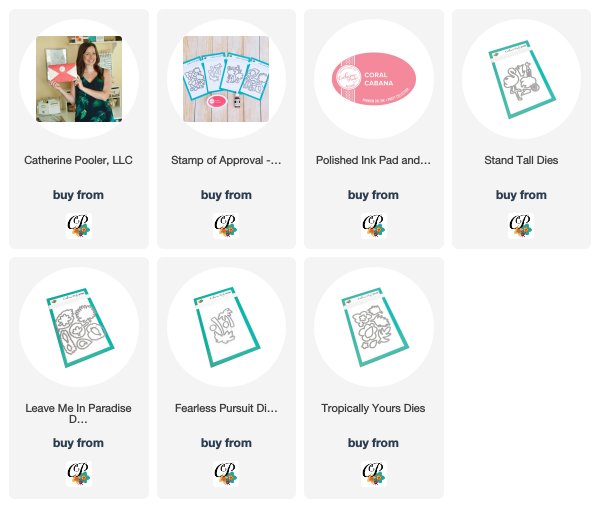
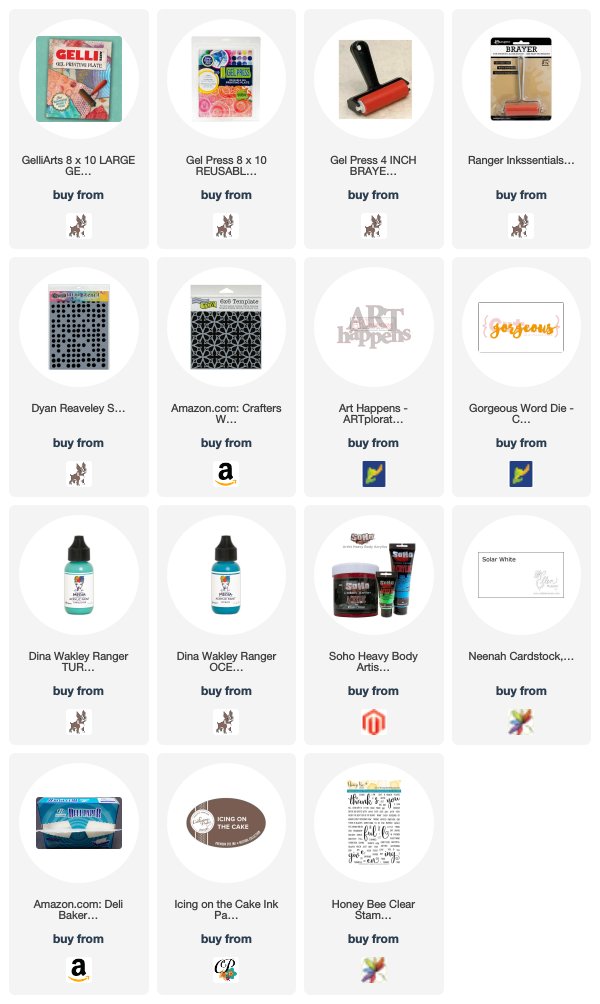
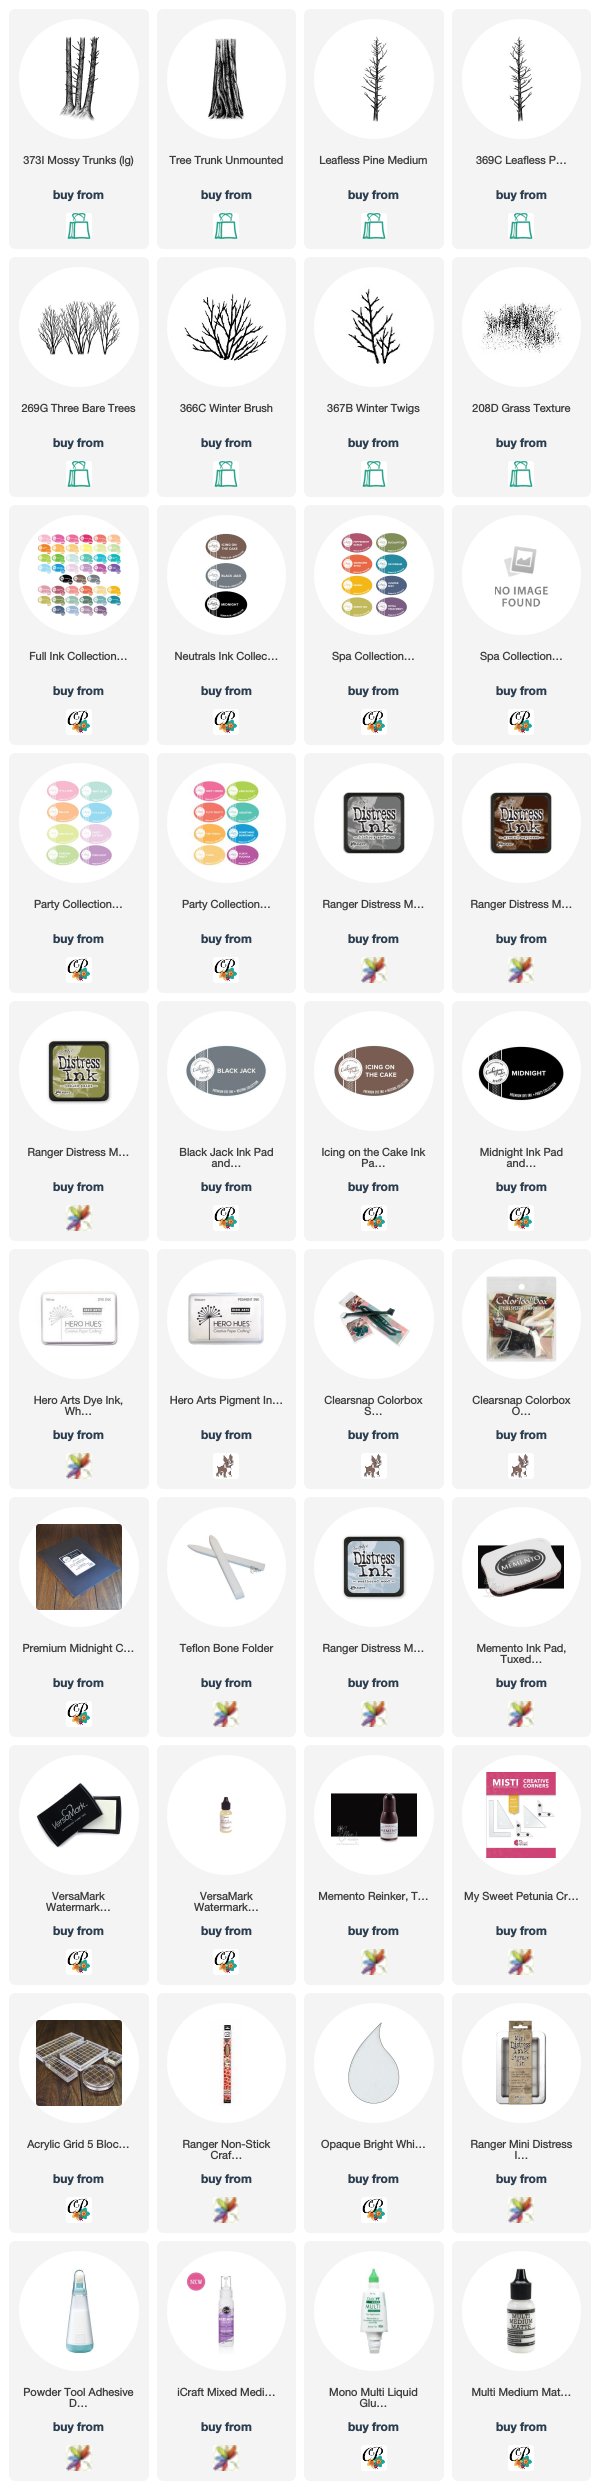
Supplies
To make finding the supplies I used in these projects a bit easier for you, here are a few clickable links. Compensated Affiliate Links are used when possible. Click here for disclosure. Happy Shopping!