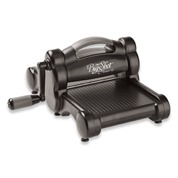
The Envelope Punch Board is your Answer!

Envelope Punch Board

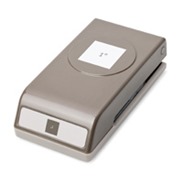
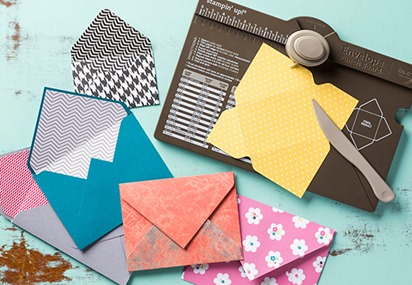
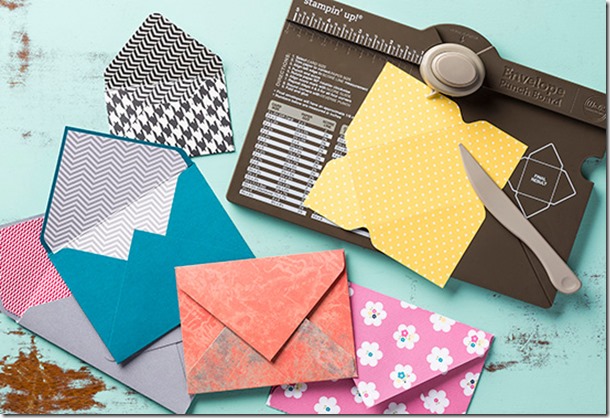
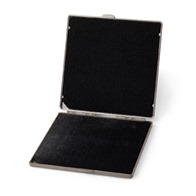
You have been waiting, and the Envelope Punch Board (#133774) is finally here!  This is probably the coolest new tool on the paper crafting market today.  Finally – you can make envelopes of ALL sizes – up to 66 different ones!  Be sure to watch the short 4 minute video below on how this tool can make your life SO much simpler.  And at $19.95 it’s easy on the budget too!

The Creative Grove Envelope Special

Everyone who orders an Envelope Punch Board (#133774) using this hostess code – VWCWVJ34 through me by Wednesday September 4th will get a special packet of 20 sheets of – 6×6 Designer Series Paper (that’s a value of $5.50 worth!) mailed to them to use for liners or even your own 3” x 4” card sized envelopes!!  And don’t forget about The Creative Grove Rewards Program for free stamps too!

  • It creates totally customizable envelopes in up to 66 different sizes (not to mention a million different color and pattern options depending on the paper you want to use). Even tried and true envelope sizes will only take you moments to create!
  • It’s super easy to use!  It looks intimidating at first glance, but when they see that all you have to do is measure for the first punch and from there you just turn and score – you’ll be hooked (in a good way).
  • It’s small and lightweight!  This makes it easy for you to store. It’s small and light enough that they could use it while watching a soccer match, at a park, at a friend’s for craft night-anywhere.
  • It even has a slick scoring tool as well as a punch that lets you create rounded corners on your envelopes.
  • It’s easy to keep it all together!  The stylus storage compartment and two punches are designed into the tool so you don’t have a bunch of little pieces to keep track of (even the instructions are printed right on the tool so you won’t lose them!).

The Creative Grove Envelope Special

Everyone who orders an Envelope Punch Board (133774) using this hostess code – VWCWVJ34 through me by Wednesday September 4th will get a special packet of 20 sheets of – 6×6 Designer Series Paper (that’s a value of $5.50 worth!) mailed to them to use for liners or even your own 3” x 4” card sized envelopes!!  And don’t forget about The Creative Grove Rewards Program for free stamps too!

Signature Snowflake 001

To Shop 24/7 in the Creative Store – Click here!
Envelope Punch Board

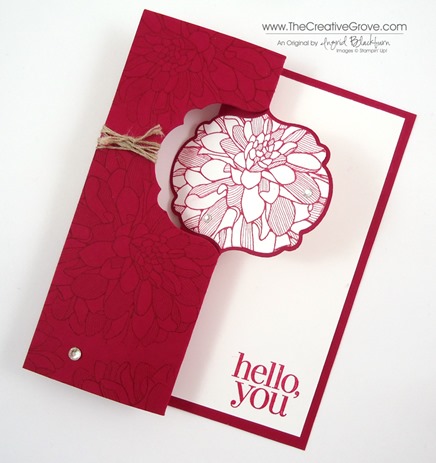
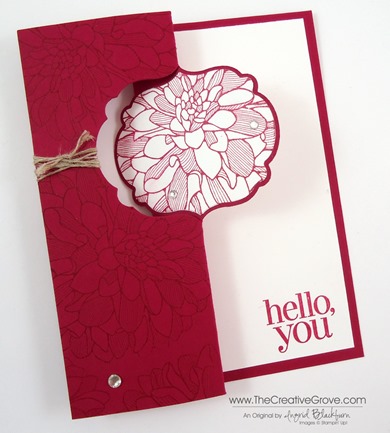
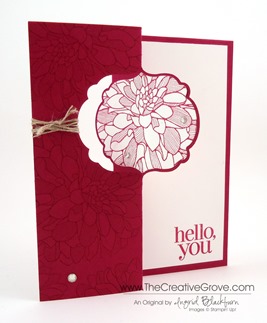
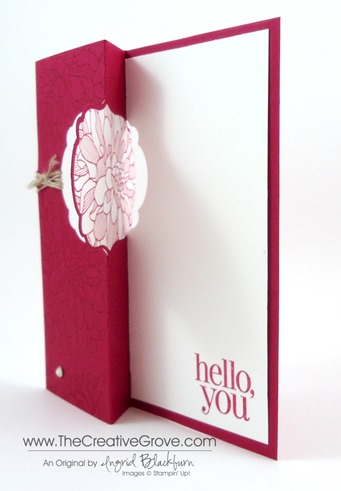
Label Thinlit Flip Flop Card

Regarding Dahlias 004 (2)

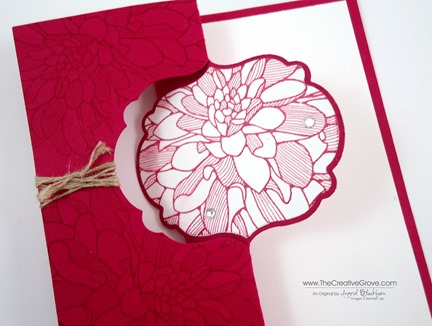
Have you ever just needed an really quick wow card?  Well then the new Card Thinlits are for you.  For one, they have an interactive rotating feature.  Second – talk about super quick!  You can literally make this awesome project in a matter of minutes!  Here’s how.Regarding Dahlias 004 (4)

Creative Tips –

  • First cut your cardstock to 6” x 5 1/2”.  Lay your Thinlit over.  Add a piece of Whisper White cardstock cut 5 1/4 x 2 3/4” to the left side with some adhesive lining up the outside three edges.
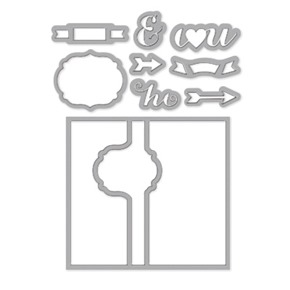
  • Run through your Big Shot to cut the card and flip flop cuts.
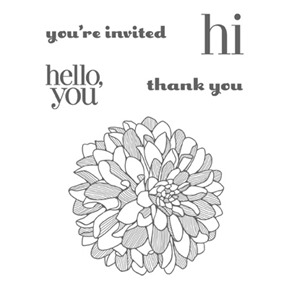
  • Cut the matching label framelits from this set and stamp with Raspberry Ripple using the Regarding Dahlia’s Stamp.
  • Cut a mask using the label portion of the Card Thinlit out of scrap paper – Keep your mask for future use with your Thinlit set!Regarding Dahlias 004 (1)
  • Stamp the Regarding Dahlia’s  in Raspberry Ripple on the left portion of the card.
  • Tie some linen thread and add Rhinestone Basic Jewels.
  • Stamp your greeting and send to someone you love!

Wasn’t that fast!  Be sure to tune in later this week for a video tutorial – I’m so excited to use my new microphone – yes, you read that right…finally better sound!  Have a fabulous day.Regarding Dahlias 004 (7)

New Creative Grove Classroom

Did you know that we have a new classroom for you to take all your online classes?  Check it out by clicking the Classroom tab up top or here.  Our latest class – Class of the Month : Festive Flurry has gotten some rave reviews!  It just launched and is packed with amazing projects that you’ll be able to use no matter what stamps or framelits you own. Check that class out here.

Signature Snowflake 001

To Shop 24/7 in the Creative Store – Click here!

Regarding Dahlias 004 (6)

Stamp Sets – Regarding Dahlias (130327c, 130324w)  Ink – Raspberry Ripple Paper – Whisper White (100730), Raspberry Ripple Cool Tools – Label Thinlits (133479) Finishing Touch – Linen Thread, Rhinestone Basic Jewels 

Regarding DahliasLabel Thinlits

Farewell Kindness Matters

Kindness Matters 002 Main

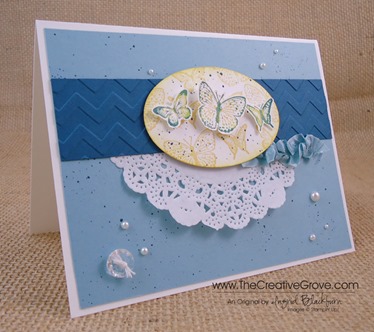
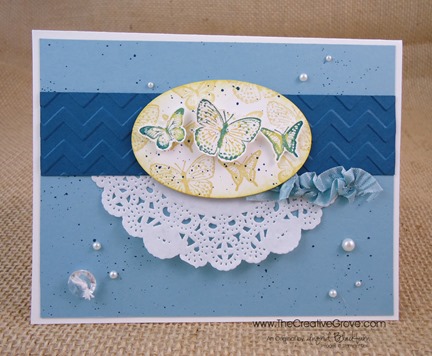
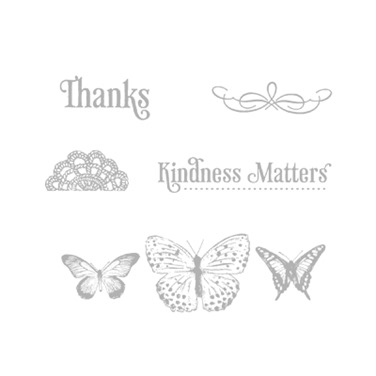
Do you ever just have those go to kind of stamp sets?  Kindness Matters has definitely been one for me. I probably use the Thanks greeting from this set more than any other, and I know I have a guaranteed great card every time I use the butterflies.  It’s a fabulous set that if you don’t have, don’t miss out.  Best part – it’s one of our least expensive sets, so there’s great value too!

Today I’ve paired this fun stamp set with a few of our retiring colors.  Yesterday you read how Not Quite Navy has been my #1 favorite color for 11 1/2 years (still…sniff…sniff), but this year, one of my go to colors has definitely been Baja Breeze.  I was is complete shock when this color retired.  And quite sad, as I have so many cool things in Baja Breeze.  It was such a great color to work with.  It’s sad that I’m speaking of it in the past tense, but this is my grieving week, and then Friday I’ll move on! Smile

Kindness Matters 002 Side

Creative Tips –

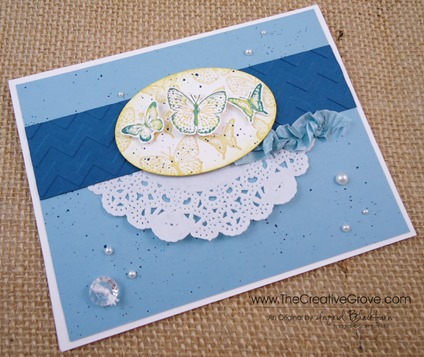
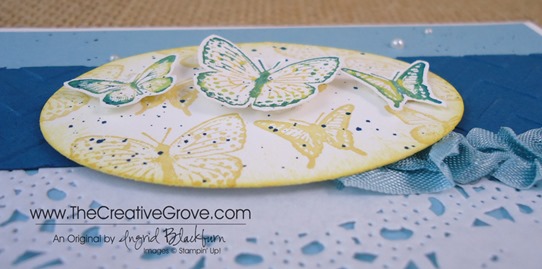
  • I always want to use the Rock n Roll technique when I use this stamp.  The butterflies to me just need that multi color.  Perhaps it’s because most butterflies are multi colored.  I stamped the main image randomly and from various angles on an oval that I cut out using the new Ovals Collection Framelits and my Big Shot.  It’s the second smallest one.  I used So Saffron, but didn’t want the butterflies to take away from my main ones, so I stamped them off once to decrease their vibrancy. Kindness Matters 002 Butterflies
  • Next I stamped my main images on a piece of scrap paper.  I used the new color Crushed Curry.  I really wanted my yellow to stand out from the So Saffron.  I rocked my image in Baja Breeze and then slightly on the edges in Not Quite Navy.  To get a good outline on my images in Not Quite Navy, I touched up my image with my Stampin’ Write Marker in the same color.  I also thumped the marker along the center of each butterfly.
  • Of course blue and yellow make green, but I think since this blue is so much darker, it stands on its own.
  • I cut out my rock n rolled butterflies with my paper snips and ran some Snail adhesive down each center.  I curls and popped up the wings with some Stampin’ Dimensionals that I trimmed down to fit.  This way the butterflies look like they are in flight.Kindness Matters 002 CU
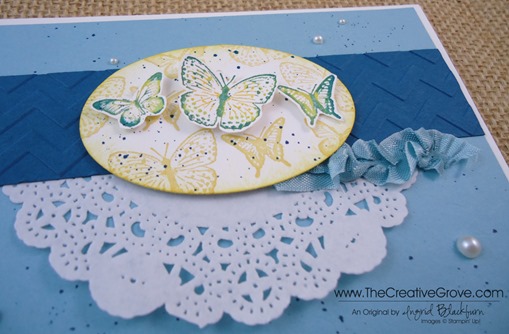
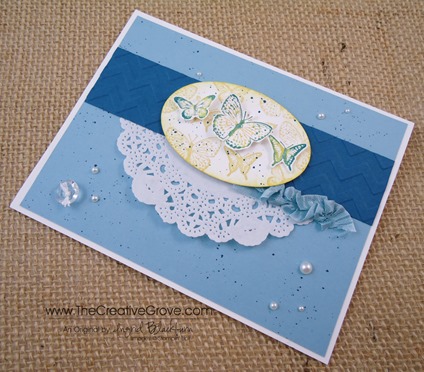
  • I took a piece of our retiring Baja Breeze 1/2” Seam Binding Ribbon and pulled a few of the middle fibers to ruffle the ribbon a bit.  Once I had it how I wanted, I adhered it using Glue Dots – the single best way to attach fibers to anything!
  • I ran a piece of Not Quite Navy through my Big Shot using the Chevron Embossing Folder for a little contrast and added half of one of our new Paper Doilies.  Together the combination has a collage feel, yet also looks contemporary.
  • I try to apply the law of thirds to just about all my projects in the design aspect.  You’ll see that my main image is in the top third of the space, while my Pearl Basic Jewels accents are also in threes, within three.  You always want to add your embellishments in odd numbers.  Kindness Matters 002 Front
  • Since the Seam Binding Ribbon is such a large accent, I balanced it out on the other side with one of our Vintage Faceted Buttons on the opposite side.  I used Pearls to complete my triangle, and used some of our White Bakers Twine for the knot.  Of course I attached it using Glue Dots.Kindness Matters 002 Height
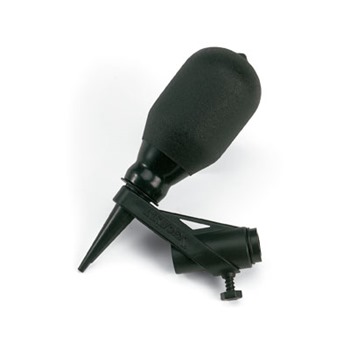
  • One tool that I will keep on using, and if you don’t have one I encourage you to get it right away – that’s the Color Spritzer Tool.  Combined with any of our Stampin’ Write Markers, you can fill any space in just the right way.  I used my Not Quite Navy Marker to add the speckling to both my oval and main project.  Don’t hold it too close, as the dots will be highly concentrated together. 
  • You may be wondering where my greeting is, well…after playing around with several banners, tags to be attached with vintage trinkets like our safety pins and staples, I decided to just put the greeting on the inside.  Although, there’s nothing wrong with a blank card too! 🙂
    As this week quickly winds down, I’m trying to use all my favorite things one last time for you before moving on.  It’s not so easy!  You many be wondering why move on at all?  Well, in my Stampin’ Up! world, if it’s not current, then use it sparingly.  That’s okay, believe me when I tell you I have a secret stash of Not Quite Navy card stock in both sizes…lol! 
    There are a handful of stamp sets that will make the cut and remain on the shelves of the Creative Studio.  But not many!  I find that I think I’m going to stamp with them, and then I don’t.  So I’ve gotten quite good at purging.  Which is to your benefit – look next week for all my “retired” sets on here.  Some go back 10 years! Have a creative day today – and most of all, have fun!

    Come Stamp with Me!

    f you are in the Orlando area and want to come to the Creative Studio to stamp – be sure to check out the classes tab above.  I have Just Cards and Creative Cards classes on Monday June 3rd!  And of course, don’t miss my free but fully loaded with fun New Catalog Kick Off Thursday June 6th. Smile

Signature Snowflake 001

To Shop 24/7 in the Creative Store – Click here!
Kindness Matters 002 Angle

Stamp Sets – Kindness Matters (122902c, 122900w) Ink – So Saffron (126957), Baja Breeze (126960), Crushed Curry, Not Quite Navy (126971), Not Quite Navy Stampin’ Write Marker (Regals Collection – 119701) Paper – Whisper White (100730), Not Quite Navy (101722), Baja Breeze (111352)  Cool Tools – Paper Snips (103579), Color Spritzer Tool (107066) Finishing Touch – Stampin’ Dimensionals (104430), Pearl Basic Jewels (119247),  Baja Breeze 1/2” Seam Binding Ribbon (122331)

new stampColor Spritzer Tool I107066

Banner Flag Video Tutorial

Blooming with Kindness 003 Main

Have you ever wondered how to make a perfect banner flag?  I love adding these to a card for an embellishment, greeting or just that little something that the project needs.

Yesterday I showed you a card that had five banners on it.  To see all the creative tips and details to that project, just Click Here.  Of course, I have banners in almost all my projects it seems over the last year.  Banners have seemed to become one of my signatures in my cards and scrapbook pages, so for today, I made a video to show you exactly how I make this simple little detail.

I think you’ll find that you too can make a perfect banner flag without driving yourself crazy!  I hope you enjoyed this video, have fun creating today.

Signature Snowflake 001

Check out the Retired Lists!  Get all your favorites while you still can.

Retired Stamp Sets Retired Accessories List

To Shop 24/7 in the Creative Store – Click here!
Free Shipping April 6-8th

Free-Shipping_eCard_NA Crop

Who doesn’t like a good bargain.  And let’s be honest, I’ll take something for free any day!  Stampin’ Up! has offered their first Free Shipping promotion ever for this Saturday April 6th – 8th.  And the best part about it, there are no limitations – so any order size, large or small and you save big!  Expedited shipping is excluded, and your orders must be in by 11:50 pm MT on April 8th. 

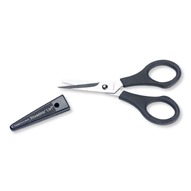
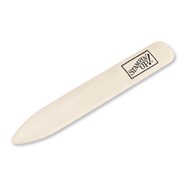
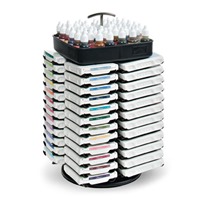
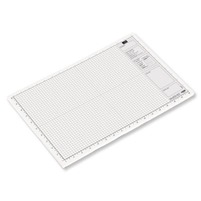
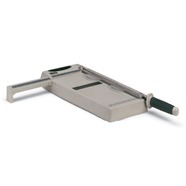
So, what are you going to get?  Here are my Top 12 must have’s for every stamper.  The first six are tools I use each and every day when I paper craft – Paper Snips, Bone Folder, Tabletop Paper Trimmer, Stampin’ Scrub & Mist, Stampin’ Up Inkpads & Refills stored in the Color Caddy and my #1 must have to stamp and create with – Grid Paper.

 I103579FI102300FI106959F126200LColor CaddyGrid Paper

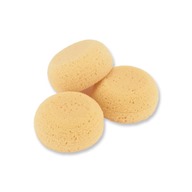
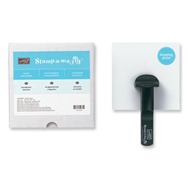
These next six are tools that I use quite frequently and most stampers can not live without – Big Shot die cutting system, Apothecary Accents Framelits, Stampin’ Sponges, Stamp-a-Majig, Paper Piercing Tool (I use it with the Essentials Paper Piercing Pack and Stampin’ Pierce Mat) and last, but definitely not least, my #1 used punch – 1” Square Punch.

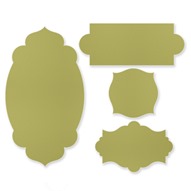
Big ShotApothecary Accents FramelitsStamping SpongesStamp-a-MajigPaper Piercer1 inch square punch 124094S

Be sure to take advantage of this awesome special!  And don’t forget to sign up for my Creative Tips Newsletter to get my special project tips on the last project – Sunset Boardwalk this Saturday at 12 noon!  Happy Stamping.

Signature Snowflake 001

To Shop 24/7 in the Creative Store – Click here!
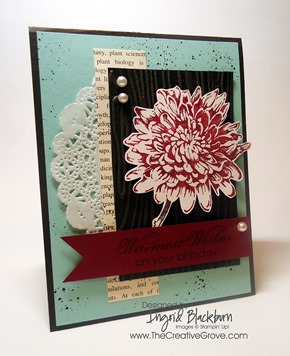
Blooming with Kindness Birthday

Blooming with Kindness 002 Side

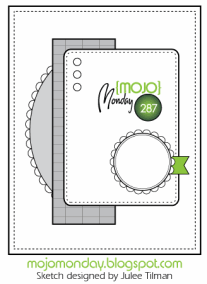
This morning I couldn’t sleep!  So what’s the cure – stamping, of course.  It certainly helped that my insomnia came on the same morning of the Mojo Monday challenge.  I hoped up to my office, and wouldn’t you know it, it was so early (3:45 am…yikes!), that the challenge wasn’t even posted yet!  I read some email, got caught up from all the friends and family Easter fun yesterday on facebook and twitter, and finally the challenge was up.  Here’s what the sketch looked like:   Mojo287SketchBlooming with Kindness 002 Tilt

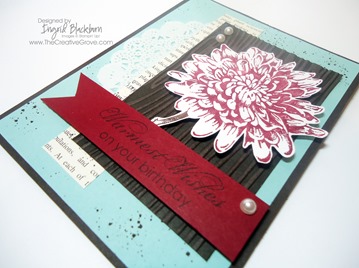
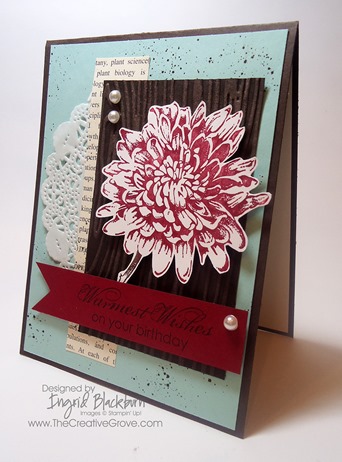
I thought about it for a second, and finally settled in with Blooming with Kindness .  I grabbed some extra pieces of cardstock that I had prepped for a previous project (nothing like using already cut cardstock!) and grabbed my color coach to pick my remaining colors.  I’ve been in this white/vanilla kick lately and have decided that it’s my new favorite thing – so naturally it’s on this card too!  I hope you love the end result just as much as I do.  I’m excited, because my good friend Sherry’s birthday is coming up and I just know she’ll love to get this card in the mail. 

Blooming with Kindness 002 Main

Creative Tips:

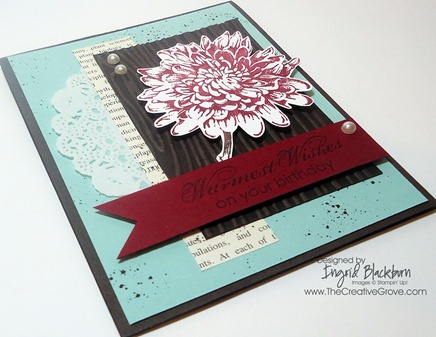
  • I wanted the stamp to be the star along with the color combination, so I chose a neutral backdrop for the Flower to be stamped and popped up. 
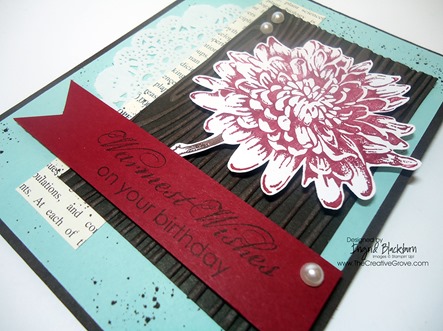
  • I stamped my flower in Cherry Cobbler first, but it wasn’t dramatic enough so I added a little highlighting with my Cherry Cobbler Stampin’ Write Marker on top of my rubber image to really add some depth in the same shade.
  • Before I stamped my flower, I used my Blender Pen to remove the red that had gotten onto the stem.  I then added the Early Espresso color with a Stampin’ Write Marker.  I LOVE this process – you can alter any stamp with a Blender Pen! Blooming with Kindness 002 CU
  • I ran the Early Espresso cardstock (2.5” x 4”) through my Big Shot using the Woodgrain TIEF folder and enhancing the depth of the color by using the Bisque Pottery Technique.  Be sure to stop by later this week for a video on how to do this technique!
  • I added a little strip of First Edition DSP and a partial Doily for a little feminine flair in addition to the Pearl Basic Jewels
  • I made my banner flag for my greeting with a 1” Square punch and popped that in addition to the flower up on Stampin’ DimensionalsBlooming with Kindness 002 Height
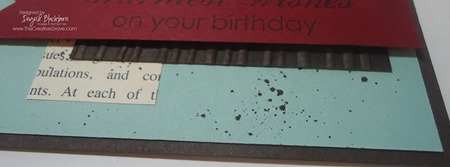
  • The card needed a little something so I added something I haven’t used in forever – my Color Spritzer Tool!  I just love this tool and can’t believe how long it’s been since I picked it up. 
  • To perfectly get just the right splat, make sure you like up your Stampin’ Write Marker completely up with the plastic end.  Be sure to hold the marker straight and play with the height of the marker end to the project.  Give it a firm squeeze. Blooming with Kindness 002 Splat
  •  Best tip – And always, always, always do a few on your grid paper first – it doesn’t matter how good you are at it.  I’ve been using one for 11 years and still do this.  It’s about whether or not the marker is aligned properly.
  • Be careful with the splat too, sometimes a lot of ink gets deposited and you will need to place it to the side to dry or run a Heat Tool over it so that it doesn’t smear. I just love this end result.  I hope you do too.  Have fun making yours and see you back here soon for some more Mojo!
  •   Signature Snowflake 001

To Shop 24/7 in the Creative Store – Click here!
Blooming with Kindness 002 Angle

Stamp Sets – Blooming with Kindness (126422) Paper – Whisper White (100730), Early Espresso (119686), Pool Party (122924), Cherry Cobbler (119685), First Edition Specialty Designer Series Paper (DSP) (121878), Paper Doilies (129399) Ink – Cherry Cobbler (126966), Early Espresso (126974), Early Espresso Stampin’ Write Marker (119680), Cherry Cobbler Stampin’ Write Marker (119681) Cool Tools – 1” Square Punch (124094), Stampin’ Trimmer (126889), Paper Snips (103579), Stamp-a-Majig (101049), Woodgrain TIEF (127821), Brayer (102395), Blender Pen (102845) Color Spritzer Tool (107066) The Perfect Finish – Pearl Basic Jewels (119247), Stampin’ Dimensionals (104430)

Blooming with Kindness126422L

Brayered Winter Twilight Redwood Landscape

I had the opportunity to take two brayering classes this past weekend by Michelle Zindorf.  If you don’t know who Michelle is, she’s an artist who has been teaching the art of brayering and sponging scenery for the past six years as a Stampin’ Up! demonstrator.  To say she’s an expert is putting it mildly.  Luckily one of the last classes she’s doing on the road was held this past weekend in St. Petersburg, Florida – just a short two hour drive from my house.  

Six and a half hours later, I had completed her beginning and advanced brayering class.  I by no means do I consider myself an expert, but I now have a great foundation to create my own artwork and feel comfortable enough to teach this technique. 

If you’ve followed me for a while, you know that if I had a mascot it would be the redwood tree.  So I broke out my retired set Plant Hope for that cute little trio of trees.  Here is the result – it’s not perfect, and I have Michelle’s voice in my head for reminders on her technique, but I love it.

Creative Tips:

  • I used four shades of blue to create my sky and water with my brayer – Tempting Turquoise, Marina Mist, Not Quite Navy and Midnight Muse.
  • Be sure to start and end off your paper with your brayer.  This will help prevent those harsh looking lines.
  • Window sheets or the sheet from the Stamp-a-Majig are a necessity to create the reflection in the water.
  • To give my trees height, I used a Chocolate Chip Stampin’ Write Marker to extend the trunks.
  • Rather than have my trees be black in the twilight, I chose to use the Versamark and Always artichoke ink pads in conjunction with the Chocolate Chip Marker and Versamarker.  I then embossed the images with clear embossing powder.
  • I added some green shrubs along the base of the trees and went over with the versamarker and clear embossing powder to help keep a light snowfall on the ground.
  • To give the illusion of water, I used our White Gel Pen to create water ripples.

  • I didn’t want the card itself to take away from the scenery that I created, so I chose to give a little pop of Whisper White with a 1/16th inch border before matting it on Chocolate chip.  I then gave the Chocolate Chip the same 1/16th inch border.  Any more, and it would have taken away from the image.
  • These little brayered sceneries are works of art.  Take pride in your creation, sign the lower corner!

I wanted my Christmas card to stand out this year, so I decided to send my father this handmade little masterpiece, dad I hope you’re not looking – if so, act surprised when you get it!  I know he’ll treasure it.  It’s completely imperfect – I made several mistakes, but I know he’ll love it just the same, how could he not – his little girl made it for him!

Extravaganza_shopnow_GraphicAd_Nov_NA

Signature Snowflake 001

To Shop 24/7 in the Creative Store Click here!
Stamp Sets – Plant Hope (retired), Sweet Essentials (128315) Paper – Whisper White (100730), Chocolate Chip (102128) Ink – Midnight Muse (126860), Marina Mist (126962), Not Quite Navy (126971), Tempting Turquoise (126952), Versamark (102283), Early Espresso Stampin’ Write Marker (119680) Cool Tools –Brayer (102395), Stamp-a-Majig (101049), Heat Tool (129053), The Perfect Finish – Clear Embossing Powder (109130), Gold Embossing Powder (109129) Untitled-12

Mojo Monday Big Shot Flowers

Today is the big online extravaganza.  And since the several items are on sale for the first time I can remember, I thought I’d make a fun clean and simple card featuring what else, my trusted friend the Big Shot – just one of the featured products today.

Mojo268Sketch

Creative Tips:

  • I added texture to my Pink Pirouette flower from the Floral Frames Framelits by using the new Fancy Fan Textured Impressions Embossing Folder. 
  • The So Saffron flower is the second smallest framelit in this great set of nested frames.  I highlighted it with a little sponging around the edges
  • I used the ornament punch to create the Wild Wasabi leaf for my three flowers.

  • To create my Elegant Eggplant smashed flower – I used two of the smallest flowers from this Framelit set.  Click here to watch my Smashed Flower Video
  • To make my banner flag end I used a square punch.
  • I wanted to add some small details without taking away from the flowers, so I added some paper piercing around the border of my Bashful Blue and then Pearl Basic Jewels in each corner.

To check out all the great sales going on today and the remainder of the week click here.  You do not want to miss out on the up to 50% off savings that Stampin’ Up! has to offer this week!

flyerheader_Extravaganza_demo_NA_rdax_574x227 Signature Snowflake 001

To Shop 24/7 in the Creative Store Click here!
Stamp Sets – Sweet Essentials (126457) Paper – Whisper White (100730), Elegant Eggplant (105126), Bashful Blue (105120), So Saffron (105118), Wild Wasabi (108641), Pink Pirouette (111351) Ink – Elegant Eggplant (126969) Cool Tools – 1” Square Punch (124094), Stampin’ Trimmer (126889), Paper Snips (103579), Big Shot (113439), Floral Frames Framelits (127012), Ornament Punch (119847), Essentials Paper-Piercing Pack (126187), Paper-Piercing Tool (126189), Stampin’ Pierce Mat (126119) The Perfect Finish – Pearl Basic Jewels (119247), Stampin’ Dimensionals (104430)

Floral Frames Framelits 127012L