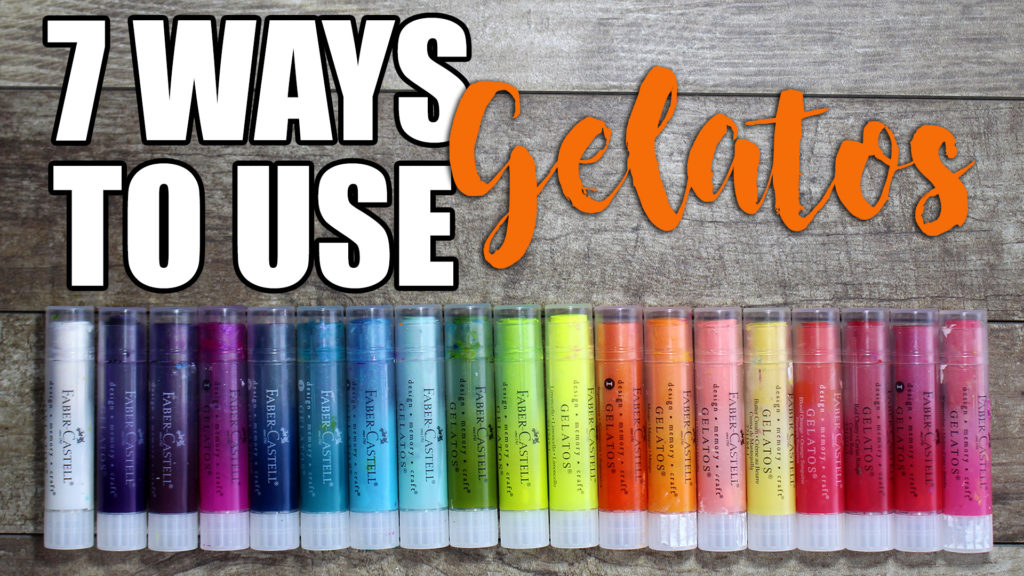
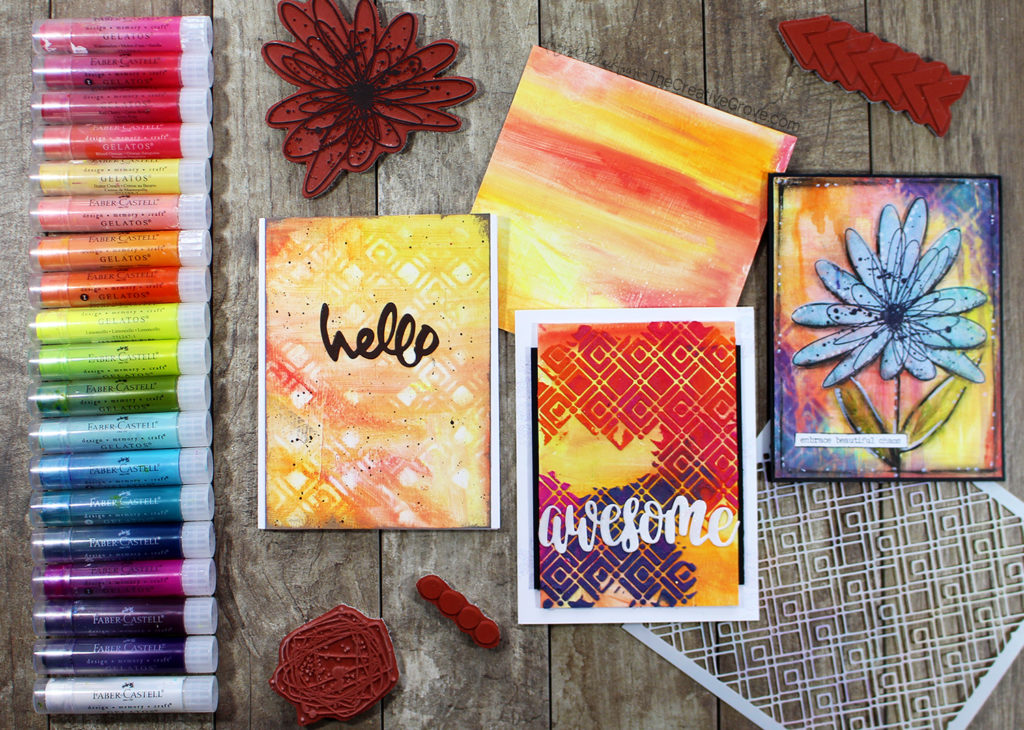
Gelatos by Faber-Castell, are powerfully pigmented creamy sticks that pack a punch. Do you have some sitting in a drawer or in a bin somewhere? My hope is that you will be inspired to break out those awesome pigmented creamy sticks and get creating. Here are 7 Ways you can use Gelatos on your projects!
Let’s dive right in!!
I have three amazing projects to share with you today. To get started, you’ll want to spread some gesso onto an 8 1/2 x 11 sheet of white cardstock. For gelatos to spread properly, they need a base to spread easily. Without that, it can be a challenge!
If you haven’t already – please subscribe to my newsletter (you’ll get an exclusive video series), instagram, youtube channel, and blog (subscribe in the sidebar on the right)!!
I filmed a video for you, but have each one detailed below as well in photos and instructions. Be sure to leave me a comment on the youtube channel too with which one you loved the most!
Click here to watch over on YT.
#1 – Gelato Blending Technique
Our first Gelatos technique is the most basic of them all – blending. You will want to choose colors that go well together and scribble them all over your paper – no need to worry about being neat – the water and that ever so special tool (your fingers) will do all the heavy lifting!
A tool that helps with blending Gelatos is the Ranger spritzer. You will first want to mist your surface lightly by squeezing quickly on your Ranger Spritzer. To blend those amazing colored pigments together, use your fingers or a damp towel, to get the coverage you love. Dry with a heat tool, or set aside and cut up into a few card fronts. I split mine in 1/2 – 5.5 x 8.5. For the card fronts, I cut one into two, and one I cut into a 5″ square and 3.5 x 5.5 with a 1/2″ strip left over. That will give you 4 backgrounds to create with – not bad!
#2 – Disappearing Gelato Technique
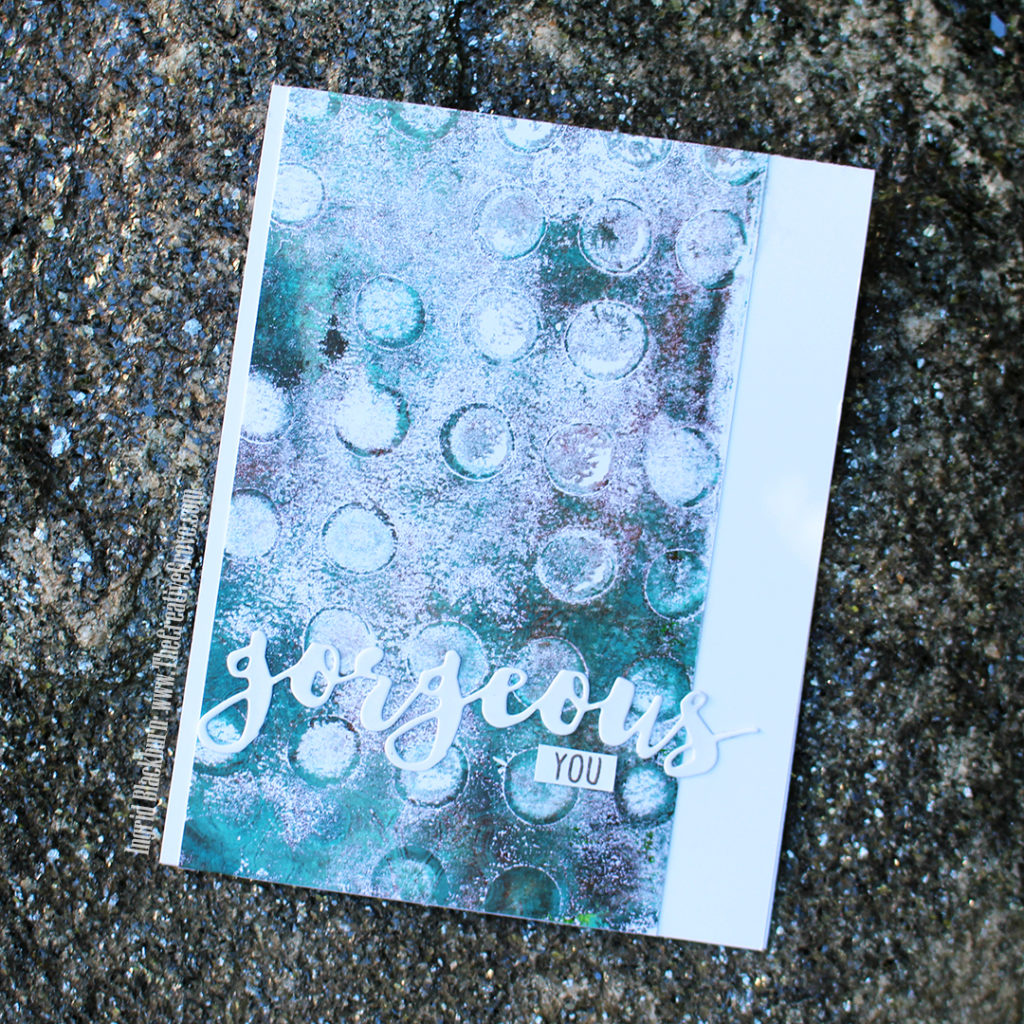
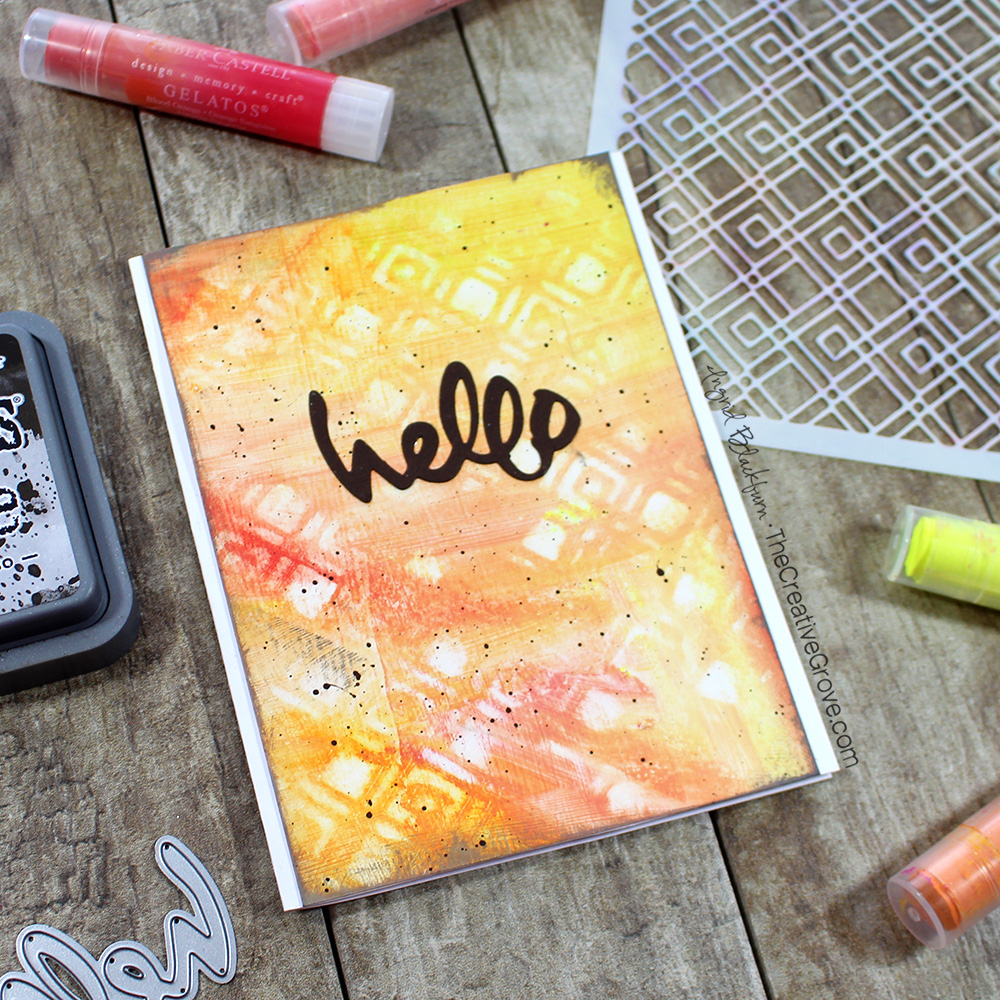
Next, line up your favorite stencil over one of your panels. I’m using the Quadrilaterals Stencil by AALL & Create which has some great space to work with. Grab a Baby Wipe or wet paper towel and twist your wipe through the stencil to wipe away the color – what?!!
Yes, you’re going to remove the gelatos color easily through your stencil. The key – keep alternating to a clean spot on your wipe/towel. I intentionally only removed the color in spots, to give an organic look to my project. The end result gives you an artsy stenciled look!
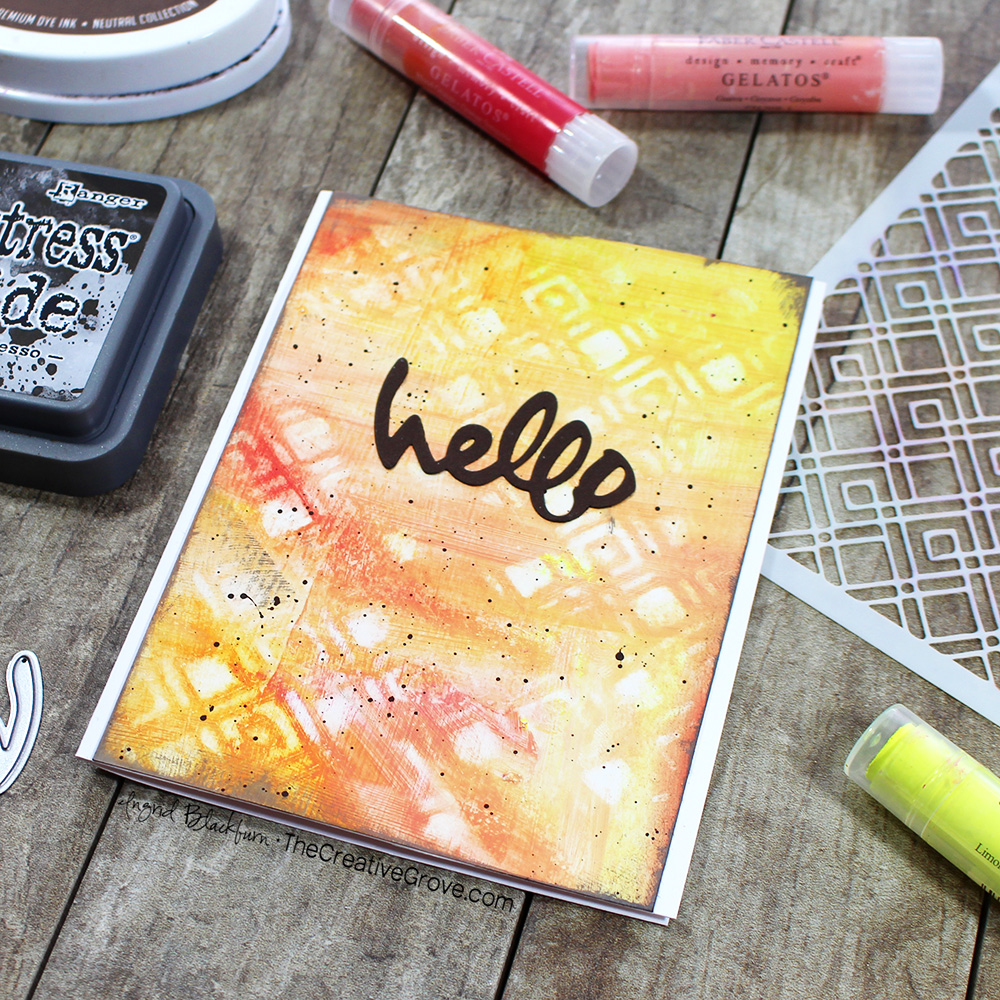
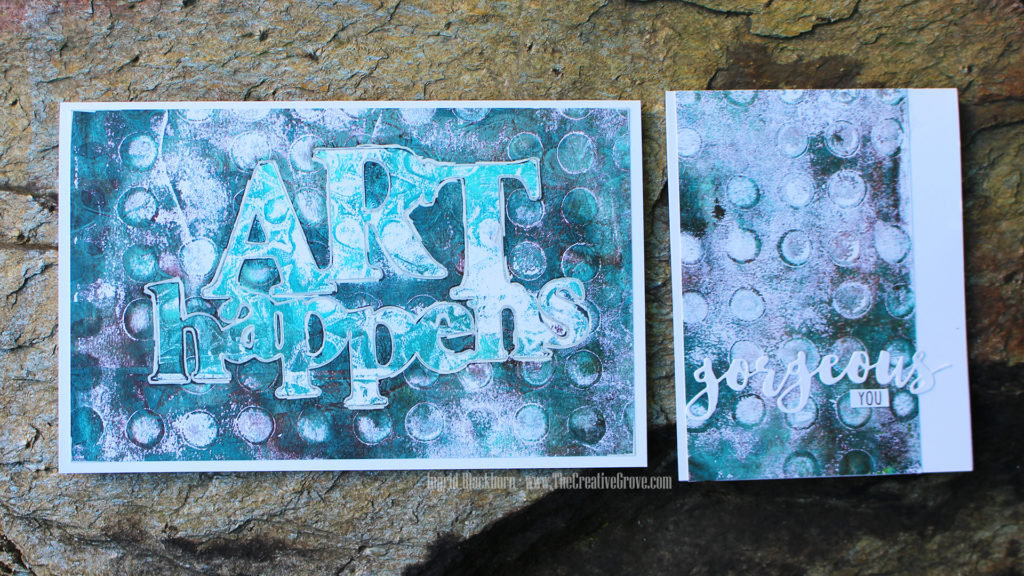
Add some splatters and edge your piece and all that’s left is to mat it onto a base and use a simple word die. Don’t take away from the background – the disappearing gelatos piece is the star!
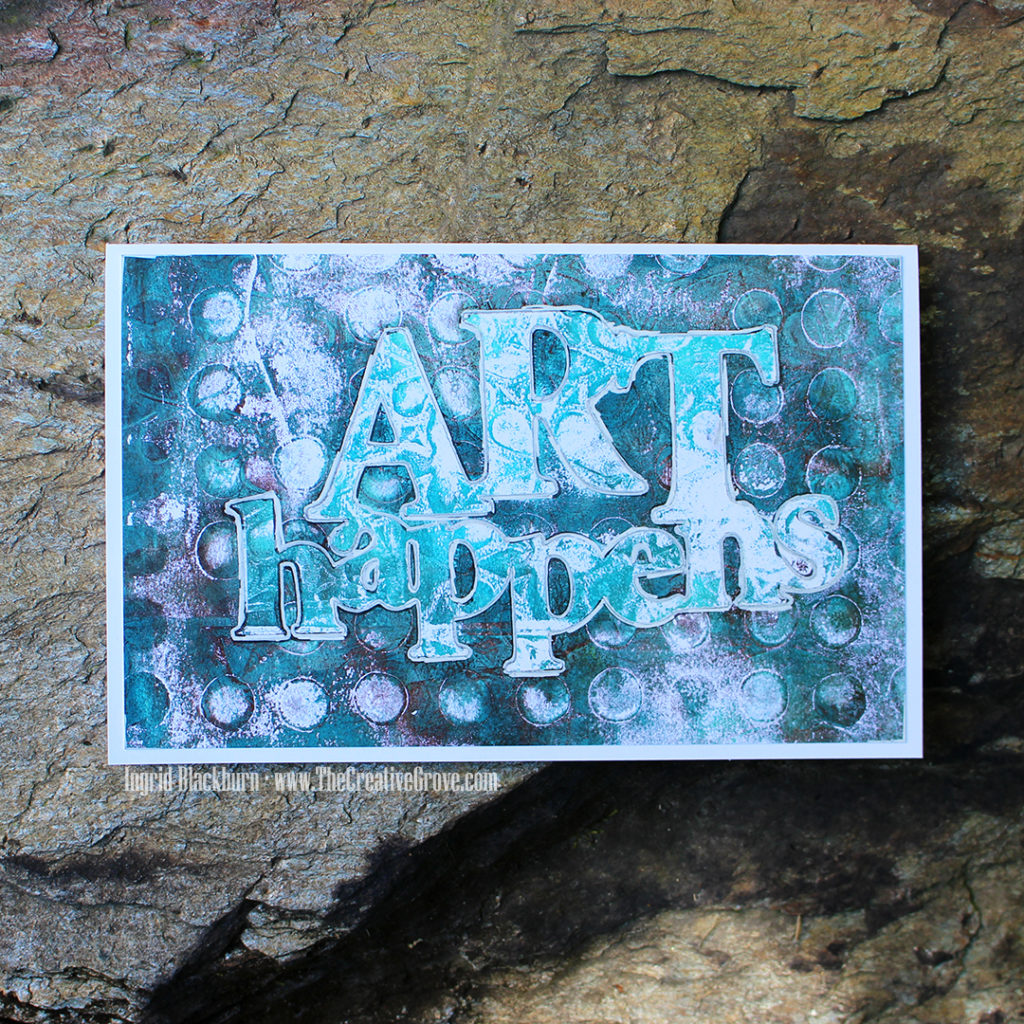
#3 – Gelato Colored Paste Technique
Did you know that you can shave off some pigments and do loads of techniques with them?!! Here’s just one of many – Coloring Paste. Now keep in mind – you can do this with just about any medium too!
Use a palette knife to scrape off some pigment (a little goes a long way) and mix with some white embossing paste and a palette knife. Mix your gelatos and paste thoroughly. I mixed four gelato colors, each with a tiny amount of paste. Add each color, a small amount at a time, directly through the stencil with a palette knife.
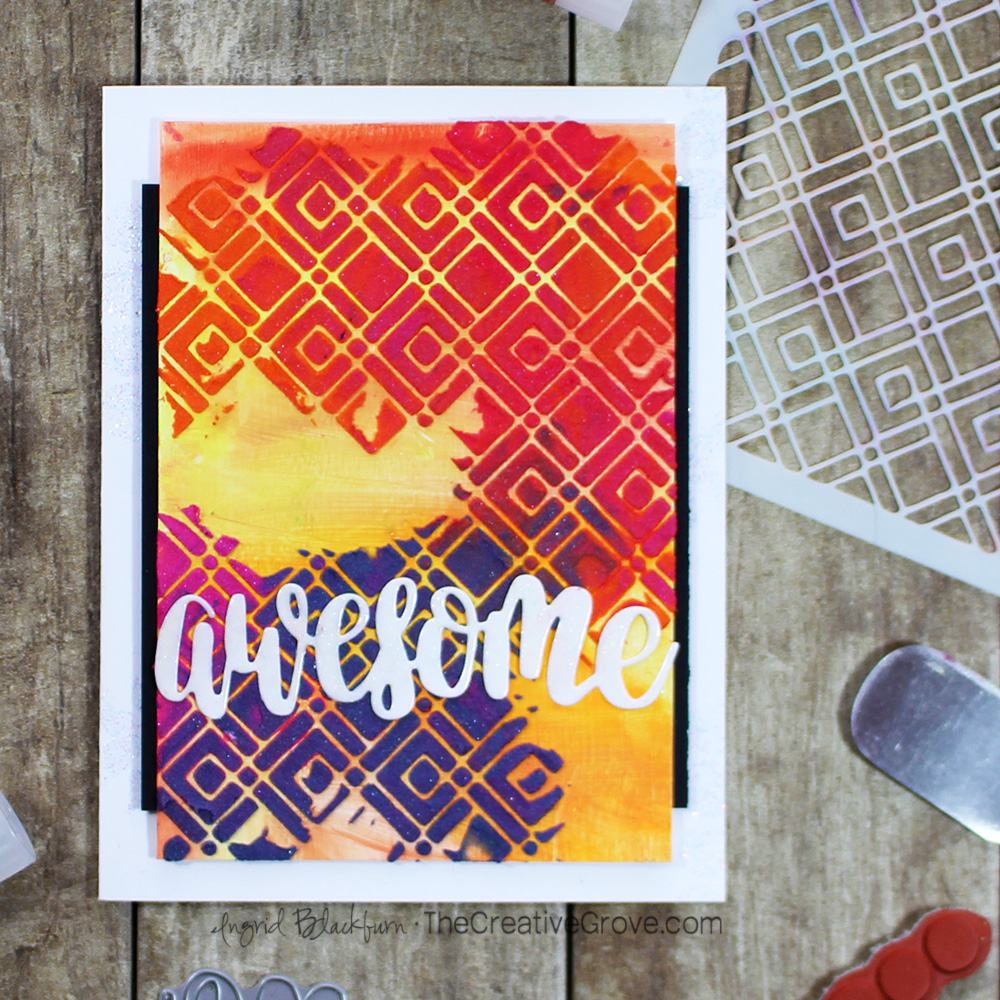
In this project, you’ll notice that I intentionally left some spots without paste. That was so that the rockin’ background can shine through. It makes for some interesting breaks in your project.
Try overlapping your colors a bit too – that creates new ones! Just keep the color wheel in mind – leave complimentary colors apart – blue/orange, red/green, etc… Doesn’t that look stunning through the Quadrilaterals Stencil?!!
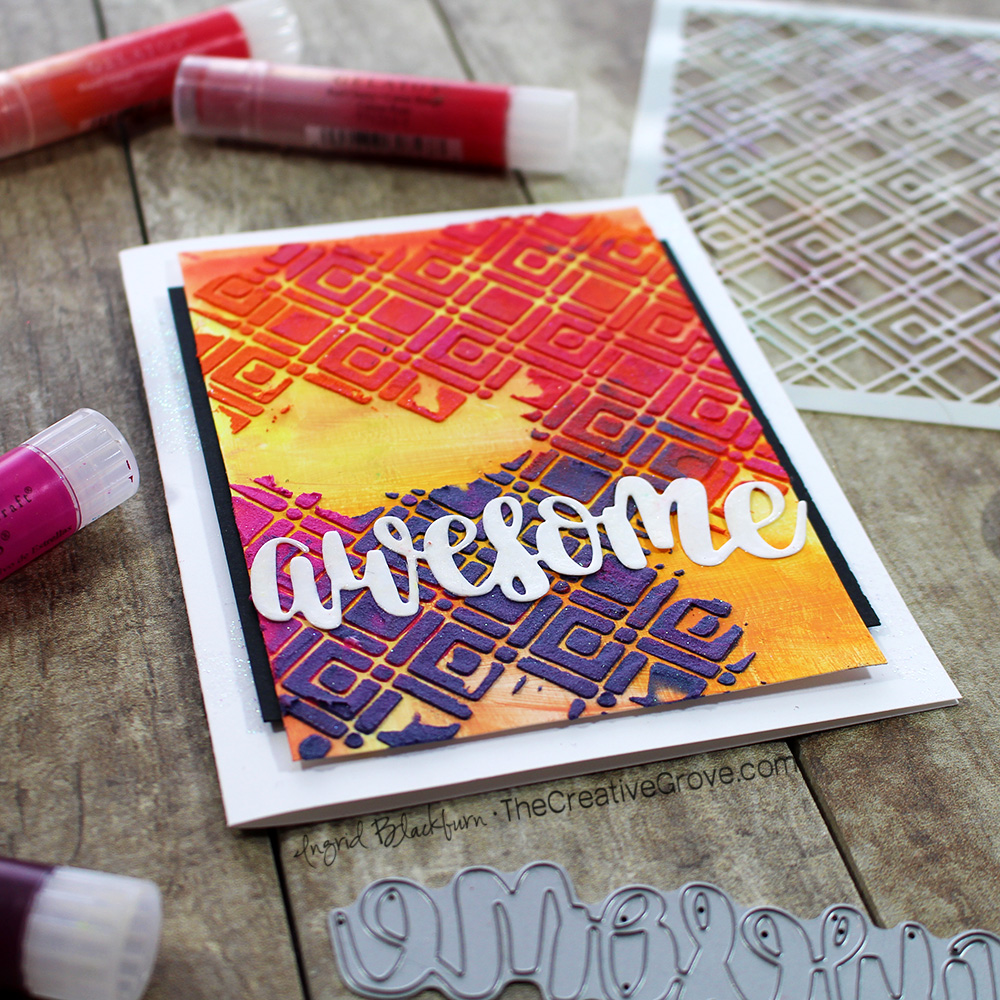
Again, a simple word die and some fun matting and you’re all set. Now I did stamp the Eclectica Tracy Scott 25 stamp set onto the card base in embossing ink and embossed it in Wanderlust Embossing Glitter for a little interest. To keep adding a little sparkle, highlight the awesome word die with a sparkle pen.
#4 Gelato Dripping Technique
This technique is probably a fan favorite of many! You can try this on plain or colored backgrounds. I decided to add more of the same to one of the existing panels. Keep color theory in mind, when using this technique. Gelatos have fugitive properties, so try and stay away from complimentary colors in order to avoid making mud.
Here’s the skinny – rub some gelatos at the top of your panel – nice and concentrated. Spritz or add water with a paint brush and watch the drips!! It’s a very cool look.
The dripping technique gave an awesome depth to the background of our third project – a real mixed media card. This is just he beginning!!
#5 Gelato Layering Technique
One of the properties of Gelatos is that it is always live and reactive. To set them, you’ll need to seal it. You can use a spray, or if you’d like to flex your mixed media muscles a bit – try matte medium! Pour a little over your background to set those colors.
This helps in two ways – one locks that colored goodness in place, and two – you can layer ANY colors on top of each other!! To use Matte Medium – drip a little onto your project and carefully spread with a palette knife or silicone spatula. Be careful not wipe all that colored goodness away – you are adding a liquid to it! You will find that it is better to start with a little of the matte medium in one place, just until you get the hang of using it. You want only a thin layer. Dry naturally, or with a heat tool.
Gelatos are vibrant in color. To allow the second layer of color to pop, you will need to first lay down a layer of white gelato to give your second layer a neutral base. I used Coconut as a white base underneath a few pops of color in my second layer. I added purple right onto yellow and blue right over orange – normally that would be a muddy mess. Not with Gelato layering!!
That brings us to #6…
#6 Gelato Stenciling Technique
Since Gelatos are SO super creamy and pigmented, I like to avoid rubbing them directly onto my stencil. That way too much pigment doesn’t get stuck in the nooks and crannies of my stencil. Instead, use a makeup sponge!
Scribble some gelato pigment onto your craft mat or a palette and sponge through your stencil onto your project. This way you have a smooth application and can be quite deliberate in where you want to add color. On your Mixed Media card – add a little Stardust, Galaxy and Blue Moon for a nice little accent in both corners. The Quadrilaterals Stencil adds a little lattice look to the corners, don’t you think?
I love the dark popping off the bright base. None of which would show up without locking the layers and adding the white underneath.
#7 Gelato Coloring Technique
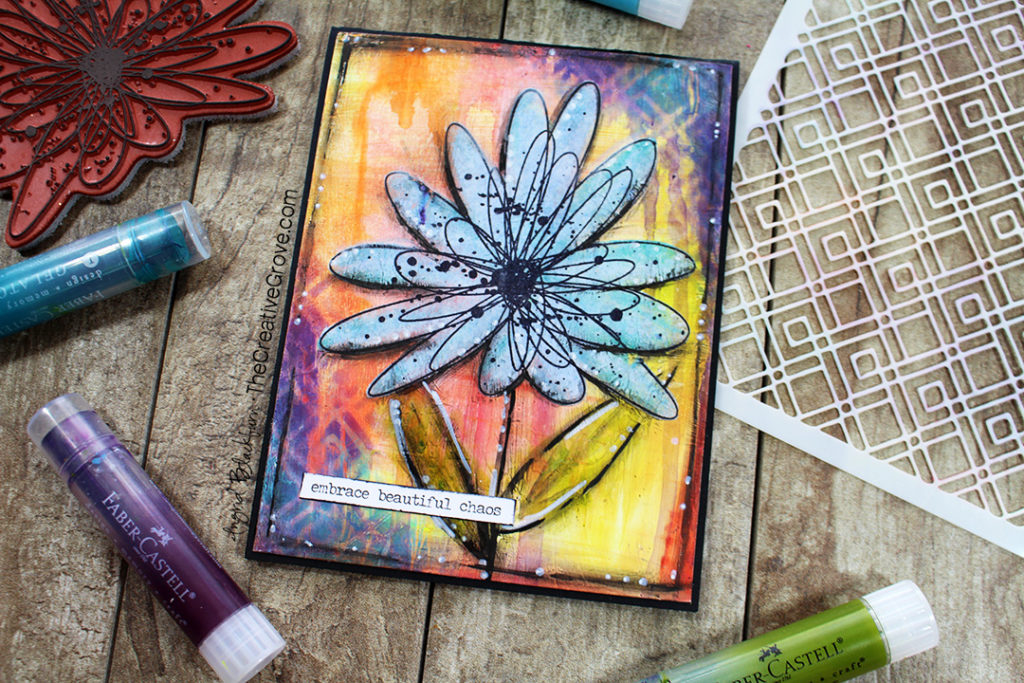
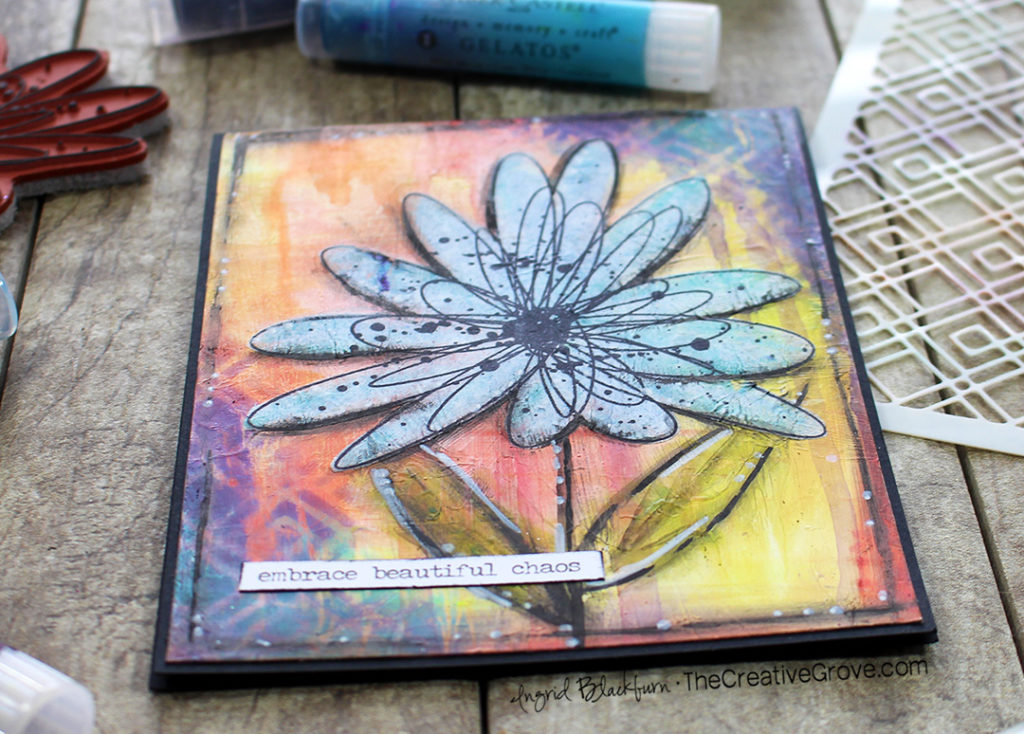
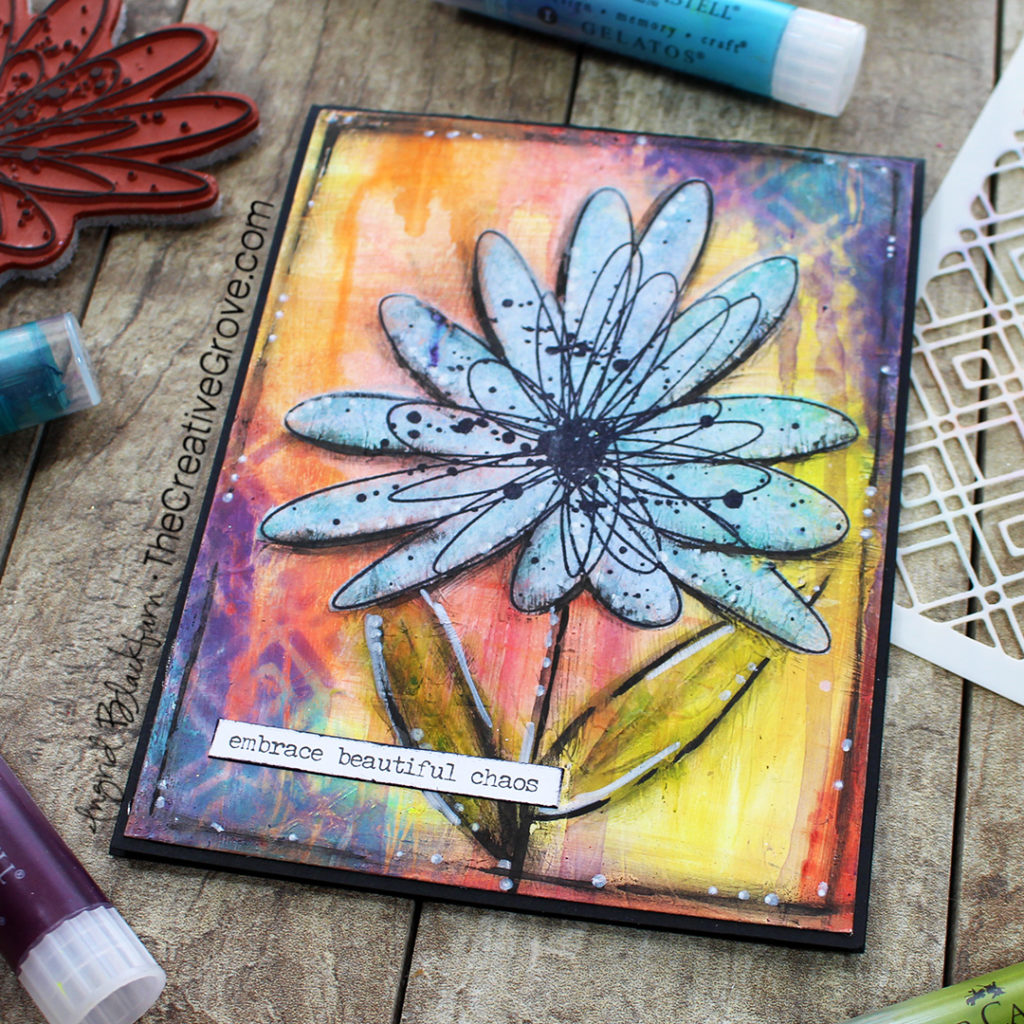
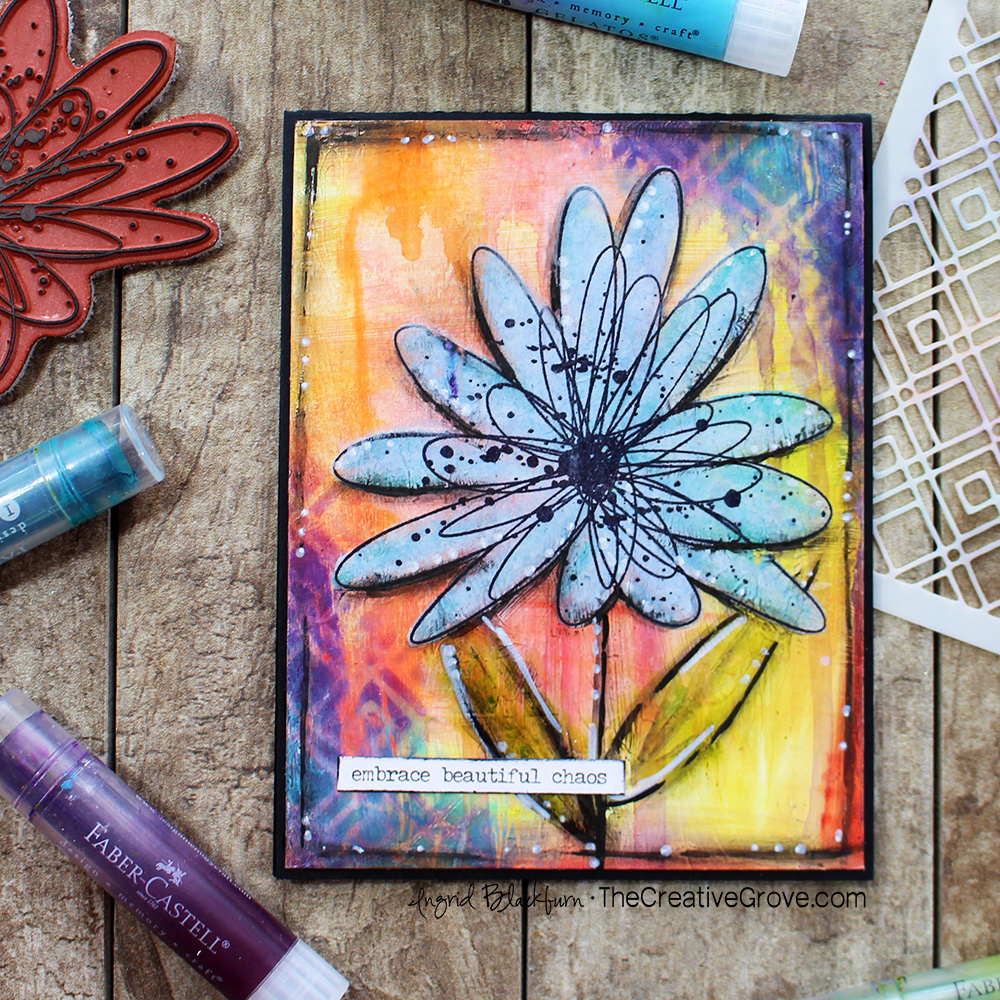
And last, but certainly not least, add color to all your embellishments with Gelatos! A unique way to add color to an embellishment, is to stamp your piece in Archival ink onto Tissue Paper and use the gelatos to color from behind!
On tissue paper, the gelatos blended super easily. No need for Gesso. Add as much pigment as you’d like – you want it to pop from the other side. I added Aqua Dolce, Nebula and Blue Moon for a fun blue flower. The background has some good orange tones from blending the Blood Orange Gelato over Guava. Can you see the Blood Orange drips on the left side? The blue would be the perfect pop to the project in a complimentary color…
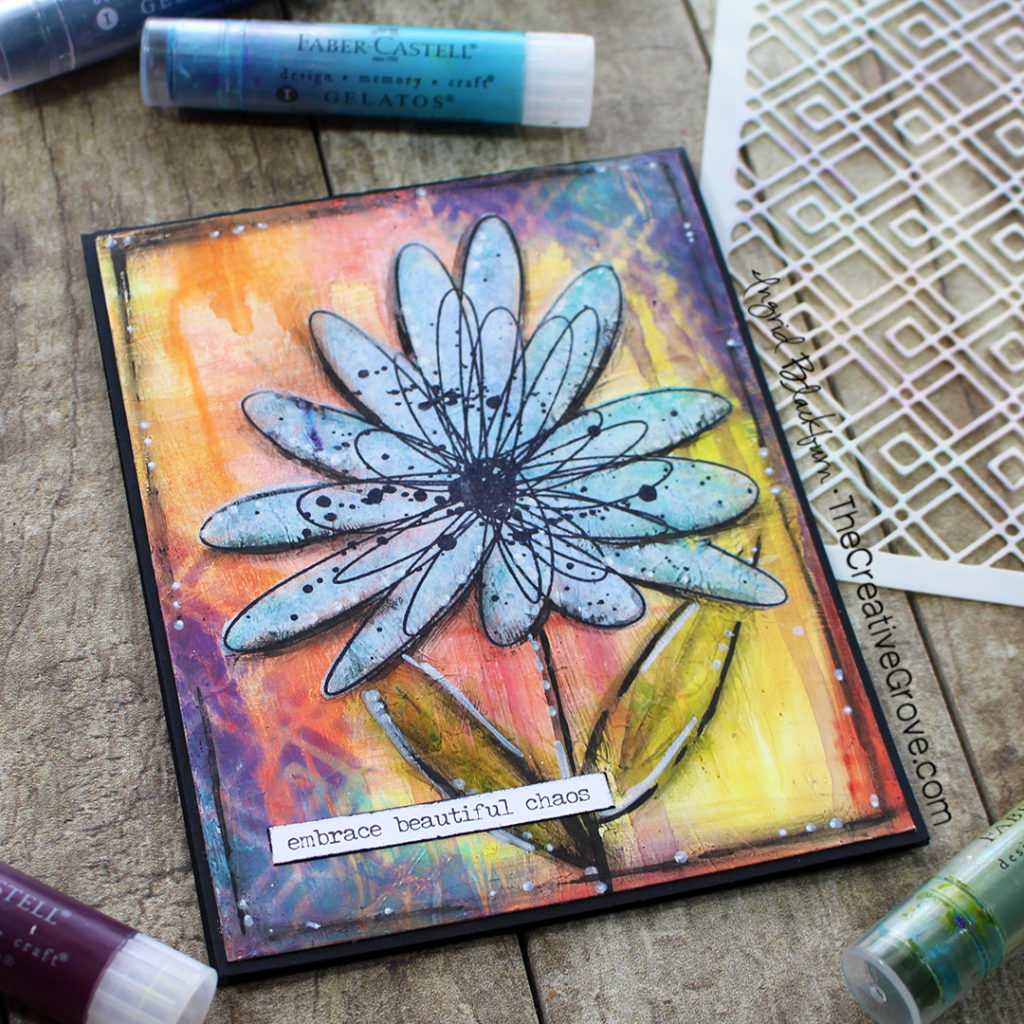
To help the blue flower pop even more, hold your fussy cut flower onto your project, lift the edges, and add a little white gelato underneath. Seal the stenciled corners and white flower with some matte medium, giving your flower a base to grab onto. Add matte medium over the top too and dry your entire piece.
Pulling it All Together
To complete your flower, add a little Pistachio green for some leaves and rub it into shape with your fingers. Next add some black charcoal pencil for shading, rub in with your finger, and add some Black Big Brush Pen accents too. Rub and add white where needed. Add a little matte medium over your green leaves and add some finishing touches.
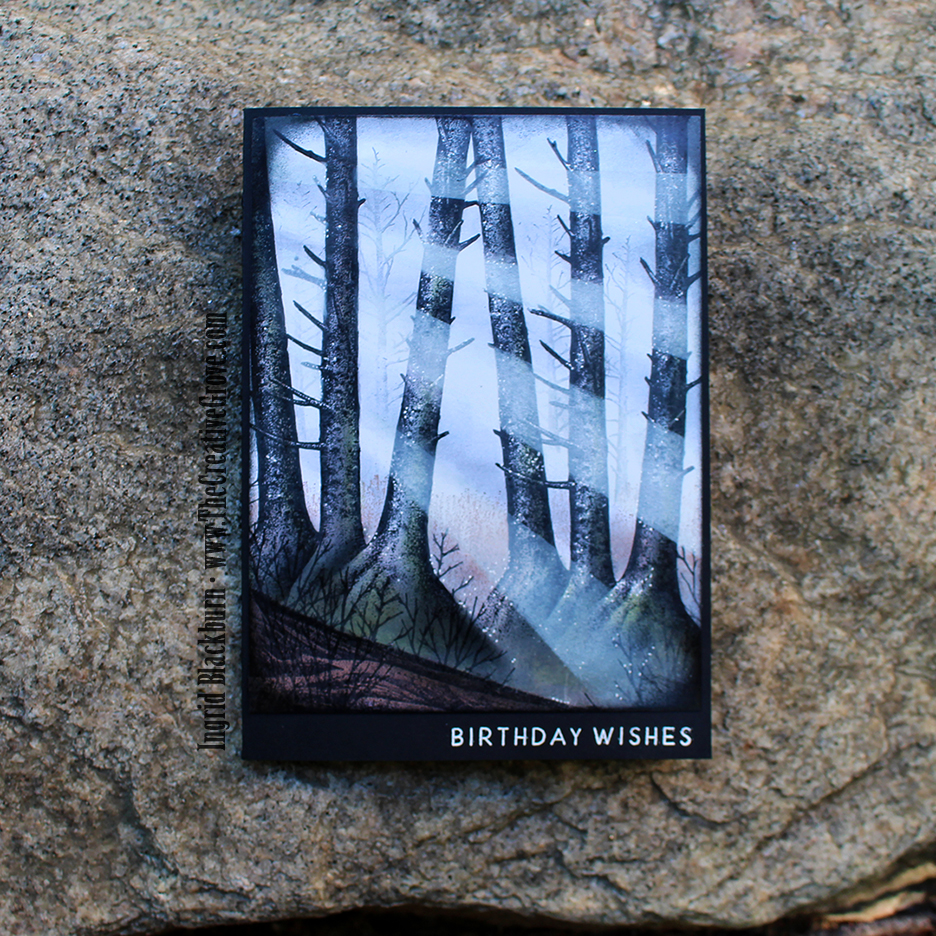
For a sentiment, I used a sticker from Small Talk collection by Tim Holtz Ideology. To help it to stand out, edge your sticker with a Pitt Pen. I love the end result, and now I want to create a two page spread like this in my art journal – it’s TOO pretty!!
Whoever receives this card in the mail, is certain to cherish it.
Which of the 7 Ways to Use Gelatos is your favorite? Have you tried any? Tell me in the comments!! I’d love to know which projects you liked too! Want to see more with Gelatos?
Did You Know?
I popped all the supplies I used in the list below. This post was written for a fun hop celebrating Top Flight Stamps and their 2nd anniersary. Have you had a chance to check out Topflight Stamps yet? If you have not checked it out yet, then you MUST pop over. It’s one of the best collections of artsy stamps and stencils I’ve seen.
Topflight Stamps differs from most online retailers. You will find an incredibly diverse collection of artistic stamp products from around the world – all under one roof. Don’t you just love the two products I used today, and hope you enjoyed seeing a few ways you too could use them!
But first, keep hopping along. Be sure to leave comments all along the way. There are some INCREDIBLE crafters in this hop – seriously – I’m so honored to have been asked to be a small part of it. So thanks for hanging with my novel of a post. If you haven’t already – please subscribe to my newsletter, blog (subscribe in the sidebar on the right), instagram and youtube channels!!
Till next time, keep those fingers inky…

Blog Hop List
- Donna – Topflight Stamps Blog
- Sandy Allnock
- Jenny Colacicco
- Justine Hovey
- Toni M Maddox
- Kelly Martin
- Annette Allen
- Kymona Tracey
- Ashlea Cornell
- Josefine Fouarge
- Lisa Hoel
- Laurel Beard
- Ericka Strange
- Ingrid Blackburn – Welcome, you’re here!!
- Dana Joy – Hop here NEXT!!
- Amy Tsuruta
- Lindsay Weirich
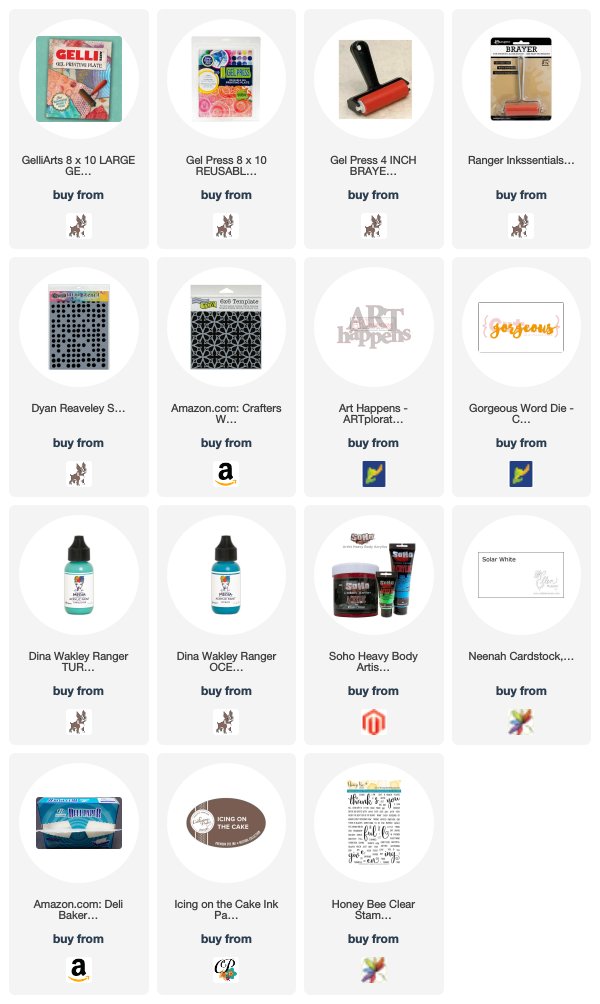
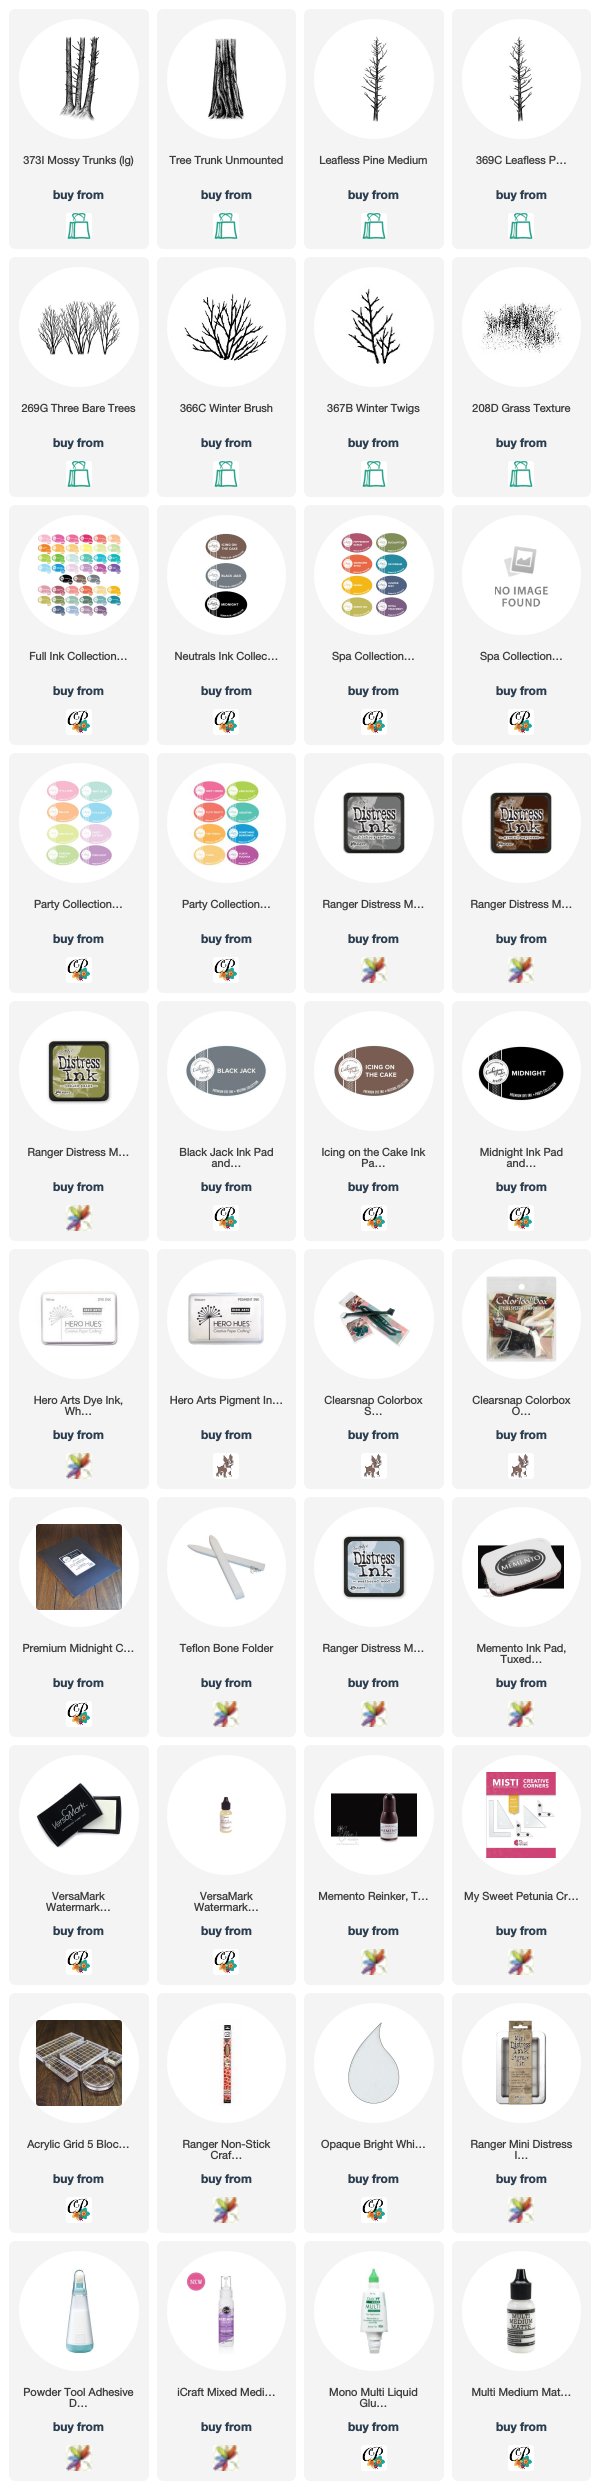
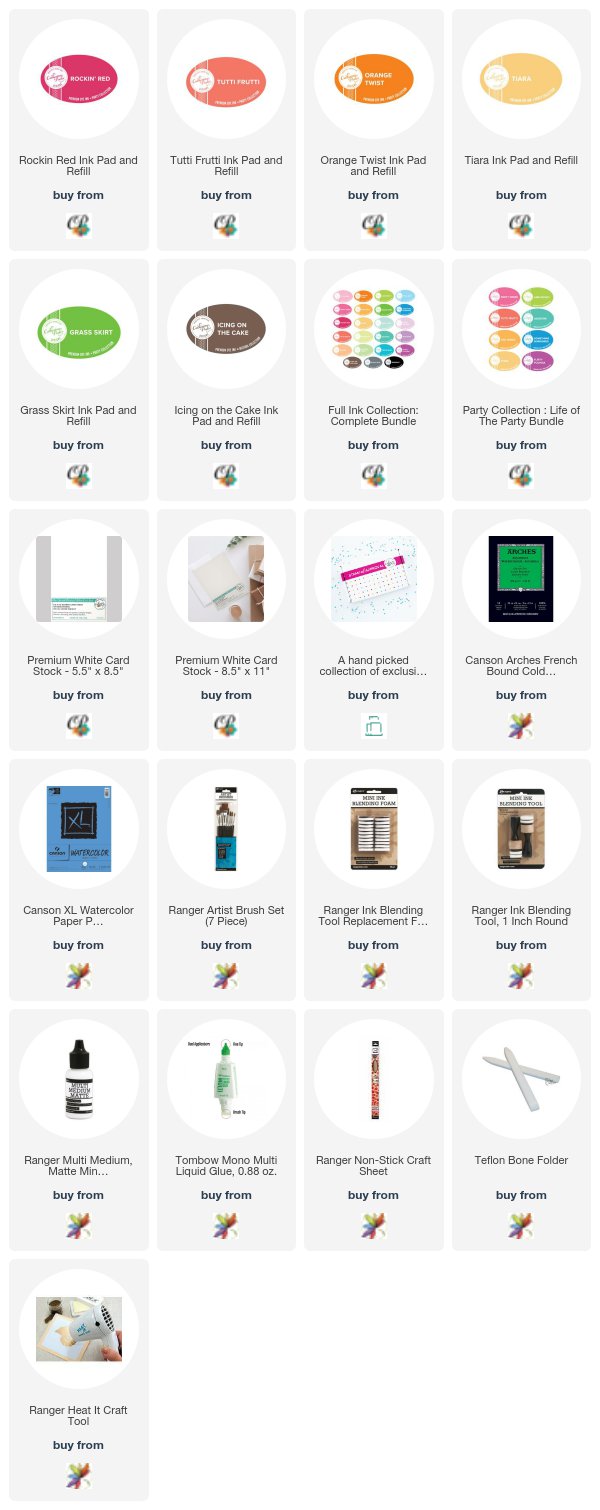
Supplies
To make finding the supplies I used in these projects a bit easier for you, here are a few clickable links. Compensated Affiliate Links are used when possible. Click here for disclosure. Happy Shopping!