Forest Stag – Masculine Christmas Cards

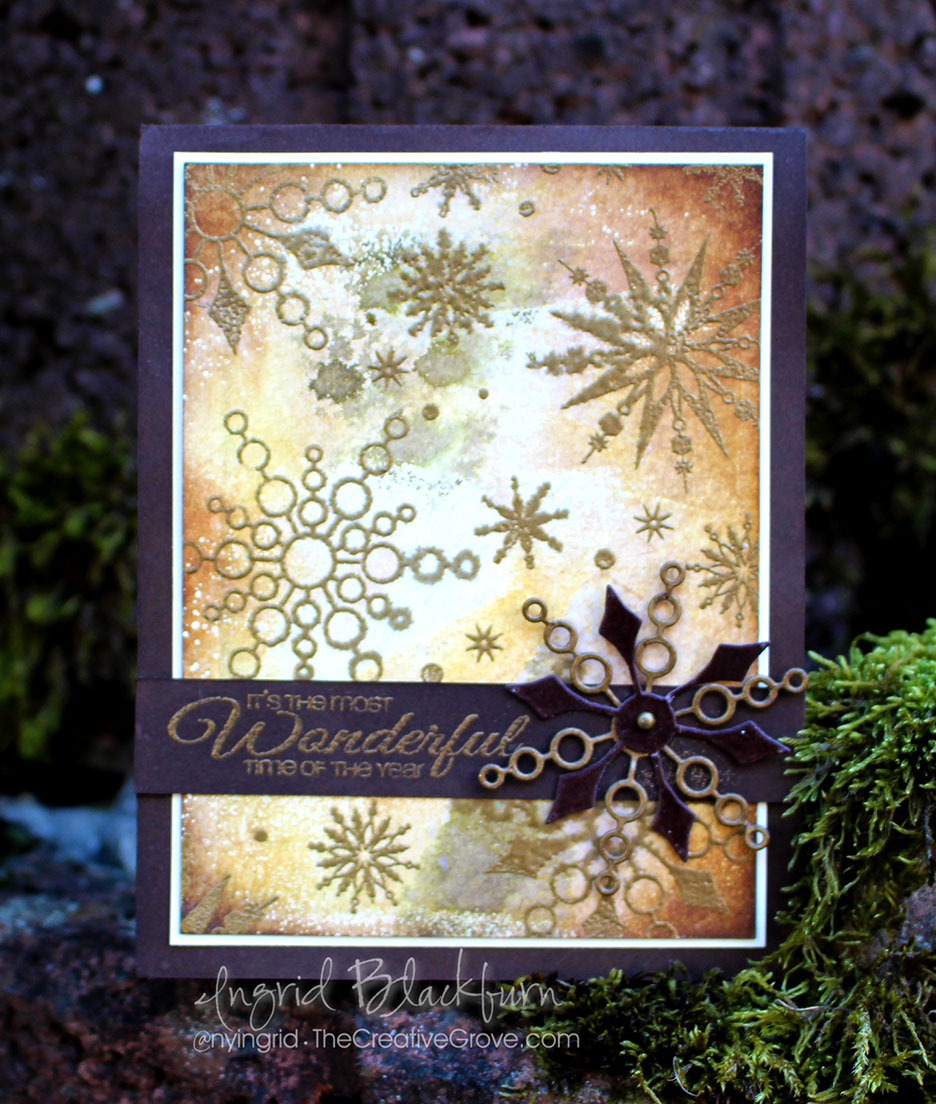
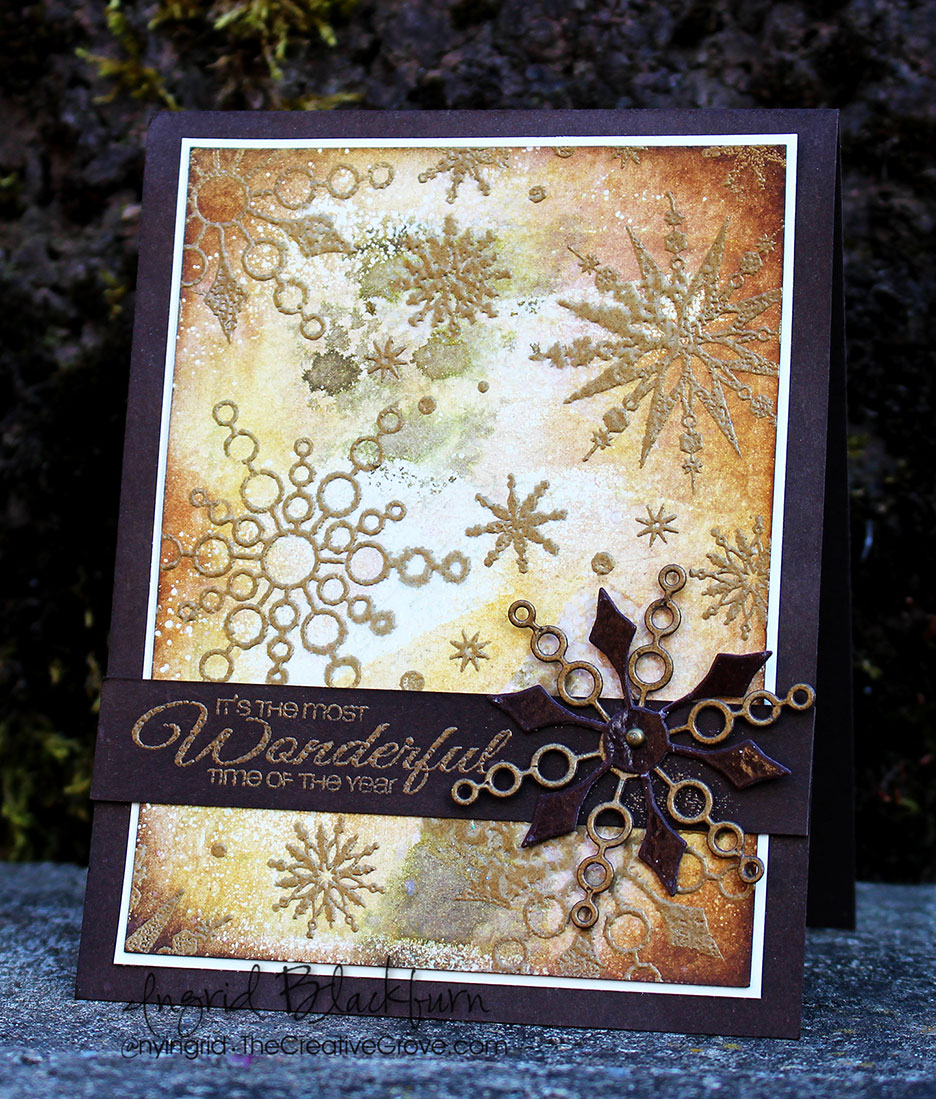
We all need a few different types of Christmas cards – especially Masculine Cards. So what makes a Masculine Christmas card? Well, color mostly! When I think masculine, I think neutral colors – earthy, and not too overly cutesy.

forest-stag-ingrid-blackburn-001

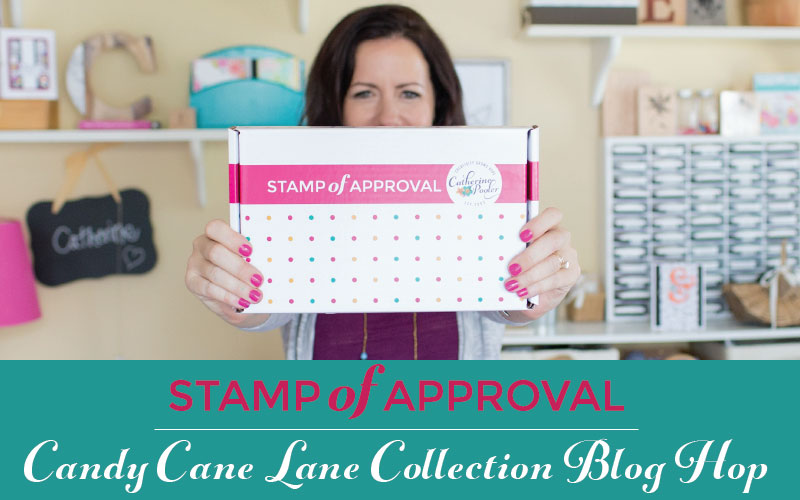
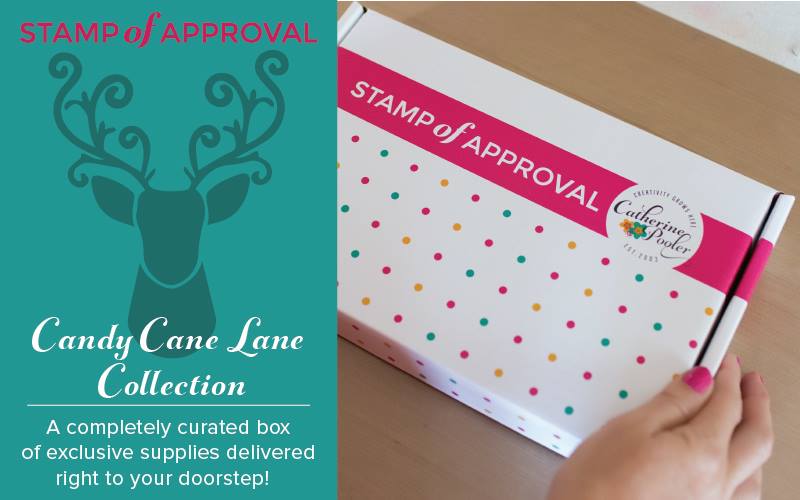
Today’s project is just that – and my first to really feature the rockin’ Stag from the Hip Holiday stamp set in the Candy Cane Lane Collection by Stamp of Approval. I’ve shared a few projects this past week already from this great collection – that goes on sale if you’re on the Wish List or a StampNation member this morning.

Tomorrow – if there are any left, it will go live to the public. There’s still time to get on the Wish List – so don’t wait if you like any piece of the collection. We also had three great Blog Hops loaded with Holiday card ideas for you. I have links to everything you may have missed below – not to worry!

candy-cane-lane-collection

Now back to our Masculine Christmas Stag….Here’s a quick tutorial for this great clean and simple card – another great mass producible one:

Masculine Christmas Cards: Forest Stag Tutorial

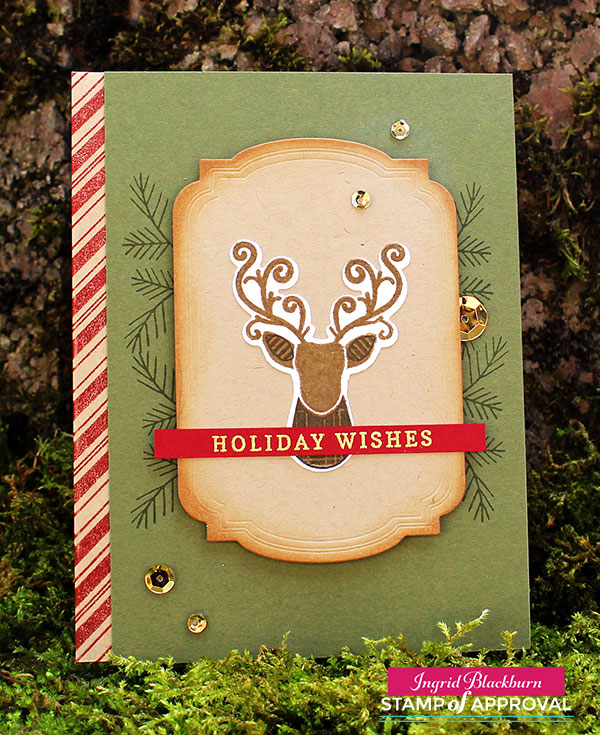
To keep with a masculine look – use neutral or muted colors. I chose to use Kraft card stock for the frame & card base. For the panel I used a dusky green – Always Artichoke by Stampin Up. For red accents – Cherry Cobbler and the Stag in White so that he really pops.

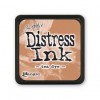
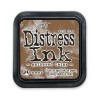
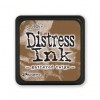
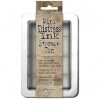
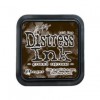
Once you’ve die cut your frame with the Merry Label Dies (CAS-ual Fridays for Stamp of Approval), edge it lightly with Tea Dye Distress Ink. This helps to accentuate the edge, give it a rustic look and showcase some of the debossing around the edges.

Masculine Christmas Cards - Ingrid Blackburn

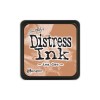
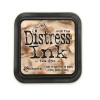
Use the coordinating dies for the Hip Holiday set to cut the stag out in white. Next, stamp the stag in Soft Suede & Early Espresso for the patterned ears & neck. I just love him – isn’t he great! I made one with eyes and a smile, but ended up liking the one without a face better.

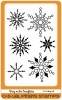
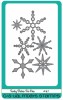
Rather than clutter the label die with stamped images – add some tone on tone boughs from the Merry & Bright Bough Stamp set. Keep it minimal so that it doesn’t overtake the card.

TIP – to get the bough placement just right, lightly trace the label die so you have a guide, then erase your lines once done! If you are mass producing cards, create a label out of masking paper, trim it down to the inner debossed line. That way you don’t have to keep tracing it!

Fold your card base in half and stamp the Peppermint Stick background stamp in Cherry Cobbler on the edge. Glue your Artichoke card front on.

Masculine Christmas Cards - Candy Cane Lane

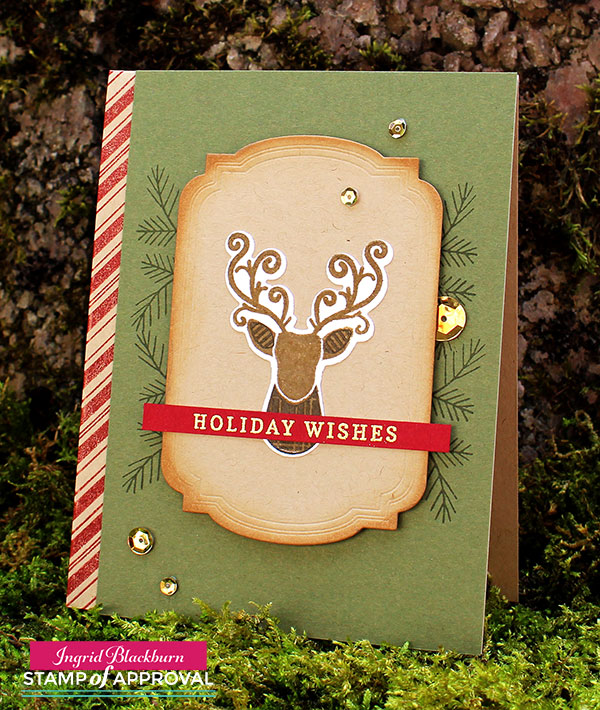
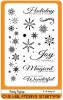
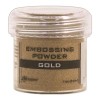
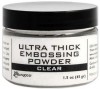
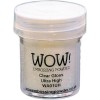
Glue your stag to the label, emboss a greeting in gold onto Cherry Cobbler. I used the lower part of Sweetest Holiday Wishes from the Candy Cane Lane stamp set. TIP – I actually cut that one apart – there is a bit of space between the sweetest and Holiday Wishes – it easily lines back up if desired – but I’ll get so much more use from it this way without having to constantly mask it off!

Glue your greeting over the stag and label – trim the edges and pop it all up with foam tape. Add a few gold sequins by Pretty Pink Posh (that large one is by Rico Designs) and you’re all set!

It’s cute, right? I’m in love with this color combo.

More Christmas Project Ideas

If you didn’t get a chance to see my two videos for this collection, here are the links to those pages. There’s a video on each!

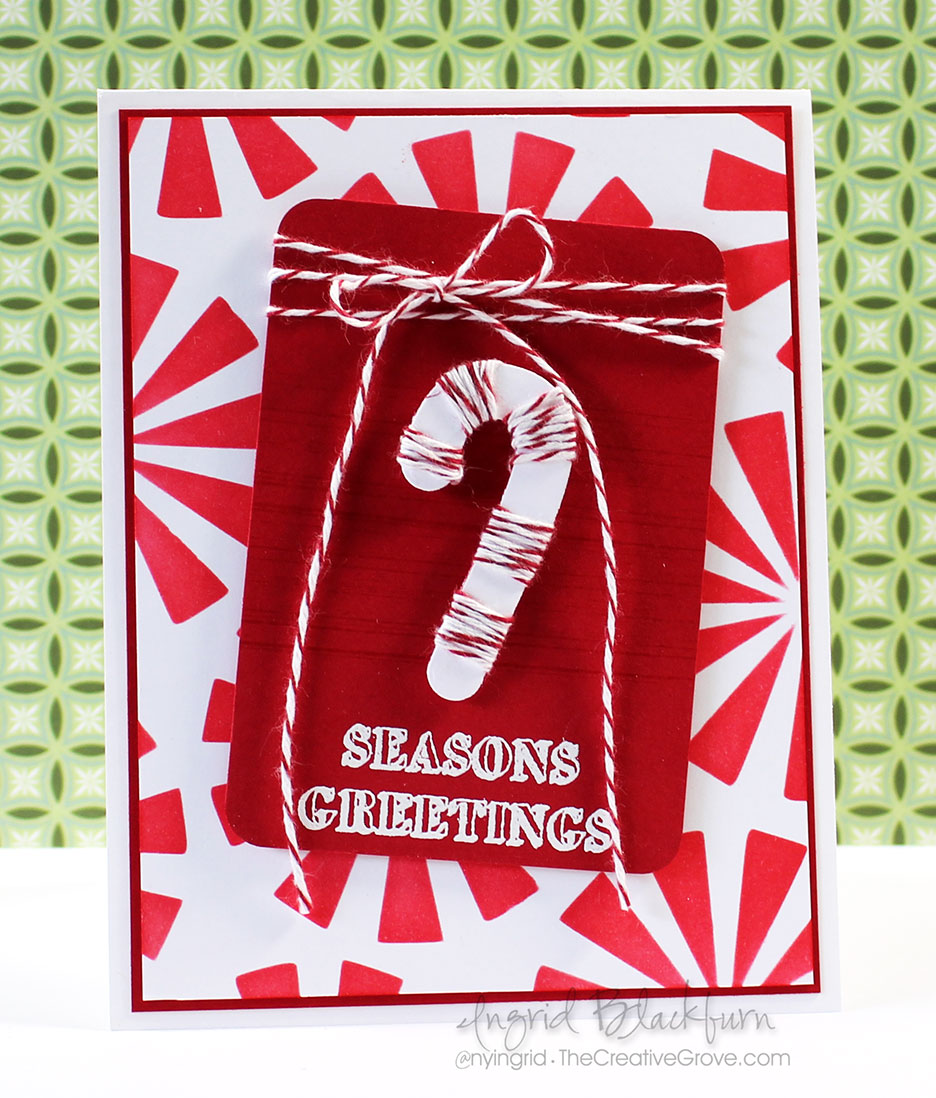
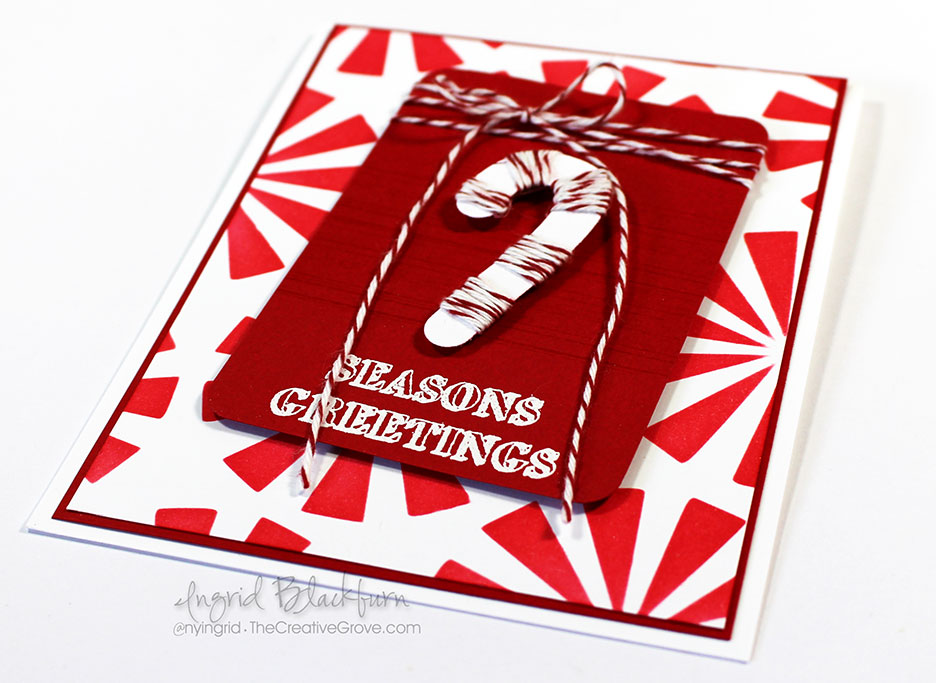
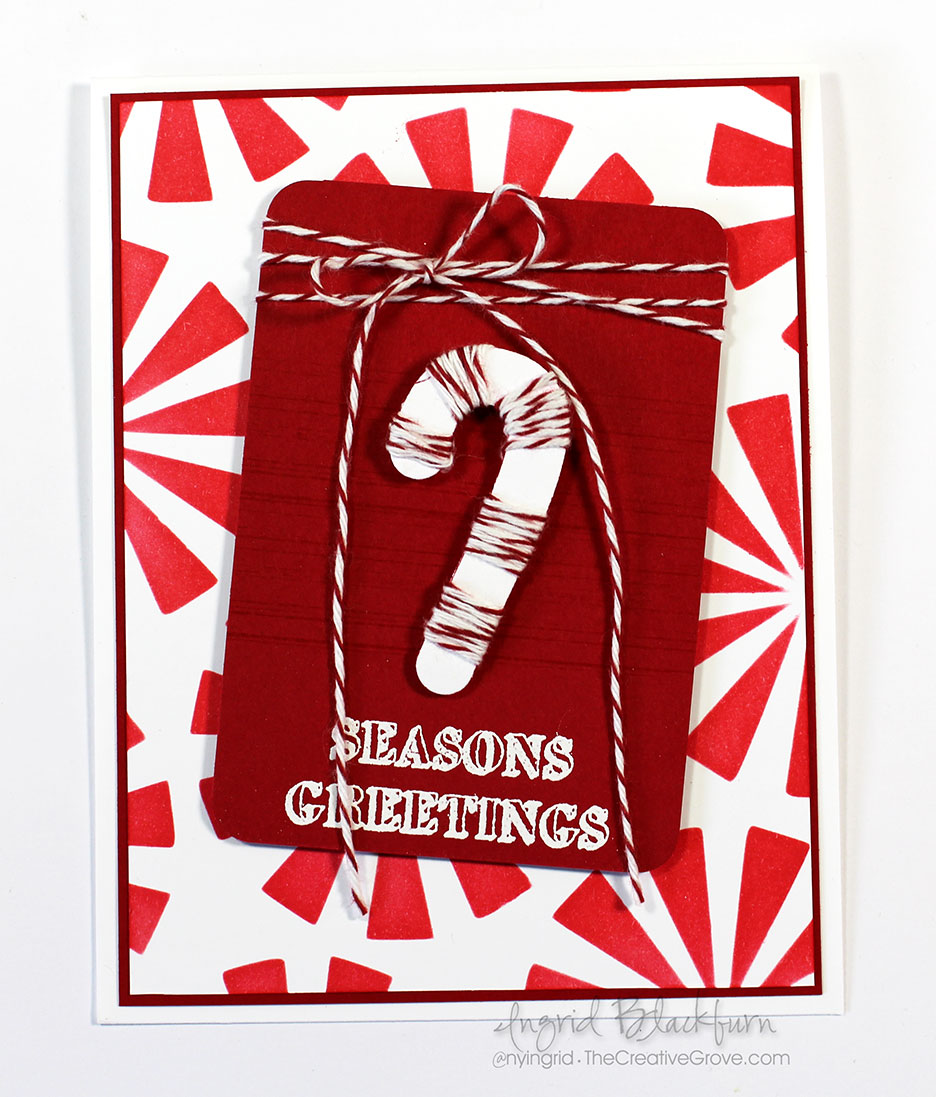
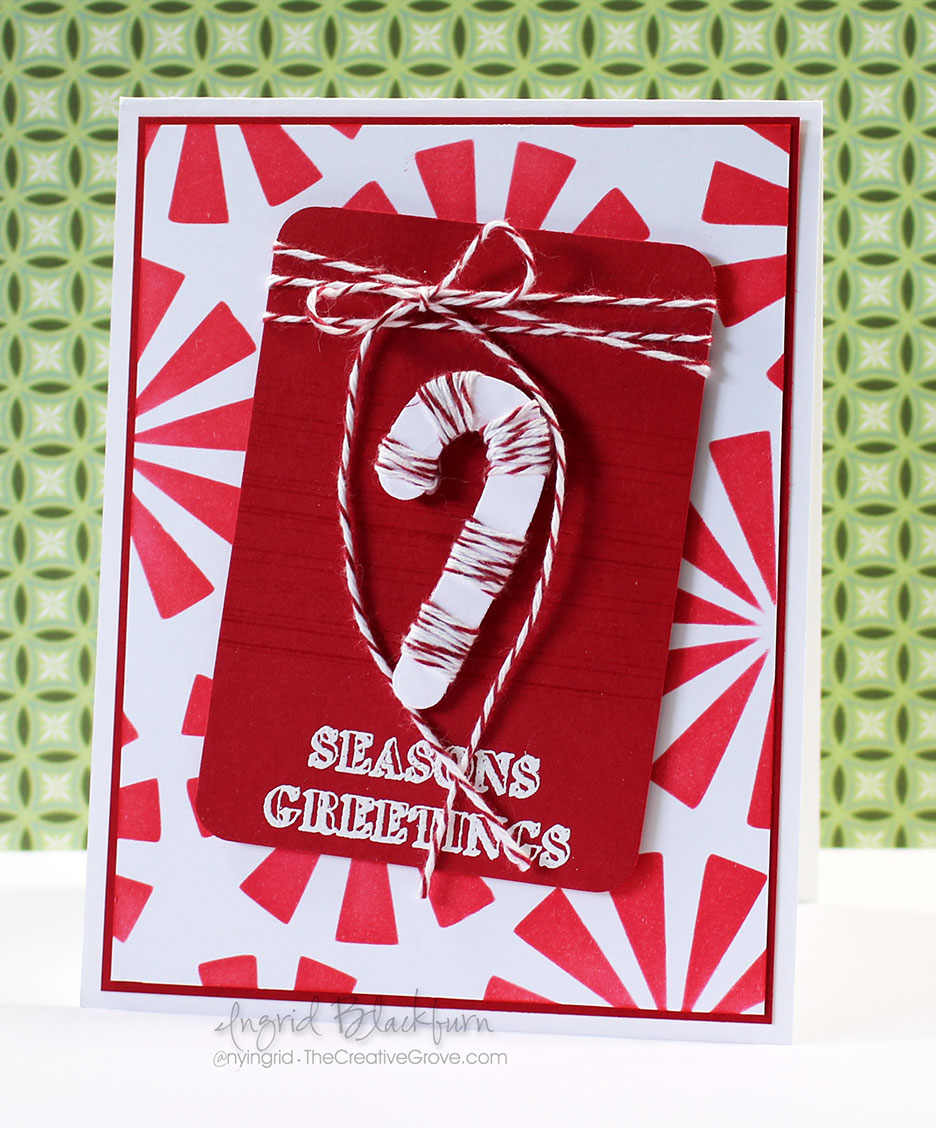
CAS Peppermint Bark      Peek-a-Boo Candy Canes & Christmas in a Box

I also have a great Christmas in a Box project on there too. Tomorrow, you’ll get to see another video tutorial with a technique project right here, so stop on by.

If you would like to get even more Christmas ideas from me, check out my YouTube channel, plus subscribe to my Creative Tips E-letter below or to the right. In about a month, I will be starting my yearly 12 Days of Christmas series. You’ll only see those projects free in your inbox through Creative Tips.

[optin_box style=”12″ alignment=”center” email_field=”email” email_default=”Enter your email address” integration_type=”aweber” double_optin=”Y” list=”3846012″ name_field=”name” name_default=”Enter your first name” name_required=”Y” opm_packages=””][optin_box_field name=”headline”]Learn more with our exclusive FREE video series:[/optin_box_field][optin_box_field name=”paragraph”]PHA+UGx1cyB5b3XigJlsbCBiZSBhZGRlZCB0byBteSBGUkVFIENyZWF0aXZlIFRpcHMgRS1sZXR0ZXIgd2hlcmUgSSBzaGFyZSBleGNsdXNpdmUgcHJvamVjdHMsIHZpZGVvcyAmYW1wOyB0aGUgPHN0cm9uZz4xMiBEYXlzIG9mIENocmlzdG1hczwvc3Ryb25nPiBQcm9qZWN0IFNlcmllczwvcD4K[/optin_box_field][optin_box_field name=”privacy”][/optin_box_field][optin_box_field name=”top_color”]undefined[/optin_box_field][optin_box_button type=”0″ button_below=”Y”]Get Instant Access![/optin_box_button] [/optin_box]

ccl_commenttowin

To see all the amazing creations from the past few days – don’t miss the blog hops….You can still win a free box! Leave comments along the way. Check them out here:

Blog Hop – Day One          Blog Hop – Day Two          Peppermint Watercolor

StampNationGeneralBlogPost

And finally… if you’re a StampNation member – be sure to check out the Challenge this morning! It’s loaded with Stamp of Approval cards!!! Can you guess which one is mine?!

StampNation - Ingrid Blackburn

Now you have some serious holiday inspiration! See you tomorrow with even more…

Signature

[optin_box style=”12″ alignment=”center” email_field=”email” email_default=”Enter your email address” integration_type=”aweber” double_optin=”Y” list=”3846012″ name_field=”name” name_default=”Enter your first name” name_required=”Y” opm_packages=””][optin_box_field name=”headline”]Learn more with our exclusive FREE video series:[/optin_box_field][optin_box_field name=”paragraph”]PHA+UGx1cyB5b3XigJlsbCBiZSBhZGRlZCB0byBteSBGUkVFIENyZWF0aXZlIFRpcHMgRS1sZXR0ZXIgd2hlcmUgSSBzaGFyZSBleGNsdXNpdmUgcHJvamVjdHMsIHZpZGVvcyAmYW1wOyB0aGUgPHN0cm9uZz4xMiBEYXlzIG9mIENocmlzdG1hczwvc3Ryb25nPiBQcm9qZWN0IFNlcmllczwvcD4K[/optin_box_field][optin_box_field name=”privacy”][/optin_box_field][optin_box_field name=”top_color”]undefined[/optin_box_field][optin_box_button type=”0″ button_below=”Y”]Get Instant Access![/optin_box_button] [/optin_box]

Candy Cane Lane Blog Hop

ccl_bloghop

Candy Cane Lane – Isn’t that name just the best? I loved it the moment I heard the name….I knew cute, versatile stamps were headed my way, and I was right. I seriously sketched project after project when I saw the Candy Cane Lane collection. Many of which I’ve already turned into projects for this release already!

Catherine and her team of designers created stamps & dies that not only work well together just for this collection – but work fabulously with previous Stamp of Approval releases. That’s what I love so much about these collections – they work together. This box was curated to work for you – and let’s be honest – you know I’m about versatility, and that’s what I get each time.

To find out more about Stamp of Approval and how to be the first to get it when it launches on September 21st – you need to be on the waitlist – that way you’ll get an email the moment it’s live! If you’re not already… Click Here to get on the waitlist right now! Otherwise you’ll have to wait till the public sees it the day after – if there are any left!

candy-cane-lane-collection

Today marks the third day of blog hops – and I’m the caboose – yup…the 19th designer with projects for you!!! So if you missed any of the inspiration – I have links to everything at the end.

I’ve already shared a great quick & easy artsy video tutorial with you a few days ago…here is some more Candy Cane Lane goodness to get those creative juices flowing!

Project One – Peek-a-Boo Candy Canes

I love cards that take me by surprise. This was one of my earlier sketches and seeing it come to life was just oh so cool.

Candy Cane Lane - Peek-a-boo card - Ingrid Blackburn

You’ll have so much fun putting it together – but don’t stop at Candy Canes…think Trees, snowflakes, That cool Stag, Flowers, anything will work. Best part – it’s super easy to create. I even filmed it for you so that you could see how I put this fun project together. And if you haven’t already – be sure to subscribe to my YouTube channel when you’re there! 🙂

Click Here to view video on YouTube in HD

How fun is that? You’ll love it because it’s simple, different and absolutely mass producible! Which let’s be honest is just what I’m looking for every year. I don’t make all the same cards – but I love to do little batches (10-20) – especially of cards I love.

Project Two  – Hip Candy Cane Card in a Box

Have you ever made one of these? They were all the rage in card making a few years ago. I’ve always wanted to try one, and when I saw all these super cute Christmas images with matching dies in the Candy Cane Lane & Hip Holiday Stamp sets….I knew I just HAD to make one finally.

candy-cane-lane-christmas-in-a-box-ingrid-blackburn-001

candy-cane-lane-christmas-in-a-box-ingrid-blackburn-002

Isn’t it super cute? You’ll have fun putting all the pieces together. This project really showcases how well these stamp sets work together. It’s the size of a card and folds flat for mailing like this:

candy-cane-lane-christmas-in-a-box-ingrid-blackburn-003

One of my favorite features of each Stamp of Approval collection is that you also get a PDF with many projects just using the collection. That way you can get started right away with detailed instructions, photos & even a few videos too!  Both of these projects are in there – with detailed instructions, measurements and supply lists.

Now it’s time for you to check it all out – especially if you are just starting here today. Each day of the hop, Catherine is giving away one full collection – so if you haven’t commented along the way each day – be sure to do so – yup, tell me what you think! And when you’re done – check out my first project from a few days ago too.

ccl_commenttowin

Plus the day the collection goes live for the public – that’s s on the 22nd (If you’re on the Wait List – you will get a chance to get the collection the day before on the 21st)….all the designers will have more….I seriously love all this inspiration!

Here’s the full blog hop list. Just click on Catherine’s name at the top if you haven’t been there yet. Since I’m the end, we’ll just go back to the beginning!

If you missed any of the creative goodness from before, just click on the following links:

Blog Hop – Day One          Blog Hop – Day Two          Peppermint Watercolor

And if you want even more creative inspiration, be sure to sign up for my Creative Tips E-Letter for a free video series & coming up 12 Days of Christmas series. Have fun will all the great projects, and see you very soon for more!

Signature

[optin_box style=”12″ alignment=”center” email_field=”email” email_default=”Enter your email address” integration_type=”aweber” double_optin=”Y” list=”3846012″ name_field=”name” name_default=”Enter your first name” name_required=”Y” opm_packages=””][optin_box_field name=”headline”]Learn more with our exclusive FREE video series:[/optin_box_field][optin_box_field name=”paragraph”]PHA+UGx1cyB5b3XigJlsbCBiZSBhZGRlZCB0byBteSBGUkVFIENyZWF0aXZlIFRpcHMgRS1sZXR0ZXIgd2hlcmUgSSBzaGFyZSBleGNsdXNpdmUgcHJvamVjdHMsIHZpZGVvcyAmYW1wOyB0aGUgPHNwYW4gc3R5bGU9ImNvbG9yOiAjYzkxYTFhOyI+PHN0cm9uZz4xMiBEYXlzIG9mIENocmlzdG1hczwvc3Ryb25nPjwvc3Bhbj4gUHJvamVjdCBTZXJpZXM8L3A+Cg==[/optin_box_field][optin_box_field name=”privacy”][/optin_box_field][optin_box_field name=”top_color”]undefined[/optin_box_field][optin_box_button type=”0″ button_below=”Y”]Get Instant Access![/optin_box_button] [/optin_box]


Quick & Easy DIY Christmas Card Tutorial

I’m all about the DIY Christmas cards – how about you? As card makers , we probably all make three kinds of cards…all the time – Christmas, Birthday and Thanks. I’ve been creating some amazing cards this past month gearing up for the big Stamp of Approval holiday release – Candy Cane Lane Collection. How cute is that name?!

Well, Catherine and the team did not disappoint with this one. Blog Hops begin today – I’m up the last day…and I have some beauties to share with you that day. But not to fret – I have a card today, tomorrow and knowing me, I just won’t be able to stop past the release….lol!

candy-cane-lane-collection

Stamp of Approval is a curated box of stamps and dies that were designed to work together. Best part about it is that it works with previous collections as well. Those you can get in the store – of course…the don’t get released for a long time – so don’t wait thinking you can just get them in a few months – you’ll be sad you missed out!

The way it works is you want to be on the waitlist – that way you will get notified the moment the shop is open. They sell out quick – sometimes in a matter of hours – and this particular collection is REALLY good. It’s definitely my favorite so far – I can’t stop creating with it – so if you’re not on the waitlist – get on it right here.

In addition to all the great projects you’ll see over the next several days from the Blog Hops – Design Team member blogs….when you decide to get the box on Wednesday Sept 21st….you’ll also get a PDF cram packed with ideas to get you started. Boxes ship right away – so you could be crafting with these stamps by the weekend!

ccl_commenttowin

Oh…and there are three boxes up for grabs too! Be sure to hop along each day and leave comments along the way – last time one of our commenters won a box!!! You can start the hop on Catherine’s Blog – but read this tutorial too…lol!

I’m kicking off my Candy Cane Lane creations with one of my favorite cards – and one of the best to mass produce too! I have it in traditional colors – but what about non-traditional colors? I bet it would look awesome in baby blue/brown, or Pink and Grey….it doesn’t just have to be red/green!

DIY Christmas Card Tutorial

DIY Christmas Card Tutorial

I did a ton of watercolor stamping in my creations this time – this Peppermint Stick background stamp just screams – watercolor stamp me! To mass produce it, you just need to cut several pieces of watercolor paper – twice the height of the final watercolor piece and you will get two cards with each one!

Enjoy the video tutorial:

Click Here to watch in HD on YouTube

So what did you think? I love it – it’s super quick and easy. And the watercolor stamped look is artsy and unique. When you mass produce yours – do all the embossing at once – die cut/stamping at once, etc…. Just throw on a good movie – and you’re set!

Be sure to stop by the blog hop today to see the amazing creations!!! Comment along the way and win yourself a box too. Come back tomorrow, and definitely Tuesday – I’m up then!

DIY Christmas Card Watercolor Tutorial - Ingrid Blackburn

If you like what you see – subscribe to my YouTube channel and definitely get on the Creative Tips E-letter – I have exclusive video tutorials that go out to subscribers and coming up soon – my 12 Days of Christmas series! Don’t miss out!

See you tomorrow – happy hopping!

Signature

[optin_box style=”12″ alignment=”center” email_field=”email” email_default=”Enter your email address” integration_type=”aweber” double_optin=”Y” list=”3846012″ name_field=”name” name_default=”Enter your first name” name_required=”Y” opm_packages=””][optin_box_field name=”headline”]Learn more with our exclusive FREE video series:[/optin_box_field][optin_box_field name=”paragraph”]PHA+UGx1cyB5b3XigJlsbCBiZSBhZGRlZCB0byBteSBGUkVFIENyZWF0aXZlIFRpcHMgRS1sZXR0ZXIgd2hlcmUgSSBzaGFyZSBleGNsdXNpdmUgcHJvamVjdHMsIHZpZGVvcyAmYW1wOyB0aGUgMTIgRGF5cyBvZiBDaHJpc3RtYXMgUHJvamVjdCBTZXJpZXM8L3A+Cg==[/optin_box_field][optin_box_field name=”privacy”][/optin_box_field][optin_box_field name=”top_color”]undefined[/optin_box_field][optin_box_button type=”0″ button_below=”Y”]Get Instant Access![/optin_box_button] [/optin_box]

Christmas Song Inspired Cards

I have a Jazzy Christmas Song playing in my stamp studio today. Yup….it’s that time of year – the Christmas card production begins for most paper crafters. Dare I say some of you are already done! And it’s just the beginning of September – I’d love to know if you’ve started or are finished – tell me in the comments below!

HLS Christmas Challenge September 2016

But first….let’s get back to the Christmas songs playing…they serve as inspiration for my new creations one of which I have for you today – two actually and a video from my YouTube Channel! Over at Happy Little Stampers Christmas Challenge – this month we’re challenging you to pick a Christmas song as inspiration and create a card! How fun is that!

Christmas Song #1 – Joy to the World Tutorial

For my first card and my inspiration for the challenge today, I chose Joy to the World – a big booming song that Iin a watercolor of the forest on a glorious day. Are you on my train of thought?

DIY Christmas Cards inspired by Christmas Song

First paint a light blue sky over the top 2/3 of your card – darker toward the top. I first started with some yellow to give me a heavenly glow. Fade it out toward the edges and do the same with your blue – or you’ll get green where they overlap.

Next, Mask off the bottom for a snowy base and watercolor stamp your tree line using Peeled Paint Distress Stain and a fir tree. I used the Lovely as a Tree by Stampin Up, but you can also use the trees from the Prancers Penny Black set or a Stampscapes tree. Stamp a few tiems to get depth at various heights – some reinking, some not.

Joy-to-the-World---ingrid-blackburn---002

Paint a shadow with some Distress Weathered Wood ink that has been sprintzed along the tree line. Fully dry and emboss your greeting. For a little snowy effect – use a toothbrush and some Daler Rowney Pro White to add some snowy flecks to your scene.

Christmas Song #2 – Partridge in a Christmas Tree Tutorial

For a bonus project today, I have a video tutorial that I did for the Happy Little Stampers Channel a few months ago – I waited to show you till today, so unless you were subscribed to the HLS channel, you probably missed it! It’s my take on the Christmas classic 12 Days of Christmas – it’s my Partridge in a Christmas Tree.

I love these little bird creatures that Kylie designed for the Whimsical Friends stamp set – I know they’re probably chickens, but they serve my purpose as partridges today!

To see how I created this great card, here’s a step by step video for you:

Click Here to Watch Video in HD on YouTube

First you’ll want to add a lightly drawn tree using a pencil and ruler. Then stamp and & emboss your Partridges in gold. I used Gilded Gold by Brutus Monroe – love that stuff!

Christmas Song inspired DIY Cards

Mask off your tree with some painters tape keeping the line on the inside and erase with a white eraser. Sponge in your tree using greens, and add the gold embossed baubles from the HLS Mix Mash stamp set. Color in your partridges and add the song greeting to the sides of the tree.

Mine was a bit to high on the right…but that’s okay – I’m not perfect!! 🙂

For a little extra flair – add a slight border to your card front with some more gold embossing powder.

Partridge-in-a-Pear-Tree-Christmas Song

So what do you think, cute, huh?! Now it’s your turn. I can’t wait to see how you’re inspired for this month’s Christmas Challenge!

Be sure to subscribe to both my YouTube Channel & the Happy Little Stampers Channel to get weekly inspiration! And if you want to get more Christmas inspiration – don’t forget about my 12 Days of Christmas series, only available to those on the Creative Tips e-letter.

See you again in a few days for more creative fun!

Keep those fingers inky –

Signature

[optin_box style=”12″ alignment=”center” email_field=”email” email_default=”Enter your email address” integration_type=”aweber” double_optin=”Y” list=”3846012″ name_field=”name” name_default=”Enter your first name” name_required=”Y” opm_packages=””][optin_box_field name=”headline”]Learn more with our exclusive FREE video series:[/optin_box_field][optin_box_field name=”paragraph”]PHA+UGx1cyB5b3XigJlsbCBiZSBhZGRlZCB0byBteTxzdHJvbmc+IEZSRUU8L3N0cm9uZz4gQ3JlYXRpdmUgVGlwcyBFLWxldHRlciB3aGVyZSBJIHNoYXJlIGV4Y2x1c2l2ZSBwcm9qZWN0cywgdmlkZW9zICZhbXA7IHRoZSAxMiBEYXlzIG9mIENocmlzdG1hczwvcD4K[/optin_box_field][optin_box_field name=”privacy”][/optin_box_field][optin_box_field name=”top_color”]undefined[/optin_box_field][optin_box_button type=”0″ button_below=”Y”]Get Instant Access![/optin_box_button] [/optin_box]

Gold Snowflakes

Gold-Snowflakes---001

Snowflakes don’t always have to be white. Today’s project features the best in embossed snowflakes. This mixed media piece utilizes the best of emboss resist and sponging for a unique textured look with a flurry of gold snowflakes. Yup, the Christmas Challenge over at Happy Little Stampers is all about Snowflakes this month – so join us in all the fun!

HLS Christmas Challenge August 2016

To get started, stamp and emboss several snowflakes from Bring on the Snowflakes and Snowy Sayings by CAS-ual Fridays. Emboss in gold. I love all the little pieces in the Snowy Sayings set – those little dots and snowflakes are invaluable stamps to have!

Randomly swipe your versamark pad lightly over a few spots and sprinkle some Ulta Thick Embossing Enamel onto your project. Try not to add too much or get it too heavy in spots. Brush away if too thick in areas.  Heat from underneath to get it to start melting and heat set. This will trap the white color of the card base for some light in your project as you darken your project. The UTEE will also give you a little thicker and rough texture giving it a real mixed media feel.

Gold-Snowflakes---002

Add distress colors directly to your project and sponge them as well. Start with your lightest shade and darken on the perimeter always leaving some color exposed. I used Tea Dye, Vintage Photo, Gathered Twigs and Ground Espresso.

Matte it onto a white 1/16th wider base and onto your Espresso card base. A 3/4″ strip of espresso with one of the Snowy Sayings greetings in Gold is perfect.

For a cool effect, I used the Funky Flakes coordinating dies and embossed both snowflakes – one in gold, the other clear on espresso and attached them with a mini brad. TIP – To get your brad to coordinate, heat it with your heat tool, dip it into your embossing powder while hot and heat again.

Gold-Snowflakes-003

See, snowflakes don’t have to be the traditional white! Now it’s your turn – I can’t wait to see what you come up with…Christmas is only 4 1/2 months away – time to get going on those cards!! Every year I put out a free 12 days of Christmas series for the Creative Tips e-letter subscribers…be sure to see that when it begins later this fall – subscribe here for free.

[optin_box style=”12″ alignment=”center” email_field=”email” email_default=”Enter your email address” integration_type=”aweber” double_optin=”Y” list=”3846012″ name_field=”name” name_default=”Enter your first name” name_required=”Y” opm_packages=””][optin_box_field name=”headline”]Learn more with our exclusive FREE video series:[/optin_box_field][optin_box_field name=”paragraph”]PHA+UGx1cyB5b3XigJlsbCBiZSBhZGRlZCB0byBteSBGUkVFIENyZWF0aXZlIFRpcHMgRS1sZXR0ZXIgd2hlcmUgSSBzaGFyZSBleGNsdXNpdmUgcHJvamVjdHMsIHZpZGVvcyAmYW1wOyB0aGUgMTIgRGF5cyBvZiBDaHJpc3RtYXMgUHJvamVjdCBTZXJpZXM8L3A+Cg==[/optin_box_field][optin_box_field name=”privacy”][/optin_box_field][optin_box_field name=”top_color”]undefined[/optin_box_field][optin_box_button type=”0″ button_below=”Y”]Get Instant Access![/optin_box_button] [/optin_box]

Till next time –

Signature


SOA Lovely Notes Blog Hop

Lovely Notes SOA Blog Hop

Welcome to the Lovely Notes Collection Blog Hop – Day 3! What do you think so far…pretty amazing, right? Well I hope to add a little creative inspiration for you today with a few projects. I’ve been sharing a few projects over the past few days – this collection is so easy to create with, and I have so much more to keep sharing with you this week.

The Stamp of Approval Lovely Notes Collection is a curated collection of stamps and dies that work fabulously together or alone. Not only do you get a box FULL of amazing stamps and dies, but you’ll get a downloadable PDF Project Guide (for free!) with tons of project tutorials using them!

The stamps and dies in the Stamp of Approval Collections are brand new on the market and won’t be released for individual sale for several months. To find out how to get a box, you have to be on the wait list! Yes, these boxes sell out so fast – the last one was gone in 33 hours….so don’t wait. The wait list will find out before the public will. Click Here to sign up for the wait list and find out more.

Today I’m going to inspire you with several of the components of this collection. Specifically the Lovely Flowers, Lovely Flowers & Banners Dies, Lovely Lattice Background, Butterfly Notes, Wonderful Wreath – all by Catherine Pooler Designs, and Handpainted Thanks by Neat & Tangled. So let’s get right to it with a little Christmas in July, here are your tutorials!

Lovely Notes Project Tutorials

Wonderful Wreath

I was in love with this wreath the moment I saw it. It reminds me of olive branches – delicate and whimsical. To get this clean and simple look, stamp your wreath on white in Stampin Up Pear Pizzazz, the berries in Primrose Petals, hang some ornaments in Baja Breeze and tie it all up with an Early Espresso bow. It was that simple. This is a GREAT mass produced card.

Lovely-Notes-SOA-Project-2---Ingrid-Blackburn-001


For an elegant touch, emboss your greeting in Gilded Gold by Brutus Monroe – my new favorite gold. Add a few sparkling clear sequins by Pretty Pink Posh and a little simple paper piecing in the corners finishes it off.

I’m addicted to the tilt for the matte in the background (thanks Maureen!) – a little Early Espresso on a Pear Pizzazz card base. It’s that simple.

Thanks Friend

This awesome handpainted Thanks stamp by Neat & Tangled is my new favorite greeting – I love bold scripty greetings. I used this stamp just one way – did you know there are two others that layer for a multi tone effect! How cool is that?

You’ll want to stamp some of the Lowely Flowers and cut them using the coordinating Dies. I used the Stampin Up colors – Marina Mist, Wisteria Wonder, Rose Red & Garden Green. On a large piece of white scrap paper – at least card front size, stamp the thanks towards the bottom center/right. Repeatedly stamp thanks in a light neutral tone, I used River Rock. TIP – alter where the word starts on each line so that it flows.

Lovely Notes SOA Collection - Ingrid Blackburn


Stamp the dots from Lovely Flowers in the middle 2/3 of the Soft Suede card base. I stamped it completely across so that the left and right side were even.

Cut your tag out using the large banner die from the Lovely Flowers & Banners Dies set. Try to place the Rose Red Thanks a bit off centered to the right at the bottom. You definitely want some neutral below as well. Stamp the word Friend from the Lovely Flowers Stamp set in Soft Suede on a piece of scrap and attach to your tag.

Pop the tag up using Foam Tape or Fun Foam and adhere your embellishments. TIP – The leaf branch has three sprigs – I cut mine apart to get it just right – sometimes just one or two.

That’s it – it’s a cute card – I had way too much fun with the Lovely Flowers stamps & dies as you’ll see tomorrow!

Bold Watercolor Greetings

If you’ve followed me for a while here, on YouTube or in an online class – you know I love to watercolor! This project takes some of the various greetings in this collection and puts them to good use. I wanted greetings that would stand out, so I used two from Lovely Flowers, one from Butterfly Notes and one of my new favorite Thanks from Handpainted Thanks. Here’s a video tutorial for you:

Click Here to watch video in HD on YouTube

To get this outline look, first stamp your images in versamark. Go back over them with a de-static tool and stamp again in Versafine Onyx Black Ink. Emboss in Black and heat set. Once cool, secure your project down with low tack painters tape on the upper and lower edges.

Smoosh some Distress Ink onto your craft mat or acrylic block – I used Rusty Hinge, Ground Espresso, Gathered Twigs and Vintage Photo. Grab some ink with a large wet brush and start painting onto your dry watercolor paper. You want your watercolor to flow together without getting out of control.

Handpainted Thanks - Lovely Notes Collection - Ingrid Blackburn

TIP – if your paper accumulates too many puddles or your colors blend out of control, gently dip the edge of a dry paper towel into a puddle to sop it up without removing color. Or use a thirsty brush (Not dripping wet). Water will naturally be attracted to a dry surface.

Once you have the look you want, heat set or allow to dry on it’s own. TIP – keep some lighter areas along with dark for a balance.

Stamp the Lovely Lattice Background stamp in Ground Espresso onto a folded Espresso card base. I just inked up the top and bottom. Quickly dip into clear embossing powder and heat set for a tone on tone look. If using a vanilla or white background, use Versamark ink for a watermark look. The key is not to compete with your watercolor, but rather support it.

It’s a pretty quick and easy project. I made four as I wasn’t sure of the look I wanted. Here’s a rainbow one too:

Lovely Notes Stamp of Approval Ingrid Blackburn


I added a little dry embossed line to the top and bottom for a simple embellishment. No matter what color combination you choose, you’ll love this technique.

Now that you have some inspiration…time to find out just how you can win a free box!

Lovely Notes SOA Win

It’s your turn to hop along and check out what the uber talented Amy Tsutura has in store for you next! Here’s the blog hop list:

Catherine Pooler

Neat and Tangled

Kristie Goulet

Yoonsun Hur

Ingrid Blackburn – That’s Me * You are here*

Amy Tsuruta You’re next stop!

Justine Hovey

Be sure to leave a comment on each designers blog for a chance to win a Lovely Notes Collection of your own! There’s a giveaway for all three days of the hop! If you missed out on any of the Blog Hops – start at the beginning with Catherine’s Blog and Day 1.

And stop by tomorrow for more inspiration –

Signature

[optin_box style=”12″ alignment=”center” email_field=”email” email_default=”Enter your email address” integration_type=”aweber” double_optin=”Y” list=”3846012″ name_field=”name” name_default=”Enter your first name” name_required=”Y” opm_packages=””][optin_box_field name=”headline”]Learn more with our exclusive FREE video series:[/optin_box_field][optin_box_field name=”paragraph”]PHA+UGx1cyB5b3XigJlsbCBiZSBhZGRlZCB0byBteSBGUkVFIENyZWF0aXZlIFRpcHMgRS1sZXR0ZXIgd2hlcmUgSSBzaGFyZSBleGNsdXNpdmUgcHJvamVjdHMsIHZpZGVvcyAmYW1wOyB0aGUgMTIgRGF5cyBvZiBDaHJpc3RtYXMgUHJvamVjdCBTZXJpZXM8L3A+Cg==[/optin_box_field][optin_box_field name=”privacy”][/optin_box_field][optin_box_field name=”top_color”]undefined[/optin_box_field][optin_box_button type=”0″ button_below=”Y”]Get Instant Access![/optin_box_button] [/optin_box]

Gold Embossed Christmas Cards

Today I have a fun gold embossed Christmas card for you. This month over at Happy Little Stampers the theme for the Christmas Challenge is Gold. I’d love to see what you create with this fun and wide open challenge!

HLS Christmas Challenge July 2016

Here’s my project:

Large Ampersand in Gold


I embossed the Holly leaf stencil by ARTplorations in Gilded Gold embossing powder by Brutus Monroe – I love it’s depth of color! I then die cut the large Ampersand from Catherine Pooler Designs – And dies. Doesn’t it rock?!! I smooshed it into some versamark and added the BM powder. I used the Catherine Pooler Designs And Sentiments for some great greetings. The card base is Old Olive and the card front is Cherry Cobbler. I just LOVE the look.

Gold-Embossed-Christmas-Cards-002

So hop on over to Happy Little Stampers and create some GOLD fun this month!!! It’s July…that means it’s time to get going on your Christmas cards…lol!

Now go get those fingers inky!

Signature

Creative uses for Twine

How do you use twine on a card? I’ll admit, I mostly criss-cross it on my pieces – it’s one of my signatures. So when I saw the challenge over at Happy Little Stampers this month uses twine – I thought no problem…wrong! I didn’t just want to do a criss-cross – I always do that….so I really racked my brain to come up with a creative use of twine for you.

I looked at my stash, and I’ll be honest – I don’t get crazy with purchases like these – I mostly like neutrals like browns, white and black. But I remembered that I had some red/white bakers twine from back in my Stampin Up days. My first idea didn’t pan out, but it was perfect for a candy cane…so the card came together from there – with a little inspiration from a card online. Mind you, my card looks nothing at all like the muse, It was a giant strip of white with red flanking the sides that cemented the idea in my head.

How to use Twine on Cards

Candy Cane Twine Tutorial:

  • Sponge the Merry Go Round Stencil by ARTplorations in Barn Door and Festive Berries Distress Ink onto White Card Stock – 3 7/8 x 5 1/8″
  • Round the corners of a Real Red rectangle – 2 1/3 x 3 1/2″
  • Wrap some red/white twine around the top being sure to criss-cross it at the edges and tie a bow with some long tails. Tip – to get my loops to stay to the top and tails downward, I tie like a kindergartner would with bunny ears and upside down, so the top is toward me. I over-exaggerate the loops and make them smaller after by pulling on the tails.

Candy Cane Christmas Cards with Twine

  • Emboss a greeting at the opposite end in white. I used White EP by Brutus Monroe and the stamp set Mixed Christmas Sentiments by Happy Little Stampers
  • In the middle, stamp some lines in Barn Door using my favorite stamp from the Gorgeous Grunge stamp set by Stampin Up. It’s that little something that really helps to make this piece – I stamped it twice and left lots of space top and bottom.
  • Die cut or hand cut a candy cane image. Mine came from a retired SU die cut set. If you don’t have a die like this, stamp a candy cane on scrap paper, cut out and use that as a guide on the back of your card stock.

Peppermint Christmas Cards - Bakers Twine

  • Wrap the red/white twine spaced out to reflect the red parts of the candy cane. TIP – I never cut my twine. On the back, it connects to the upper pieces. I secured them down with glue and double sided tabs before popping it up on mini foam squares.
  • Attach the tag to your card front with fun foam or foam strips. The height helps to add drama to your card.

Creative Bakers Twine Uses Bakers Twine Tutorial - Ingrid Blackburn

  • Adhere your peppermint background to a real red matte that is 1/16″ larger – 4 x 5 1/4″
  • Attach to a white A2 card base – 4 1/4 x 5 1/2 for a 1/8″ matte and you’re done!

It’s a fun, cute card, right?!!! Now it’s your turn – grab some Twine and jump on into the Twine Challenge over at Happy Little Stampers. And while you’re there – check out all the other great challenges going on!

DIY Christmas Cards - Ingrid Blackburn

Of course, I do like to play along with multiple challenges, and two other’s in mind when I made this card. First up, my inspiration for the red/white – this week’s Muse Christmas Visions. The crazy talented muse this week is Kimberly Weiner – I love everything she creates. Kimberly created a beautiful red/white cardinal creation and that helped me to zero in on my candy cane idea for today’s twine card.

And of course, you know I just LOVE to play along with the CAS Mix it Up challenge as well. This month they’re featuring Die Cuts, so jump on into that fun one too!

Hope to see you in all the challenges! See you in a few days for yet another great project!

Now go get those fingers inky –

Signature

[optin_box style=”12″ alignment=”center” email_field=”email” email_default=”Enter your email address” integration_type=”aweber” double_optin=”Y” list=”3846012″ name_field=”name” name_default=”Enter your first name” name_required=”Y” opm_packages=””][optin_box_field name=”headline”]Learn more with our exclusive FREE video series:[/optin_box_field][optin_box_field name=”paragraph”]PHA+UGx1cyB5b3XigJlsbCBiZSBhZGRlZCB0byBteSBGUkVFIENyZWF0aXZlIFRpcHMgRS1sZXR0ZXIgd2hlcmUgSSBzaGFyZSBleGNsdXNpdmUgcHJvamVjdHMsIHZpZGVvcyAmYW1wOyB0aGUgMTIgRGF5cyBvZiBDaHJpc3RtYXMgUHJvamVjdCBTZXJpZXM8L3A+Cg==[/optin_box_field][optin_box_field name=”privacy”][/optin_box_field][optin_box_field name=”top_color”]undefined[/optin_box_field][optin_box_button type=”0″ button_below=”Y”]Get Instant Access![/optin_box_button] [/optin_box]